
Let’s face it, if you use Google tools, one of the best features is Google Calendar. You can create as many calendars as you wish for yourself or to share with others. They can even be public and embedded on websites for others to see and follow. You can give others access to view or edit, or just keep them to yourself. And the best, if you are like me, color code them for your own organizational purposes. Here are the easy steps to creating and sharing a Google Calendar.
Create and Share a Calendar
How to Create a New Calendar:
- Open the Calendar in the account you want to create a new calendar in with your browser.
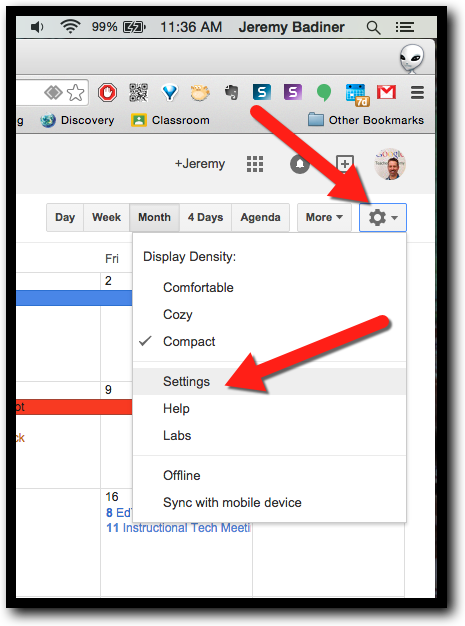
- Click on the gear and then “Settings”.
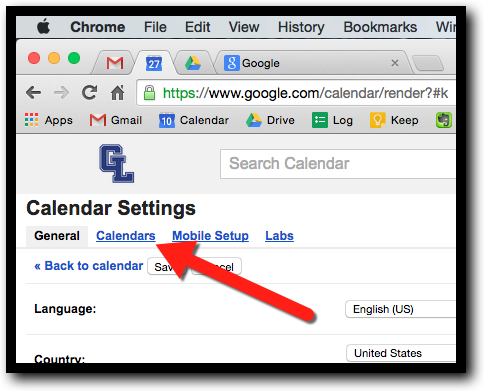
- Click on “Calendars”.
- Scroll down and click on “Create New Calendar”.
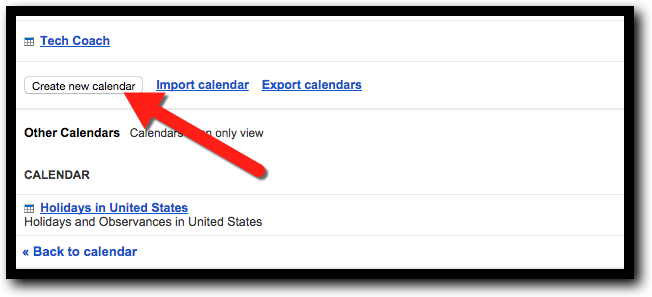
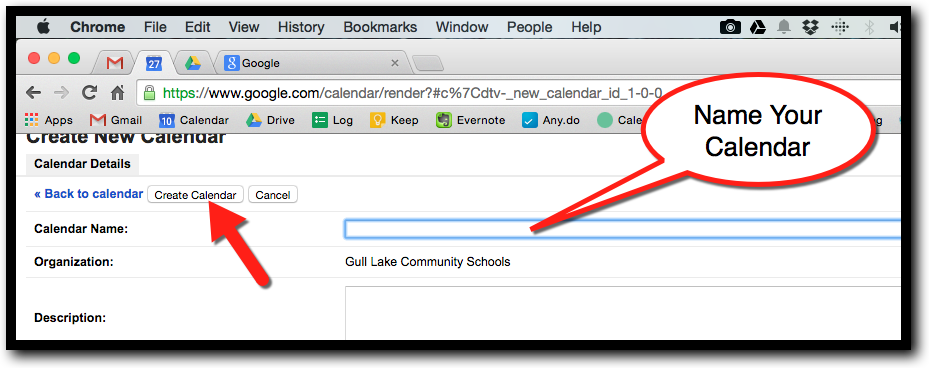
- Name your calendar and click “Create Calendar”.
How to Share a Calendar:
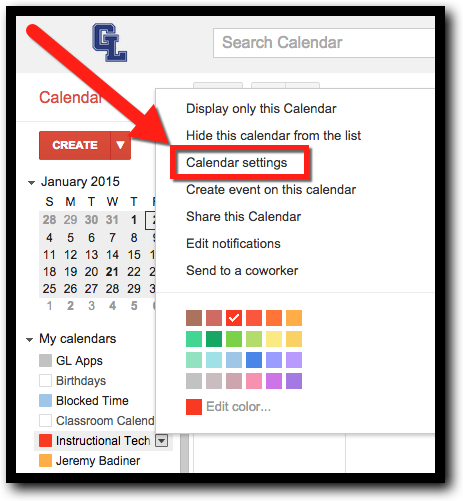
- Hover over the calendar on the left side that you want to share.
- Click the little dropdown arrow to the right of the calendar name.

- Click “Calendar Settings”.
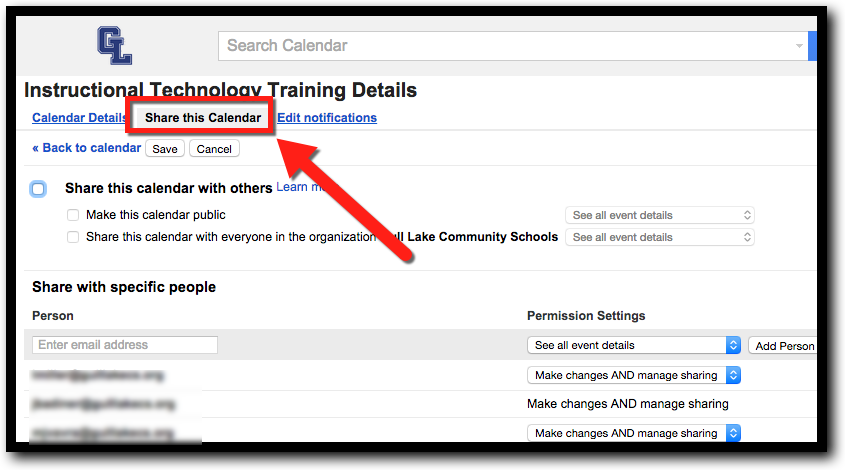
- Click “Share this calendar” at the top left.
- If you want to make this a public calendar (anyone in the world can see), click the checkbox for “Share this calendar with others” and “Make this calendar public”.
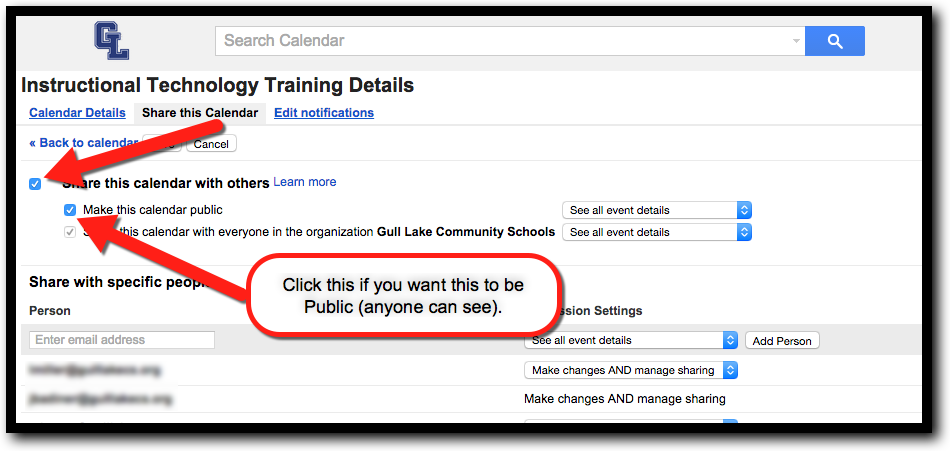
- If you want to share with just a select group of people go down to “Share with specific people”. (If you are only sharing with specific people, do not do the previous step if it is not shared publicly as well.)
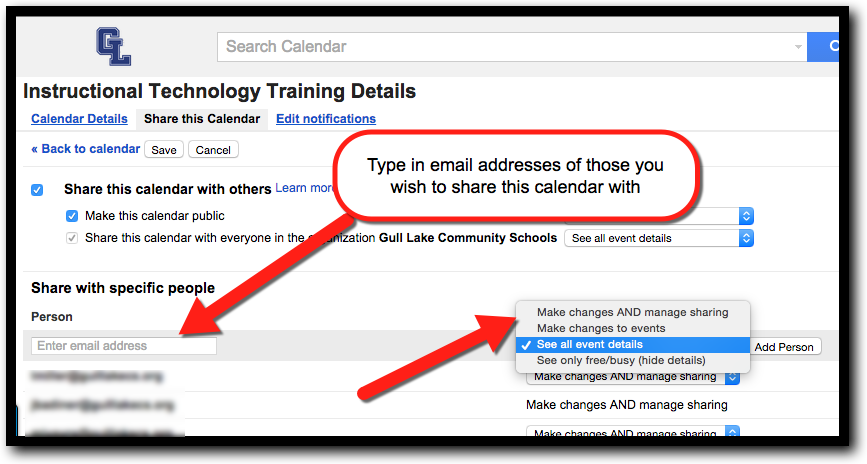
- After entering in the email address of the select people you want to see/edit calendar, choose from the drop down what rights you want to give them (above).
- Click “Save”.
- You are all set!
If you want these steps in a Document Click Here!