

How to Add Labels to Gmail
Create a Label From Settings:
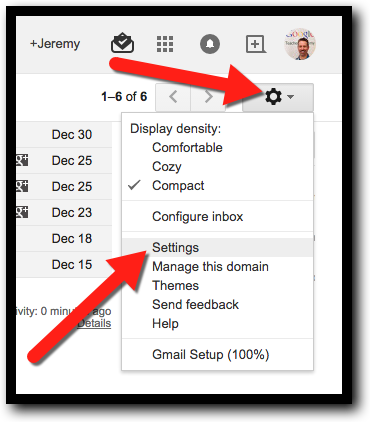
- Go to your “Inbox”.
- Click on the gear in the top right and click “Settings”.
- Click the “Labels” tab.

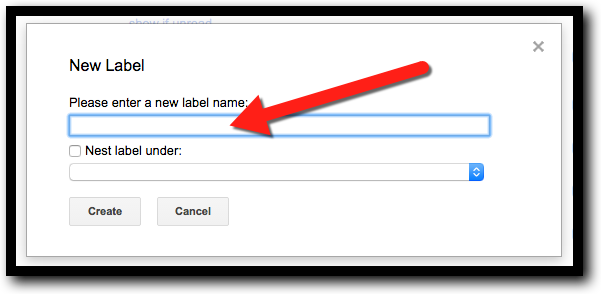
- Scroll down to the “Create new label” button and click it.

- Type in the new label name.
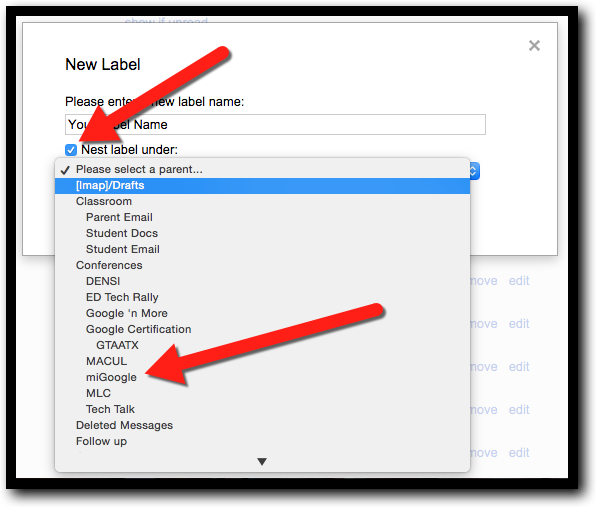
- If you want it nested in another label click the button and select the label to nest it under.
Create a Label While Reading an Email:
- Open an email (or click the checkbox next to an email in your Inbox.
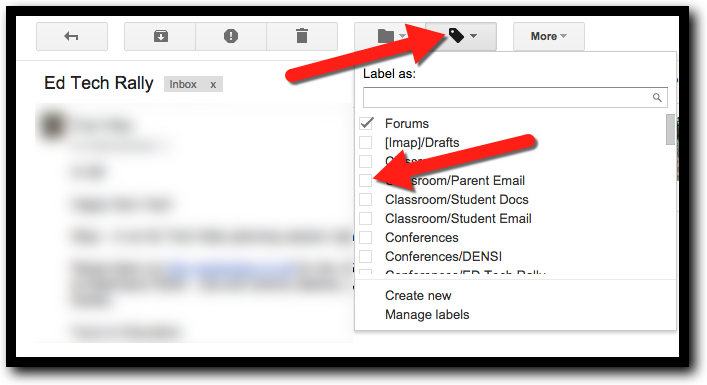
- Click the image of a folder at the top. Choose either an existing Label or click on “Create new”.

- Type in the new label name.
- If you want it nested in another label click the button and select the label to nest it under.
- If you want an email in more than one label, use the image of the label at the top of an email and click all checkboxes that you want to apply.
- (Here is a short video if you want to watch how to do this):
You are all set! Label On!
If you want these direction in a document Click Here!