

Setup and Use Canned Response in Gmail
Enable Canned Response in Gmail:
- Log into Gmail.
- Click the Settings gear and click “Settings”.
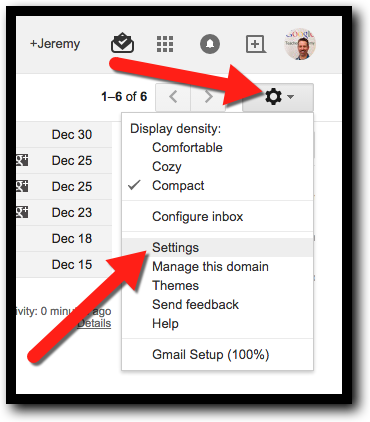
- Go to the “Labs” tab. Make sure “Enable” is selected for Canned Responses.
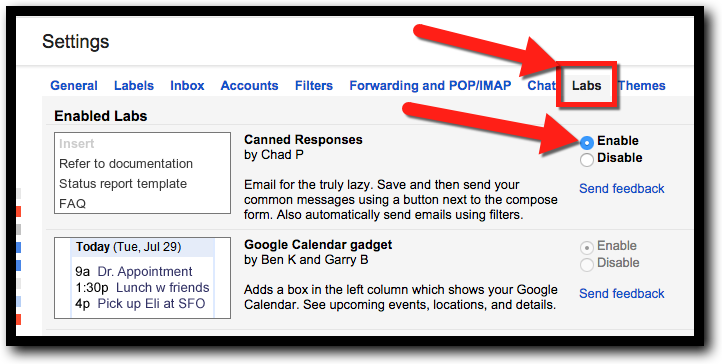
- Click “Save Changes”.
Save a Message as a Canned Response in Gmail:
- Enable "Canned Responses". (See above.)
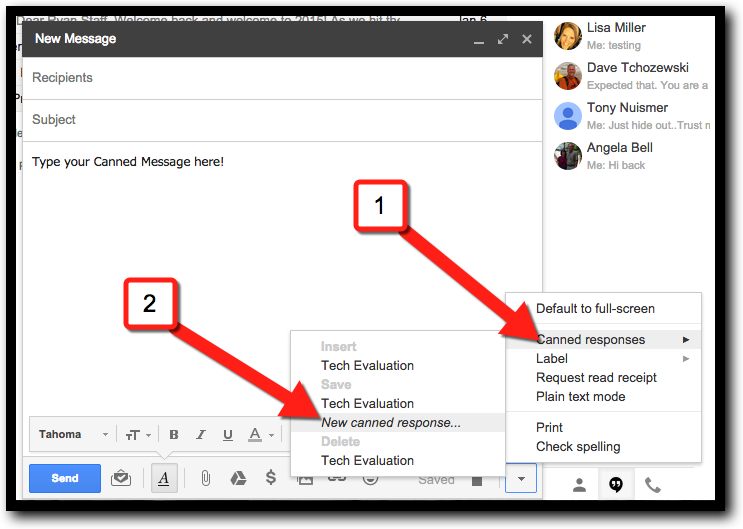
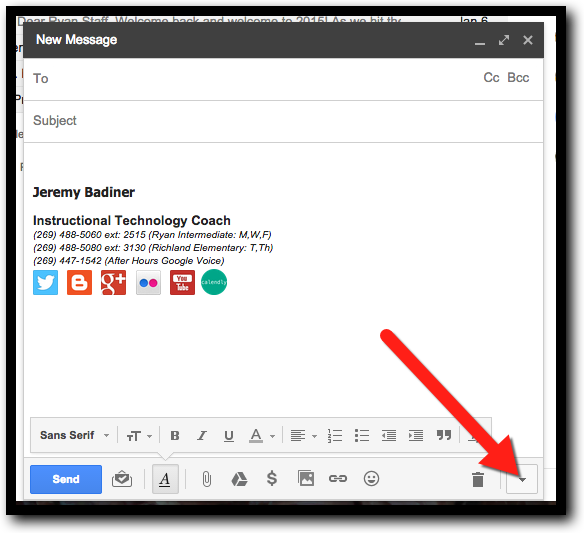
- Compose the message in an email that you want to be “canned”. (delete your signature if you have it automatically added)
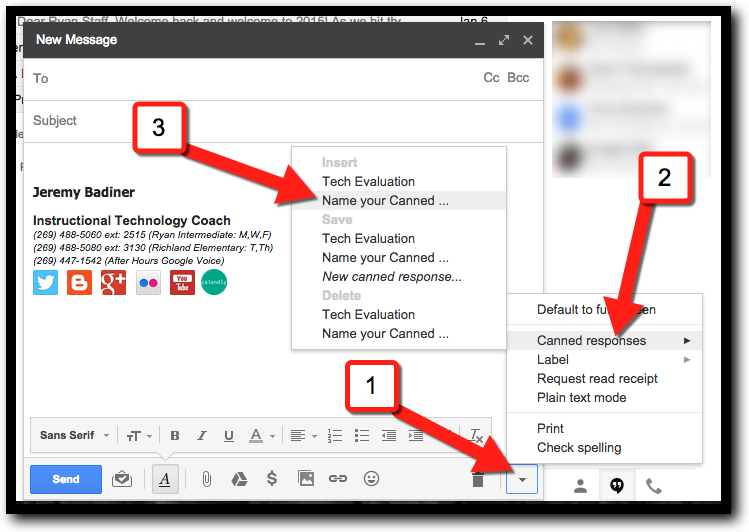
- Click the “More” options downward-pointing triangle (▾) in the toolbar at the message's bottom.

- Select “Canned responses” then “New canned response”.
- Type the desired name for your template.
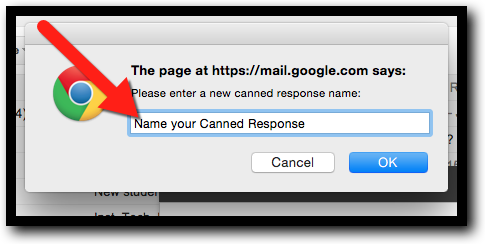
- Click “OK”.
- You now have a saved Canned Response to use later.
Create a New Message or Reply Using a Canned Response:
- Make sure "Canned Responses" is enabled and the canned reply is created. (See above.)
- Start a new message or reply.
- Click the More options triangle (▾) in the message's formatting toolbar (to the composition area's bottom).
- Point to Canned responses in the menu that shows and select the Canned Response you want to use under Insert.
- Make sure you fill the To: and Subject: fields.
- Edit the message as needed and click “Send”.
You should be all set. Happy Canned Responses!
If you would like these directions in a document Click Here!