Thursday, December 14, 2023

Pop-Out Chrome Timers


Have you ever wanted a pop-out timer to sit on your Chrome browser for classroom use? There are apps to do this, like the clock app in Windows and others, that let you do this. You can also do this with a Chrome Extension or some simple clicks!


Simple Clicks:

  1. Open a tab and go to YouTube.

  2. Search for the timer length you want and view the video. Put your mouse on top of the playing video and double RIGHT-CLICK on the video (yes, RIGHT-click). It may take a little time to get it perfected. 


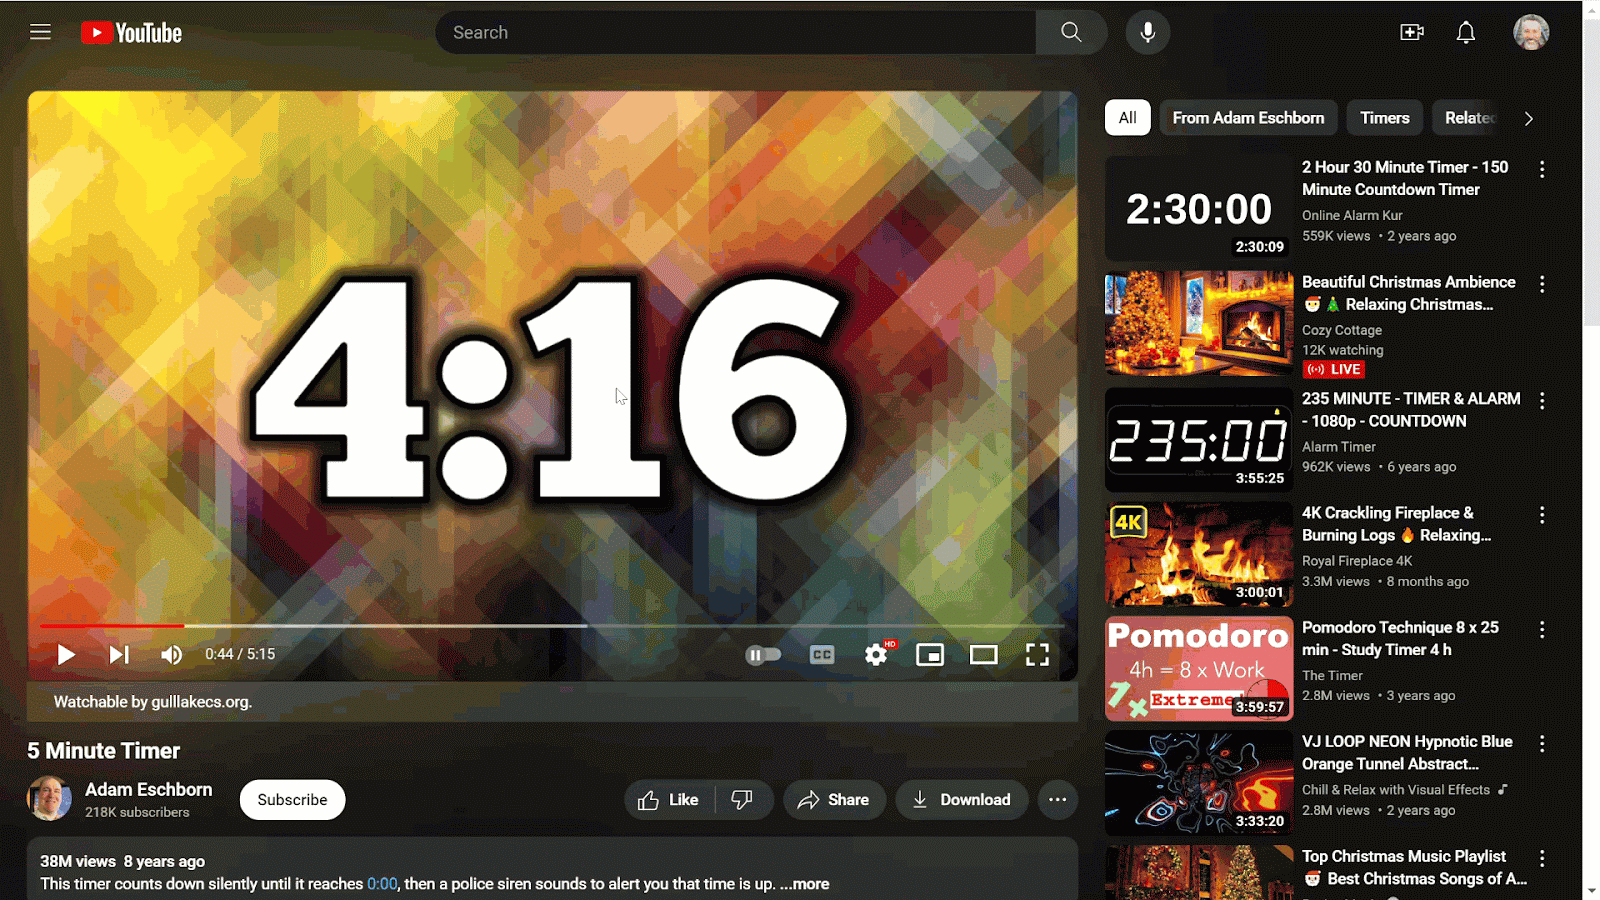
  1. Choose “Picture in Picture”. 


  1. This video will now be a small moveable video over your 


Chrome Extension:

  1. Install Google’s Picture in Picture Extension.

  2. Open the video you want to be on your browser.

  3. Click the extension and it will become a pop-out.


If you want these directions in a Document click HERE!


Tuesday, November 28, 2023

Delete Old Unwanted Emails

Is your Gmail a mess? Is it filled with old emails you no longer need? Search for unwanted emails by date or label to easily delete them. Spend a few minutes, clean up those unwanted emails, and get closer to the coveted “Zero Inbox”!


Delete Old Emails Before a Specific Date:

If you want to delete all emails before a specific date, you can use the “before” or “older_than” search in your Gmail search box. 

  1. Use this search format: before: YYYY/MM/DD. For example…if you want to delete all emails before January 1, 2020. You’ll need to run the following search query: before:2020/1/1


  1. You can also use the “older_than” search. If you want to delete all emails older than a year, use this search: older_than: 1y


  • You can change the search by adding a number to the “y”.

    • (ex: 2 years=2y) or even a number of days (ex: 45 days=45d).


  1. The results for the “before” and “older_than” searches are different. 

    • before”: shows sent and received emails. 

    • older_than”: shows only received emails.


  1. To delete the emails found in your search, click the arrow next to the checkbox at the top-left. From the drop-down menu click on “All”. 


  1. You will also see a notification that says “Select all conversations that match this search” at the top. If you click on it all your emails from your inbox will be selected that fit your search.


  1. Click the trash can icon at the top to send these selected emails to your trash. They will be permanently deleted after 28 days.


Delete Old Emails Within Labels

Most of us use labels to organize our emails. If you no longer need email in a label (maybe it was a previous year’s communication you really no longer need) you can delete all emails that have a label assigned to them.


  1. To search for all emails with a label use this search: label: label name. Here is my “label: google” search.


  1. You can add a time search to a label search as well. For example, if you want delete all emails older than 1 year and in a label use this search: older_than:1y label:label name. Here is my “older_than:1y label:google” search.


  1. Delete these search emails the same way as described above by clicking the dropdown arrow, selecting “All” and clicking on the trash can icon.


Delete ALL Old Emails:

If you want to delete all emails from your inbox or a label. 

  1. Open “All Mail, a label, or your Inbox (the location you want to delete from). 

  2. Click the box above your emails. You will see how many this can apply to in the center. 


  1. Click the blue writing to apply this to ALL emails.

  2. Delete!


Head to your Gmail Inbox and start cleaning out those old unwanted emails!


If you want these directions in a DOcument click HERE!

Monday, November 20, 2023

Tasks in Google Calendar

Google Tasks has replaced Reminders in Google Calendar for a while. Now it is baked into your Calendar view. You can now see all the Tasks you have created without using the mobile app. 


View Your Created Tasks:

  1. Head over to Google Calendar on the web.

  2. Up at the top rough you will see the Tasks icon. Click it.


  1. The calendar will now be replaced with a listing of all your task lists and their tasks.


  1. To go back to your Calendar view, click the calendar icon.


For more information on how to use tasks click HERE!


If you want these directions in a Document click HERE!

Wednesday, November 15, 2023

Get Notified of Google File Changes

Have you ever wanted to know if a collaborative Google file is edited? You may be sharing a Sheet (or Form) and want to know when someone edits or submits a response. Google lets you do this on all their file formats. It is easy, and each collaborator can set their notification settings.


*Just a note, all collaborators must set their own notification settings. That is the only way they will get notifications. The owner can not set notifications for others, only for themselves.


Set Notifications:

  1. Open the Document, Sheet, Slide, or other Google file.

  2. Click on “Tools” at the top and click on “Notification Settings”.


  1. Choose what changes you want to be notified of.

    • Documents have these options.


  • Slides and Drawings have these options.


  • Sheets (and sheets from Forms) have these options


  1. You will receive an email with notification updates.


This is a great way to keep up-to-date with changes in collaborative files. Make sure to set notifications if you do not want to miss anything.


If you want these directions in a Document click HERE!

Wednesday, November 8, 2023

Canva Video Creator

It is no secret that Canva is one of my all-time favorite tools. You can create incredible images, logos, documents, presentations, and even videos! It is easy to use and Canva can make anyone look like a graphic designer. One of the things that few know is how to create videos in Canva. Follow the steps below and create your Oscar-winning masterpiece!


*Make sure you sign up for Canva for Education to get all the FREE upgrades!


Create a Video in Canva:

  1. Sign into your Canva EDU account.

  2. At the top click on “Videos” and choose your layout style.


  1. In the search box at the top left enter a theme idea that you are looking to use. I chose “space” to see what intros, videos, and other stuff Canva has for me.


  1. Click on a clip at the left to add intro clips or videos to your creation.


  1. If you are adding your own media, click on the “Uploads” icon on the left and then “Upload files” and choose your media. . You can also click “Record yourself” if you want to use your camera to record a new video.


  1. You can add text, images, videos, and other elements anywhere into your video by clicking the icon on the left and dragging the content to your video timeline. 


  1. Adding text or other elements is easy and done the same way as above.


  1. Once you are done, click the “Share” button. Then make sure to change it to “Anyone with the link” and “Can view”.Then click “Copy link” and share that as needed.


Click HERE for a video walkthrough.


Now it is your turn (or your students’ turn) to log into Canva and start creating a slideshow, quick video, or other video masterpiece!


If you want these directions in a Document click HERE!

Thursday, October 26, 2023

Ideogram AI Image Creator

It seems that every day there is a new AI image tool being created. Some of these are great and even free. One that is worth looking into is Ideogram. This tool will create an image from a text description. It is easy to use and FREE.

  • One thing to keep in mind, this is a public tool. Everything created is shared with everyone. That means that there could be some questionable images displayed. I would recommend that only teachers or older students use this tool, and not K-5 kiddos.


Create a Custom AI Image:

  1. Head over to https://ideogram.ai/.

  2. Create an account (it is free and stores your creations for easy finding later).

  3. In the box at the top type in a description of what you want your image to be.


  1. Choose your image size and click “Generate”.


  1. It will take a few moments and your images will appear. 


  1. If you like one click on it and choose the version you want. Then click the download icon. If you want you can edit your description and try again or click “Remix”.


Nothing is perfect, and you will have some things that do not work out all the time (like some of the text in my images above) but you can just remix or try again until you get what you need. Give it a try!


If you want these directions in a Document click HERE!