I love word clouds. I used them often in my elementary classrooms and not just to make cool-looking images. I had students create a word cloud with every document they created to show the frequency of words: the more often a word is used the larger it appeared. This helped them with word choice and creating interesting writing. The downside was when we went to a 100% Chrome environment, sites like Wordle and Tagxedo no longer worked in Chrome. Have no fear….
WordSift.org is to the rescue. This site allows you to create beautiful word clouds and do interactive things with them for FREE. Check out how to get started below.
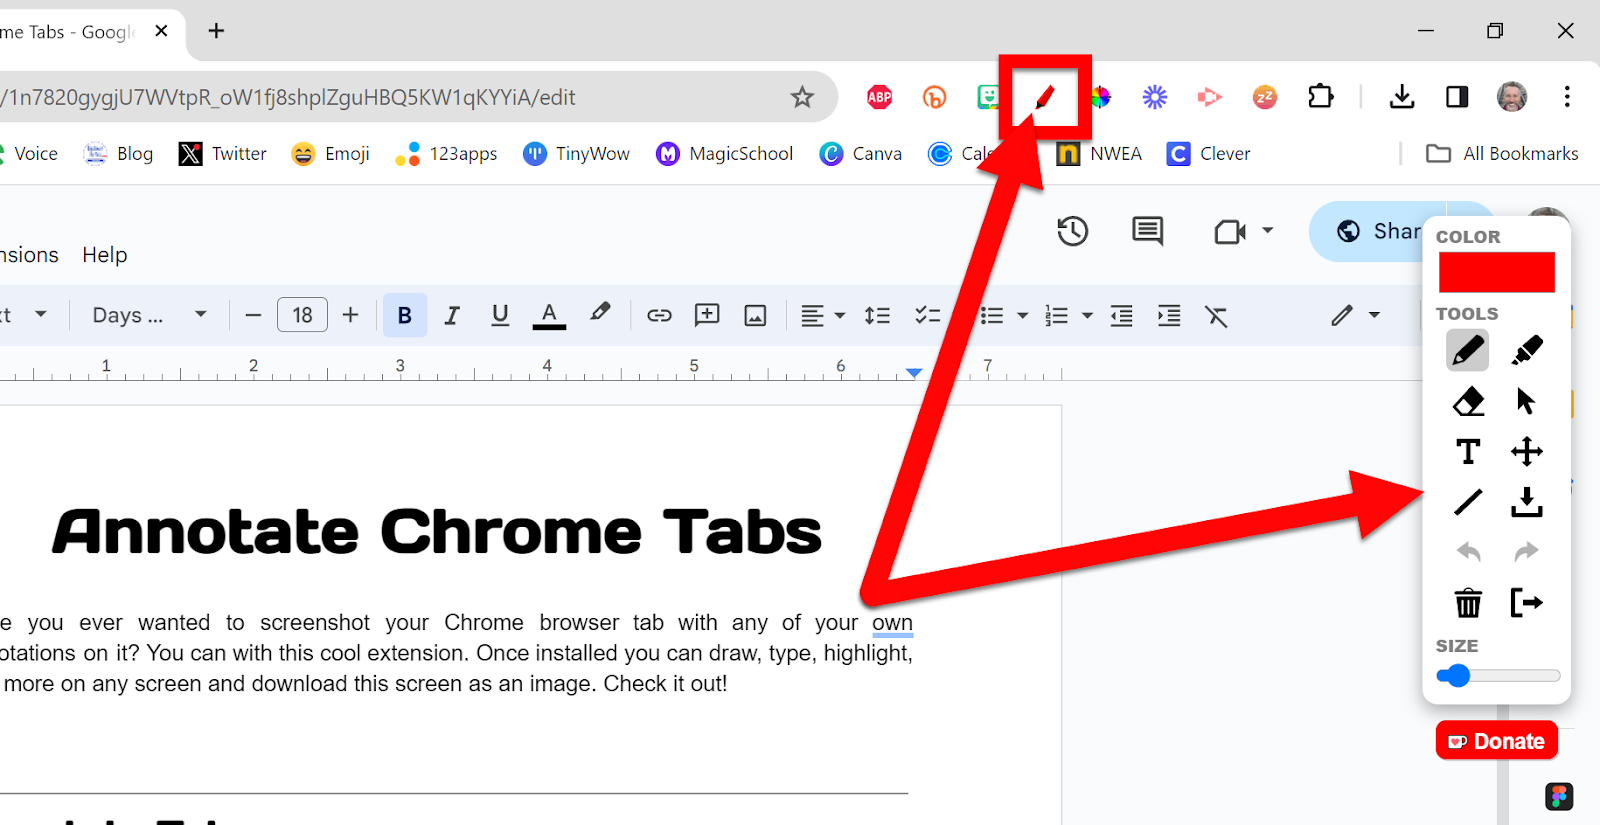
Create Word Art:
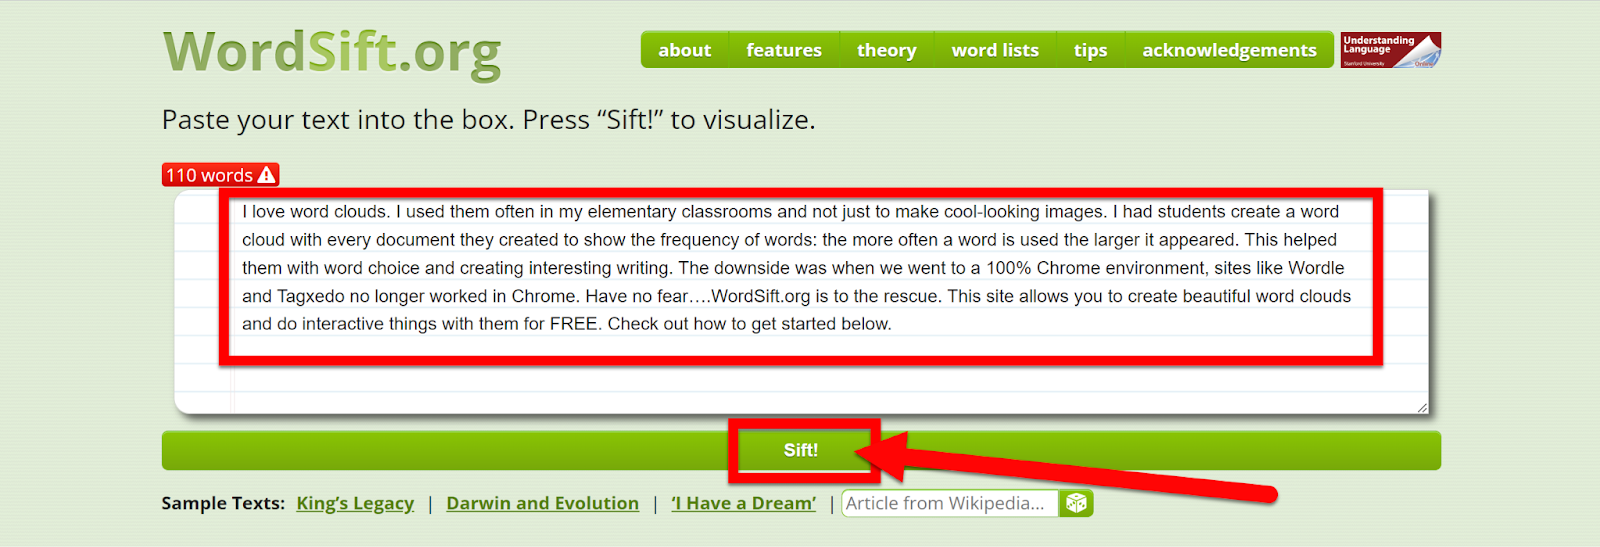
Go to wordsift.org.
Enter the text that you are using.
Click “Sift”.
You can explore the different output styles:

Cloud Styles
Sort Words
Mark Words
When you are ready to save you will need to screenshot this cloud (bummer, but there is no way to download it).
PC:
Use the app called "Snip & Sketch" in Applications. Select an area of your screen to capture.
Mac:
1: (Command+Shift+3) This captures the entire screen.
2: (Command+Shift+4) This lets you capture a select area of your screen.
The screenshot will be saved to your desktop.
Chromebook:
1: (Ctrl + window switch key) This captures the entire screen.
2: (Ctrl + Shift + window switch key) This lets you capture a select area of your screen.
3: Click on Clock, then choose "Capture" and select your option.
The screenshot will be saved in your "Download" folder.
Get creating and use those Word Clouds to their potential!
If you want these directions in a Document click HERE!