

Create Word Art:
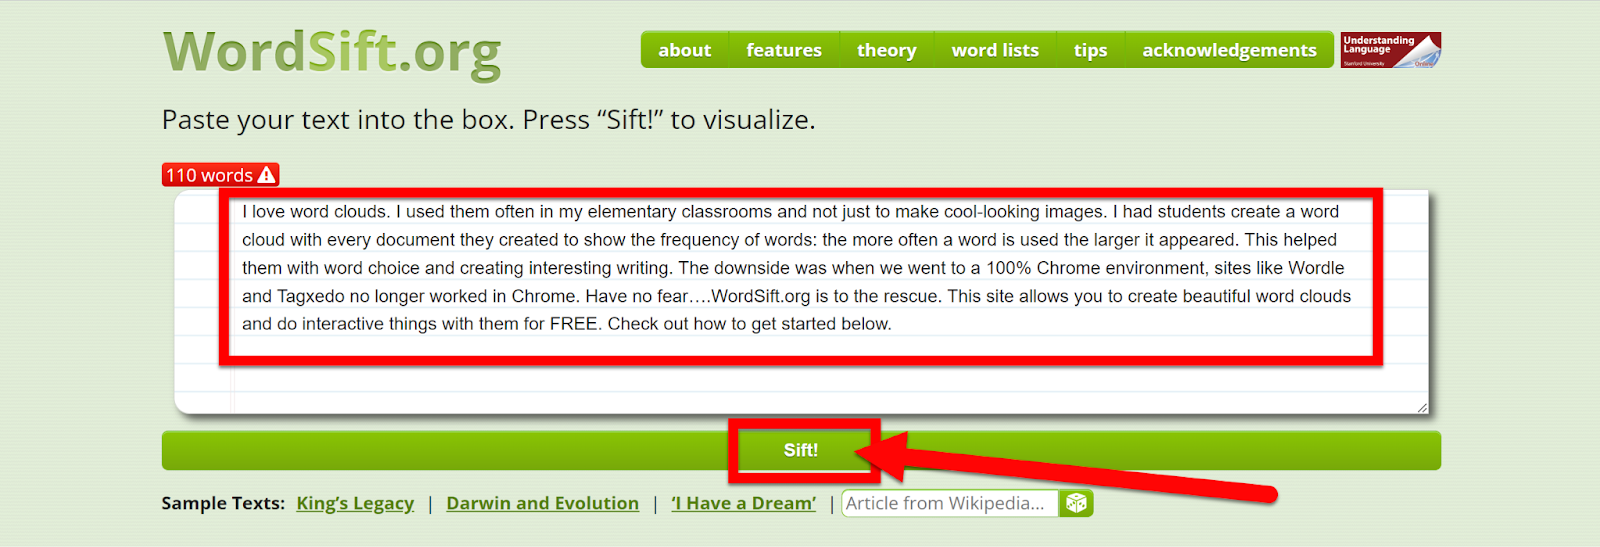
Go to wordsift.org.
Enter the text that you are using.
Click “Sift”.
You can explore the different output styles:

Cloud Styles
Style/direction/color of cloud
Sort Words
Sort words by these categories
Mark Words
Change color of specific words based on category
When you are ready to save you will need to screenshot this cloud (bummer, but there is no way to download it).
PC:
Use the app called "Snip & Sketch" in Applications. Select an area of your screen to capture.
Check out the video below for more help.
You will be asked where to save the file.
Mac:
1: (Command+Shift+3) This captures the entire screen.
2: (Command+Shift+4) This lets you capture a select area of your screen.
The screenshot will be saved to your desktop.
Chromebook:
1: (Ctrl + window switch key) This captures the entire screen.
2: (Ctrl + Shift + window switch key) This lets you capture a select area of your screen.
3: Click on Clock, then choose "Capture" and select your option.
The screenshot will be saved in your "Download" folder.
Get creating and use those Word Clouds to their potential!