We are undergoing a change in our district right now. We have been a GAFE district for a number of years, but we are changing our domain. This sounds simple enough, the email address just changes at the end...right? Well...there is a lot more that goes into it. What about all those files in your Drive? You do realize that you can not just share and transfer ownership outside your GAFE domain. Sharing, yes. Transfer ownership...not so much. Also, all those calendars that you can not make others owners of. The list goes on. We have been migrating our @gl.k12.mi.us account to @gulllakecs.org for 5 days now. Things are slowly showing up, sharing, and reorganizing. Slow and steady wins the race. I will be sharing some Tips and Tricks on this migration for the next couple weeks. This tip will be to show how to add an extension to track if sent email is received and read in Gmail.
Mail Tracker for Gmail
Our district just got left the GroupWise email system. With all its flaws, there was something I did like. I liked that I could see if someone within the district had read my email. It was a great tool. Moving to Gmail I knew I would lose that. “But Wait!” (said in an infomercial voice). There is a way to track read emails. And even better...it tracks ALL read emails as long as they go to another gmail account. This means emails in district (both staff and students), other school districts (as most are on Gmail), many businesses, and of course all those parents out there using Gmail. Can this be true! Why yes it is! Act Now!
Here is all you need to do:
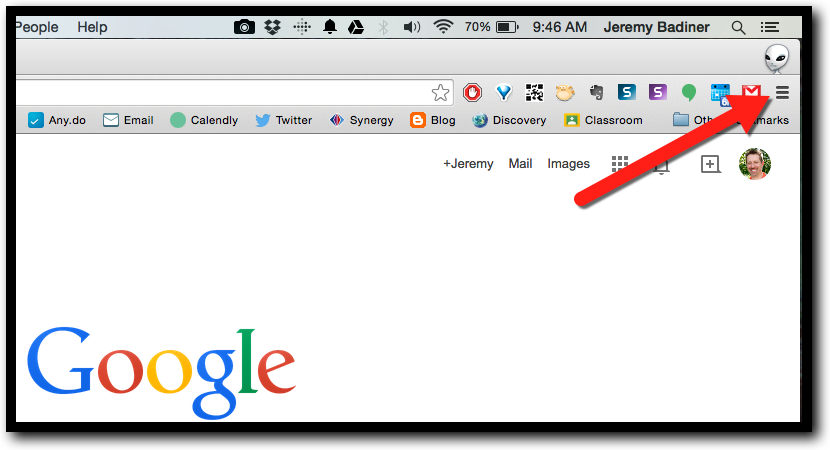
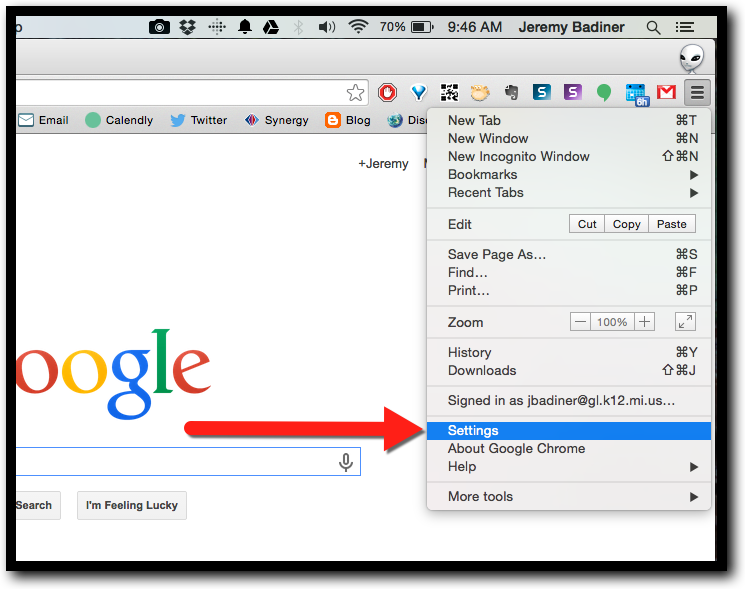
Open Google Chrome.
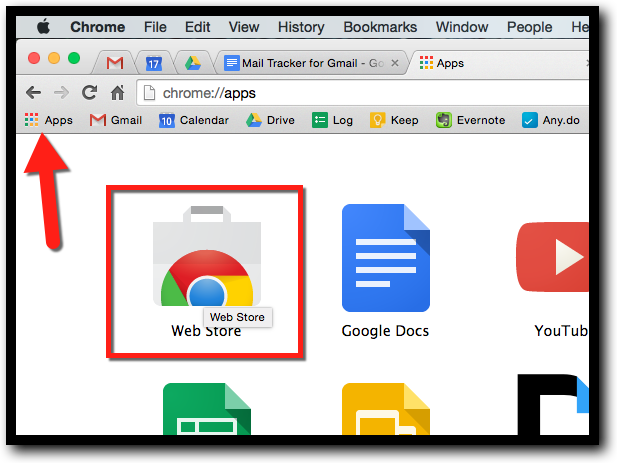
On the far left is the Apps icon. Click on it.
Click on “Web Store”.
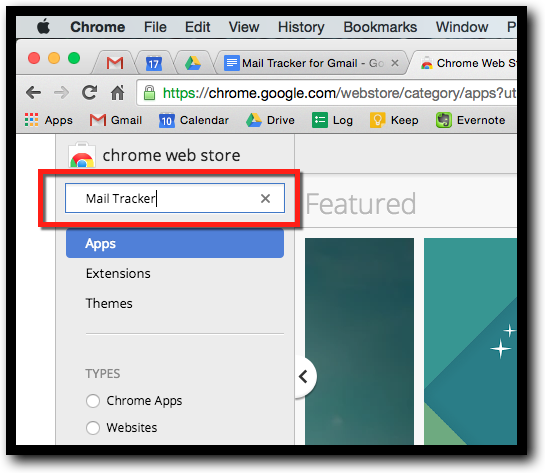
Search for “Mail Tracker”
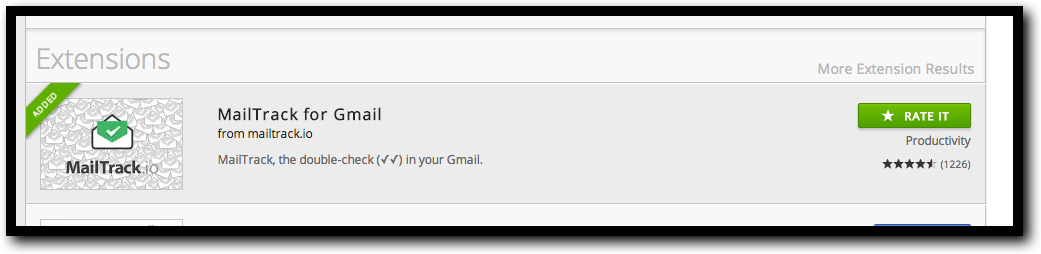
Click on this one.
Click “Free” in the top right corner.
Follow the directions.
If you are lazy (oh...I mean "efficient with your time/effort) and don't like following all those steps (but see how I tricked you into learning how to use the Chrome Store?) just click this link and it will take you there:
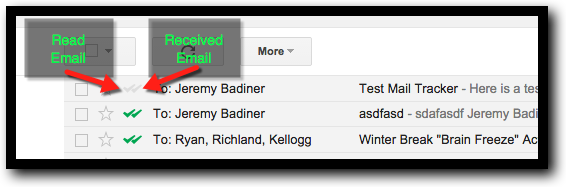
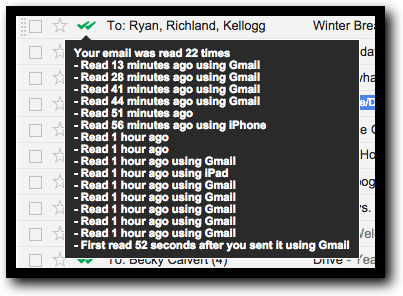
You should be all set now. You will have 2 gray arrows by your sent or received mail.
If you hover over these arrows you will get up to the second status of the email.
If you want these directions in a Document, Click Here!