Showing posts with label Animation. Show all posts

Tuesday, February 8, 2022

Animated Character Drawing


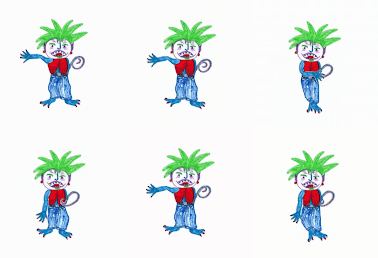
Have you ever had students create awesome drawings and wish you could bring them to life with movement? You can. With the free site
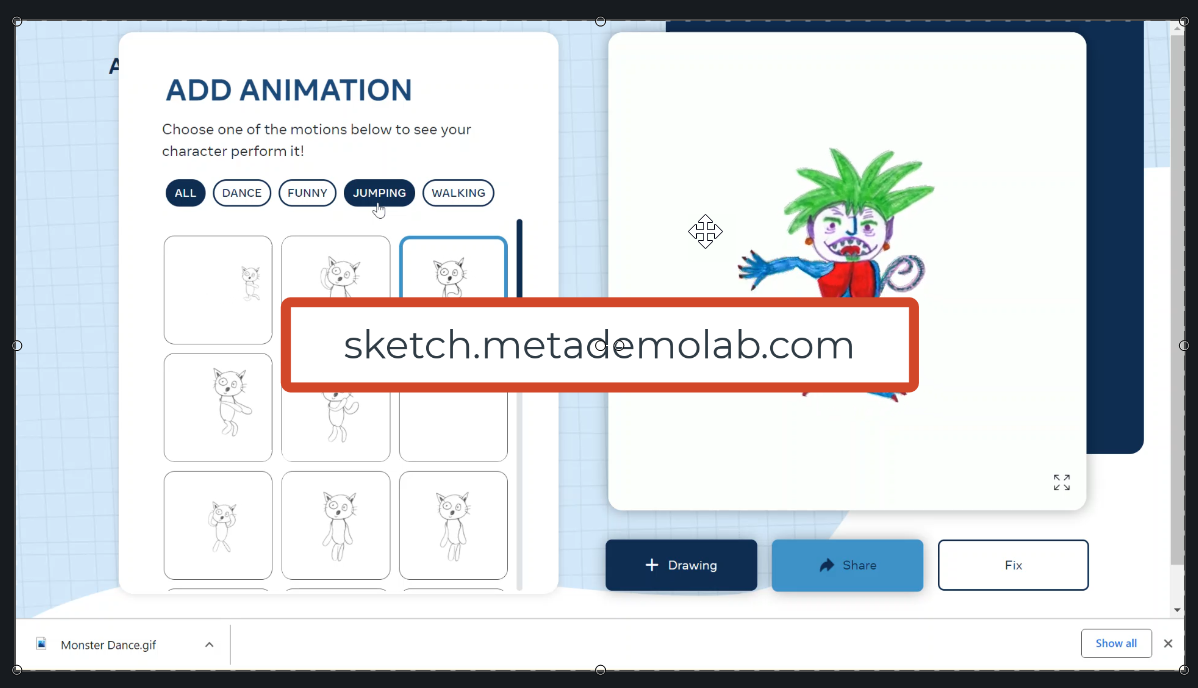
sketch.metademolab.com you can take those hand-drawn masterpieces and make them animated GIFs to be added to any project. All you need is a drawing, the sketch.metademolab.com site, and Screencastify! Check out the steps and video below to get started!


Create an Animated Drawing:

  1. Create a drawing with no background. It is important to just have the character drawn without anything else on the white paper. Take a picture of this drawing with the best resolution you can and transfer this image to your computer. You can also scan it using any tool available to get a digital copy to your device.


  1. Head to sketch.metademolab.com.


  1. Upload your drawing image. After it is uploaded click “Next”.


  1. You will need to make sure the border around your character displays your whole character. Change the border if needed.


  1. You will be asked to make sure your outline is complete around your drawing. You can edit the outline or have the site try again if there is an issue.
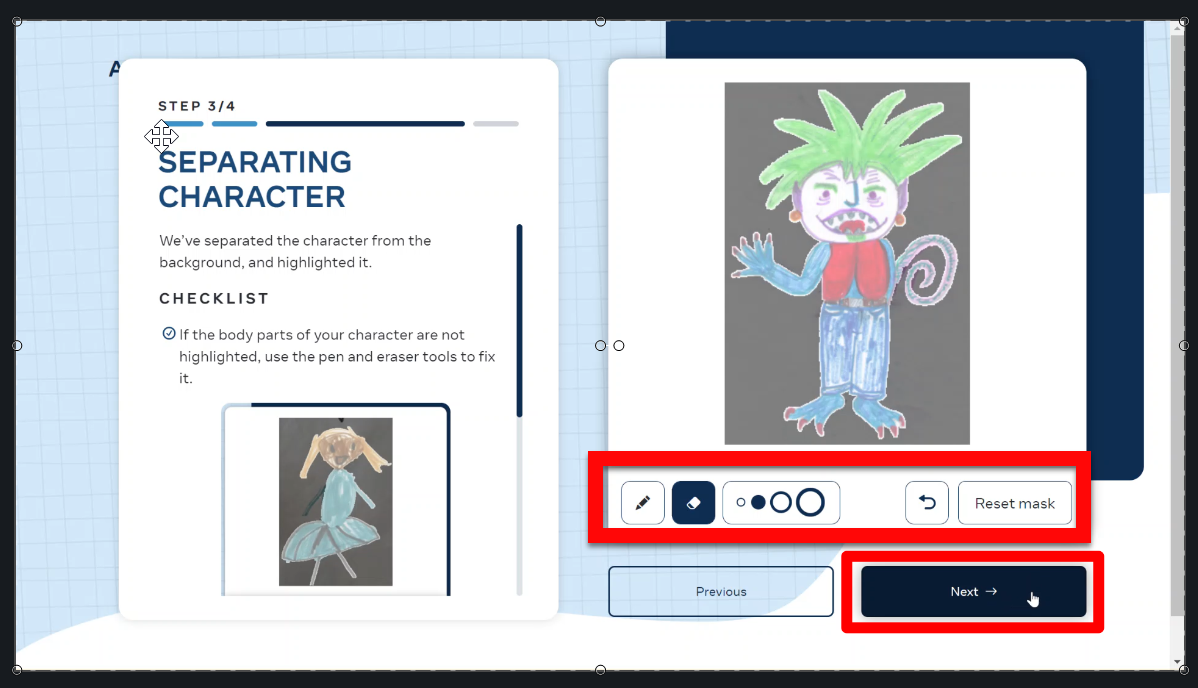

  1. The next step is important. You will need to align the dots for the location of the eyes, ears, shoulders, elbows, wrists, hips, knees, and ankles so that the site knows where to put the motion. Just move the dots to the correct location if they are not already there. Then click “Next”.


  1. Your animation will be created! Yay! Choose what action you want your character to do. There are many choices on the left.
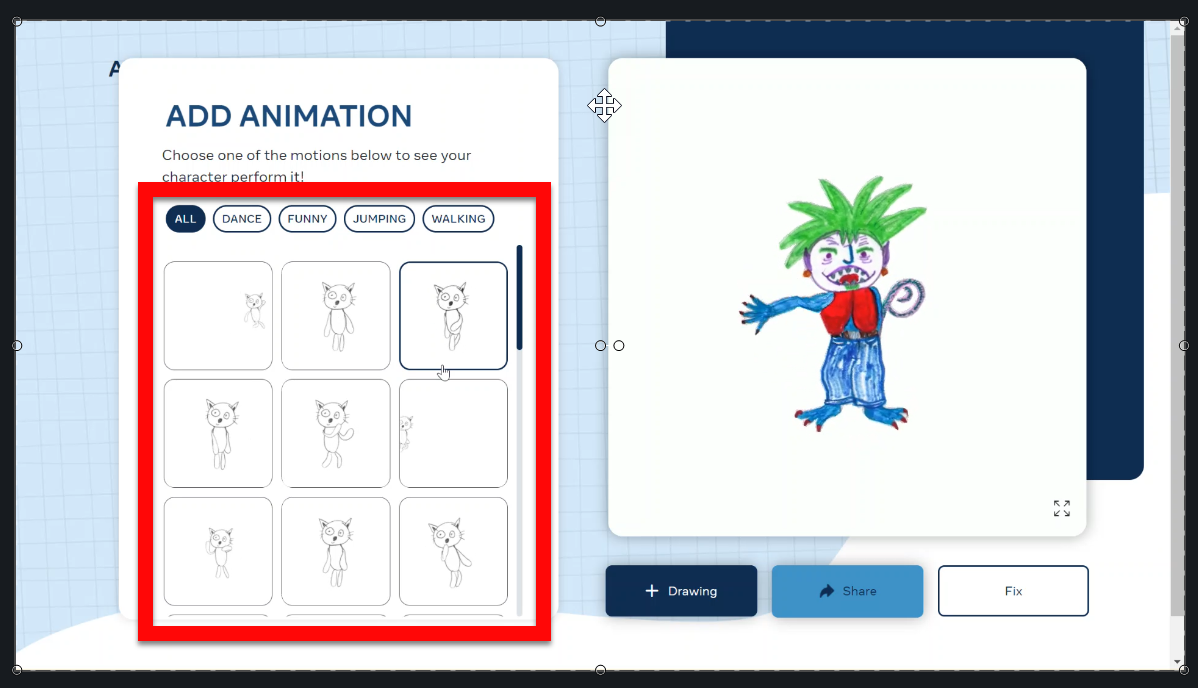

This is the end of the use of the site. You can share this if you want, but it will only be a web link. That does not work well for a project. The next section will show you how to create a GIF from this motion video for use in any project type you want!


Make the Animated Drawing a GIF:

  1. Make sure to have the Screencastify extension installed and set up. 


  1. Click the extension and turn off your camera and mic (you do not need these for this recording).


  1. Click “Record” and start recording your screen. Make sure your character is visible and your mouse icon is not in the space the character is moving (slide it to the left). 


  1. Record for about 15 seconds then click the “Stop” button to stop recording.


  1. Screencastify will open a new tab and you will see your recording. At the top click on “Open in Editor”. 
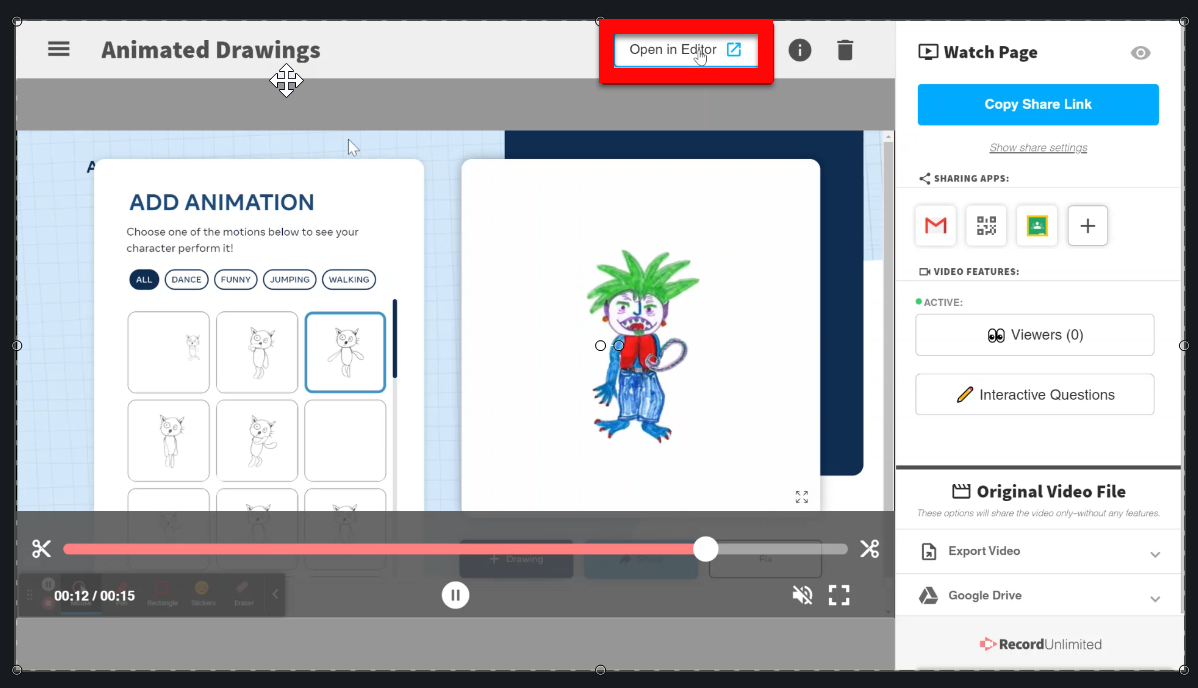

  1. When the new tab opens, click on your clip in the bottom left to select it.


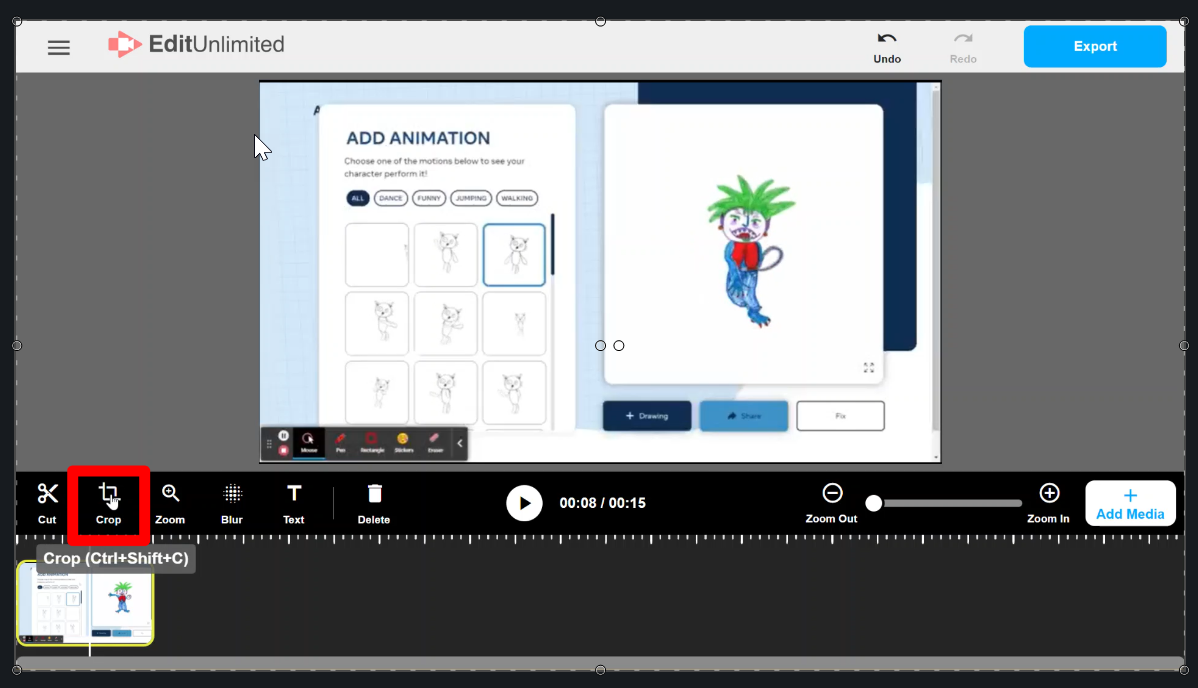
  1. Click on “Crop”. 


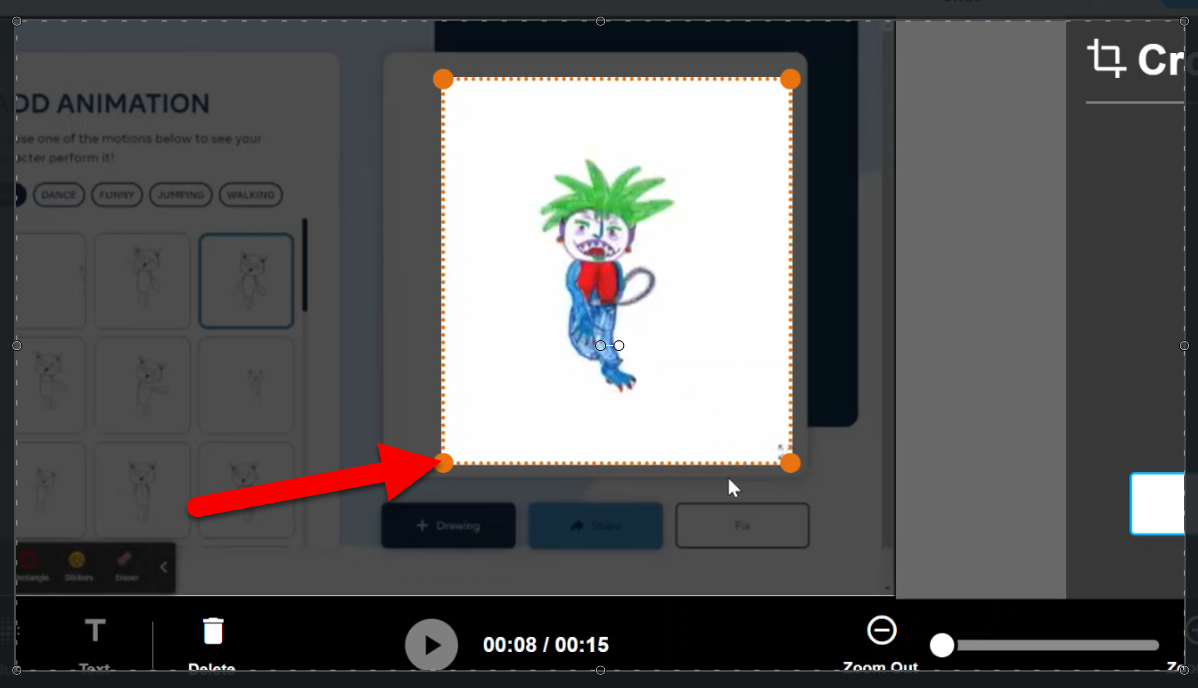
  1. Move the corners of the crop tool to only include your character and the space they move into. Make sure it also includes any place your character moves to (if it moves across the screen make sure to select all the areas it covers)


  1. Click the play icon to make sure it is in your newly cropped area and then click “Done”. 
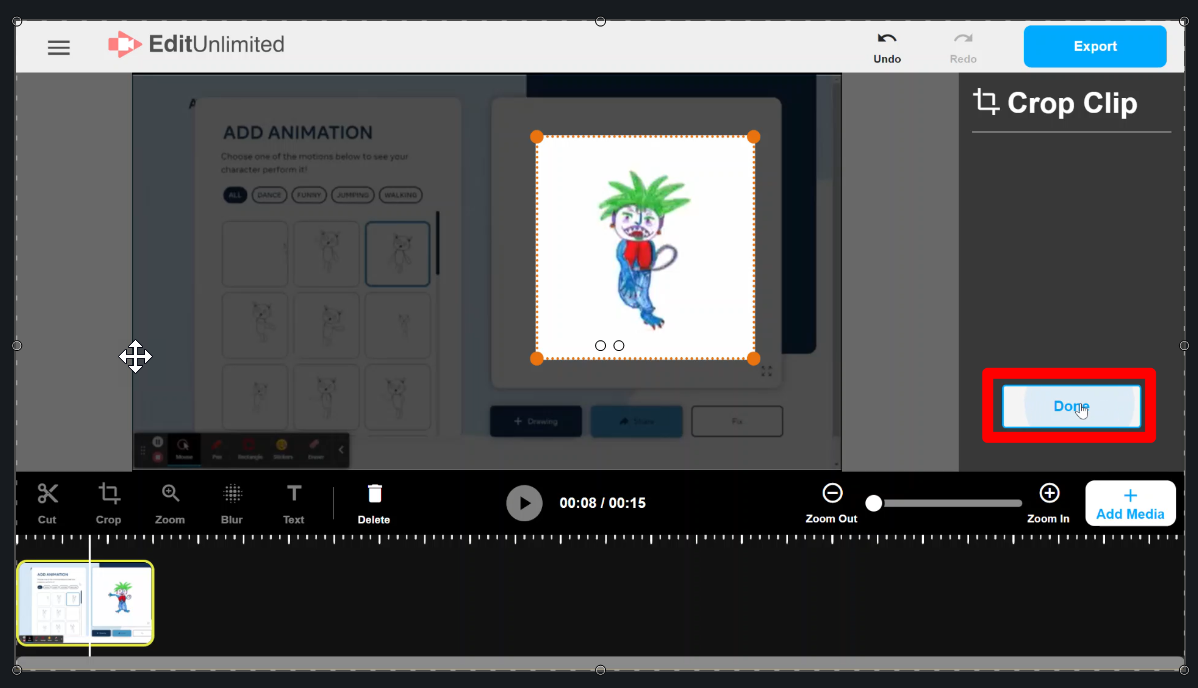

  1. Click on “Export” in the top right when you are ready.


  1. From the dropdown choose “Export to Screencastify”.
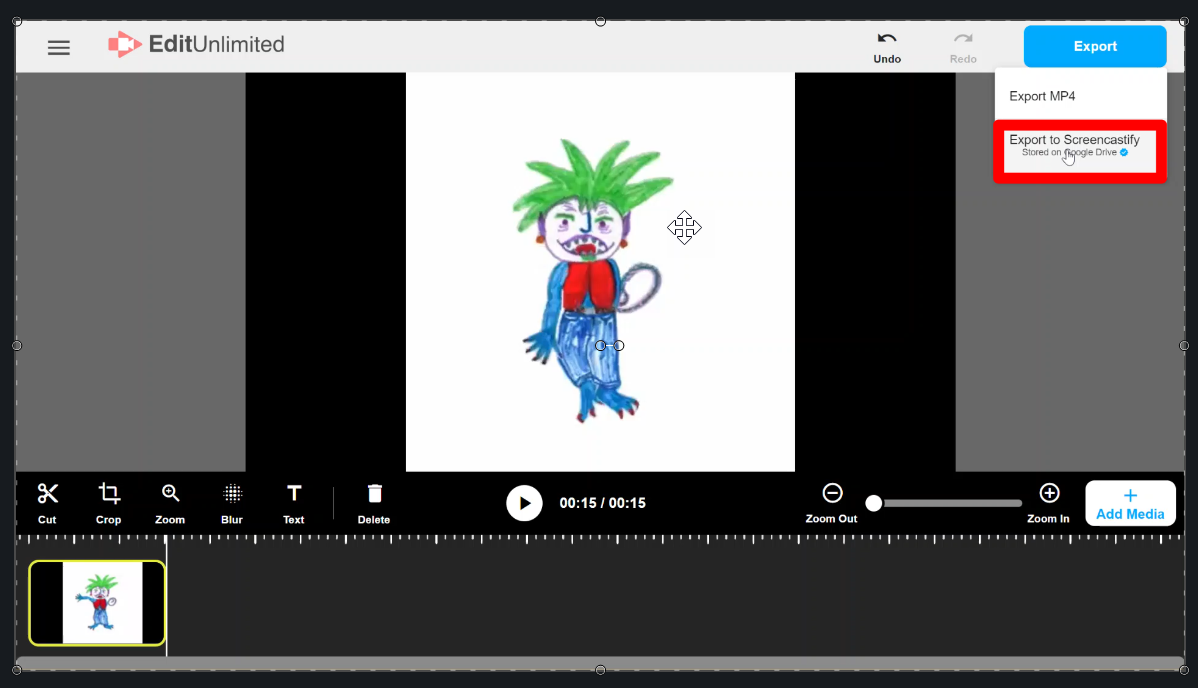

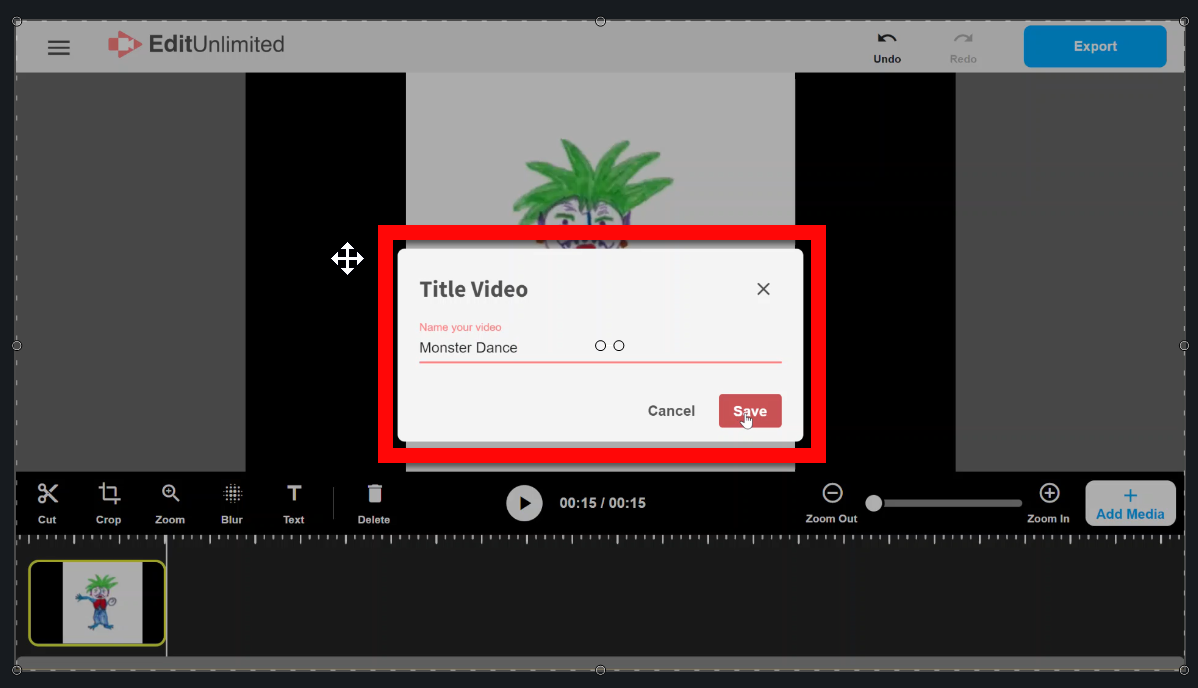
  1. Name your image and save it.


  1. On the next screen click on “Export Video”.
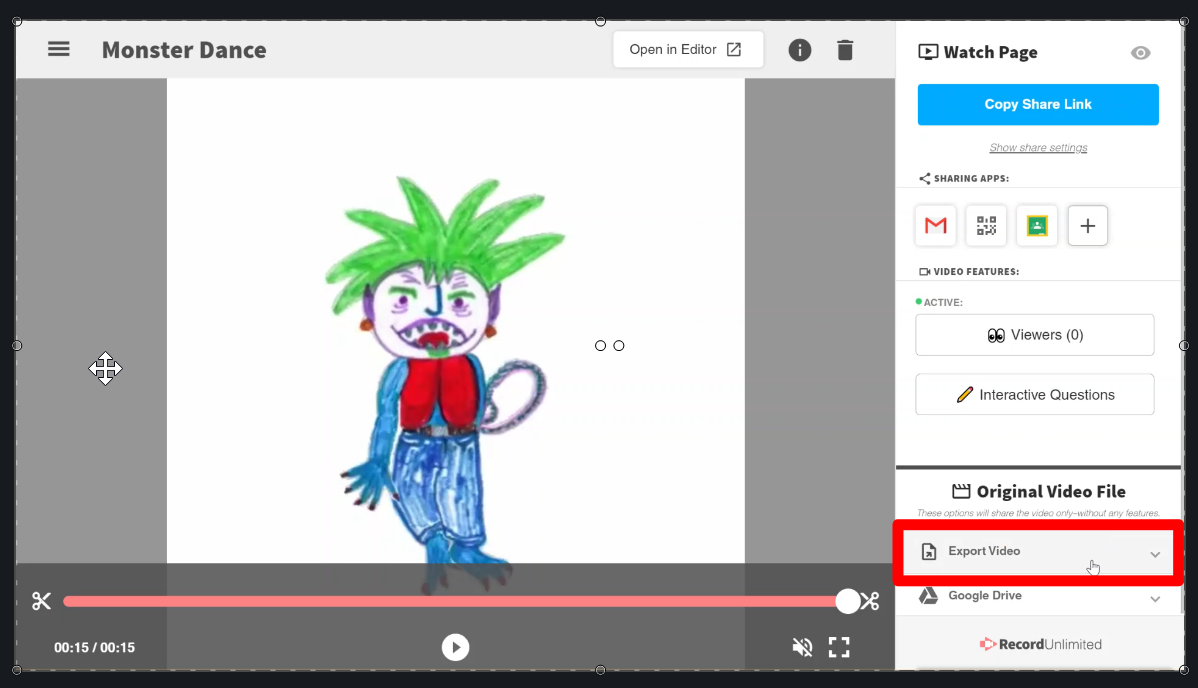

  1. Select “Export GIF”.


  1. You will see the resolution. You can leave it at what it shows or adjust it. The bigger the number, the better quality, but also the larger the size. Too big will cause issues creating or using in projects. Generally, I just leave it where it is set. Click “Export”.


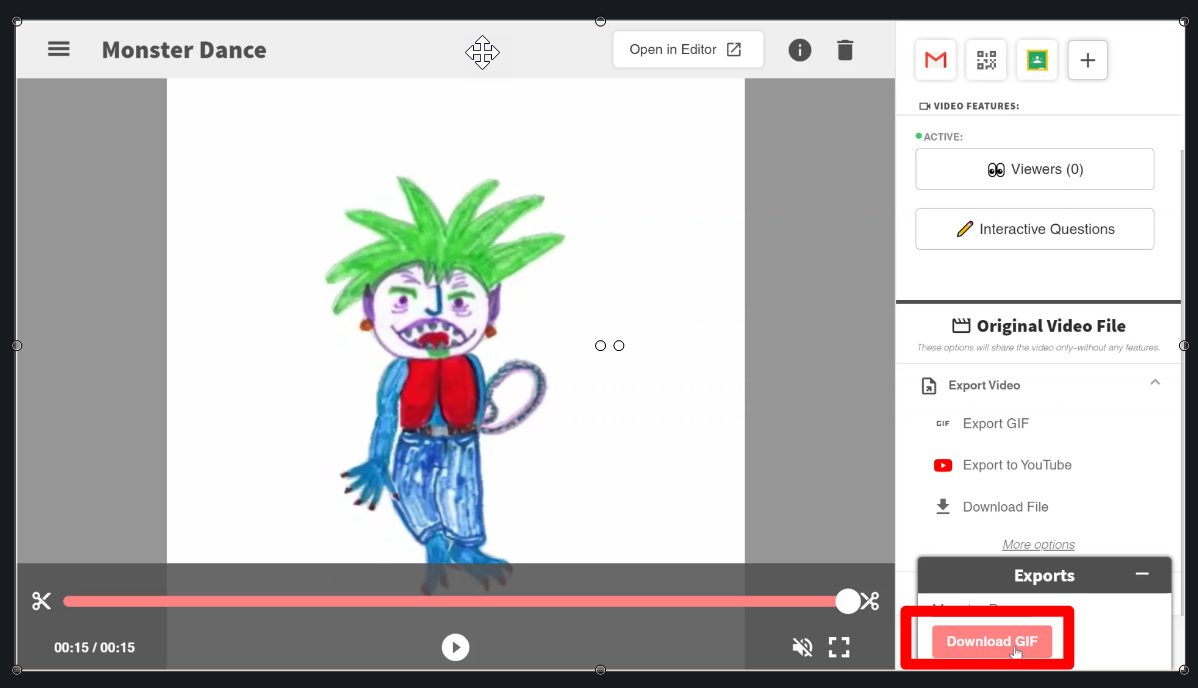
  1. Your GIF will be created. When it is done click “Download GIF


  1. You can now use this GIF in any project, even Documents where videos can not be added!


Here is a video showing all these steps in real-time! 

youtu.be/xwZbq7I0WFU 


If you want these directions in a Document click HERE!


Tuesday, January 30, 2018

Create Animated GIFs

They are everywhere. Those little animated pictures. They are in documents, on social media, and in our text messages. They say a picture is worth a 1,000 words, I have to wonder how many is an animated GIF worth? It has to be millions! The best part about a GIF is that they are easy to make and use. Give these 3 easy to use tools a try and start saying more without speaking a word!


Make a GIF with your Web Camera:

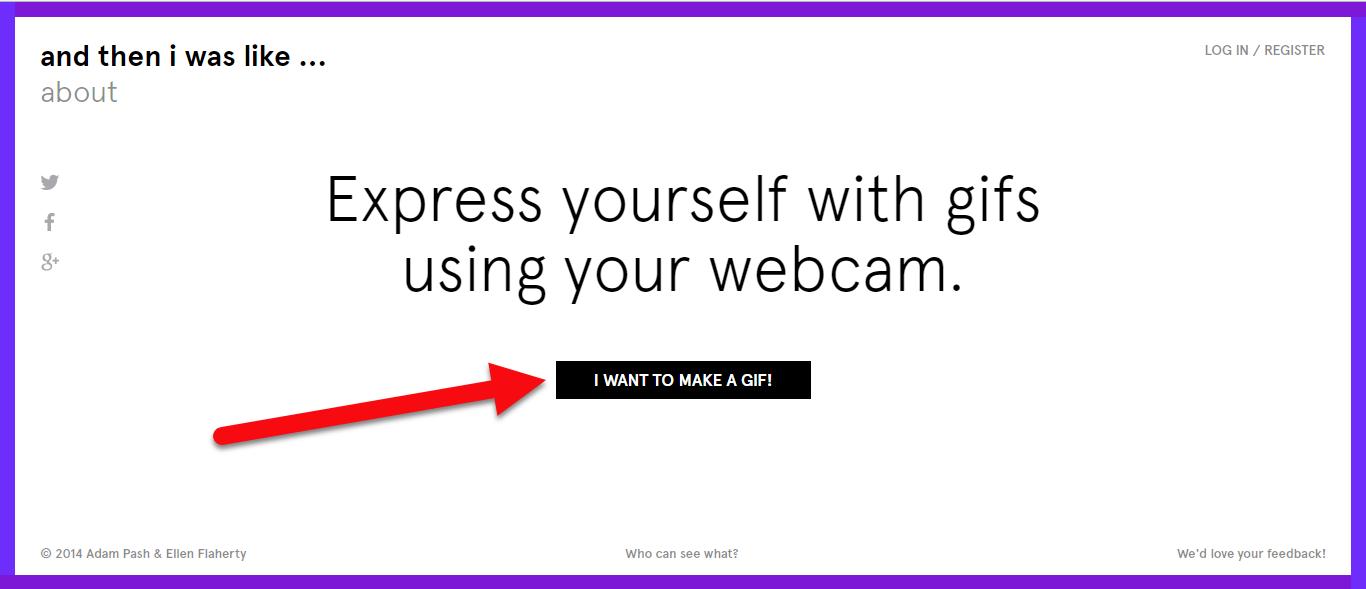
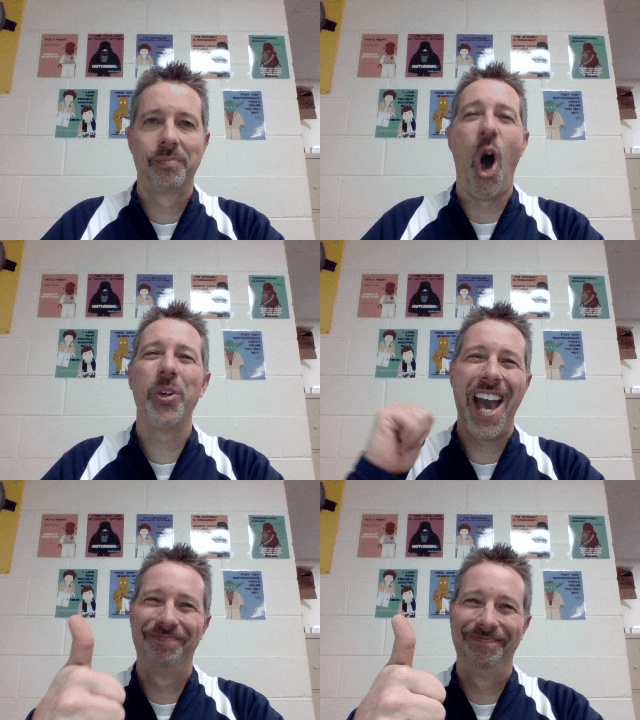
  1. Click “I want to make a GIF” and allow camera access.


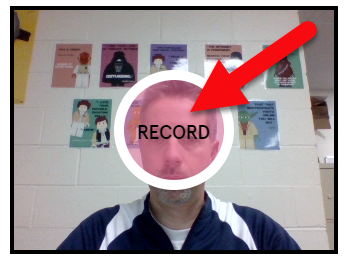
  1. In the center of the camera view click “Record”.

  1. The countdown will start and then it will record. You only have a few seconds so make your message quick.
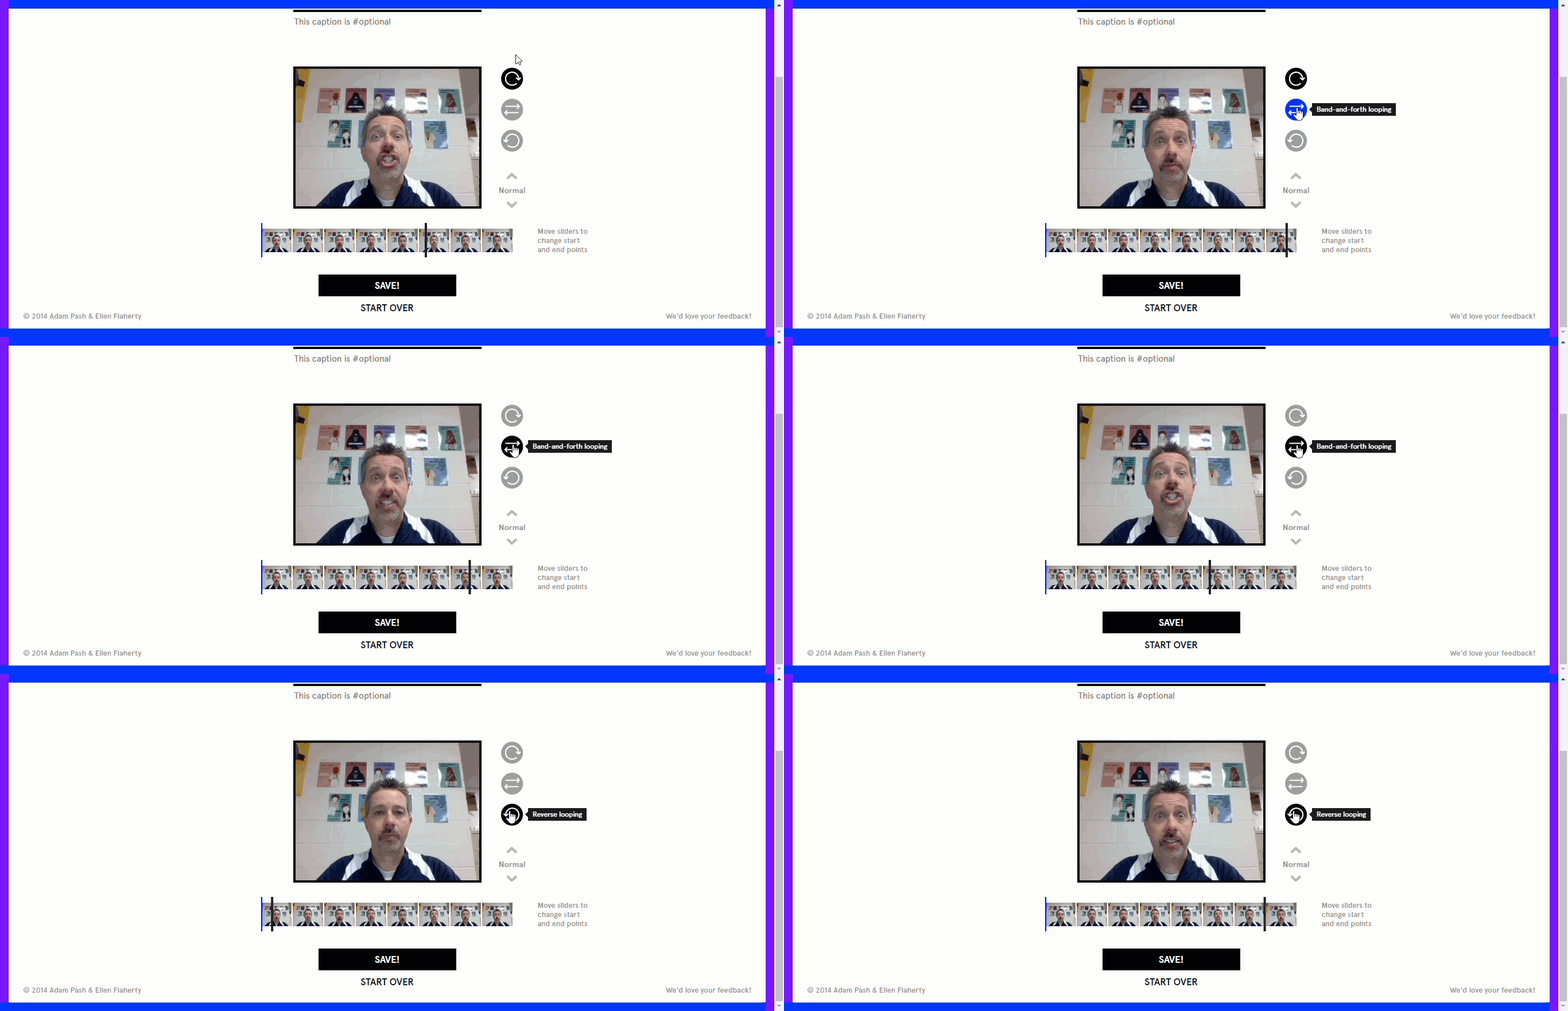
  2. You can choose the begin and end point of your GIF.
  3. You can also choose to loop the GIF (top), have it play forward, then backward (middle), or have it play in reverse (bottom).

  1. Either click “Save” or “Start Over”.
  2. On the next screen, you can share to social media tools or right click on the image and save it to your device.


Make a GIF with your Google Photos Images:
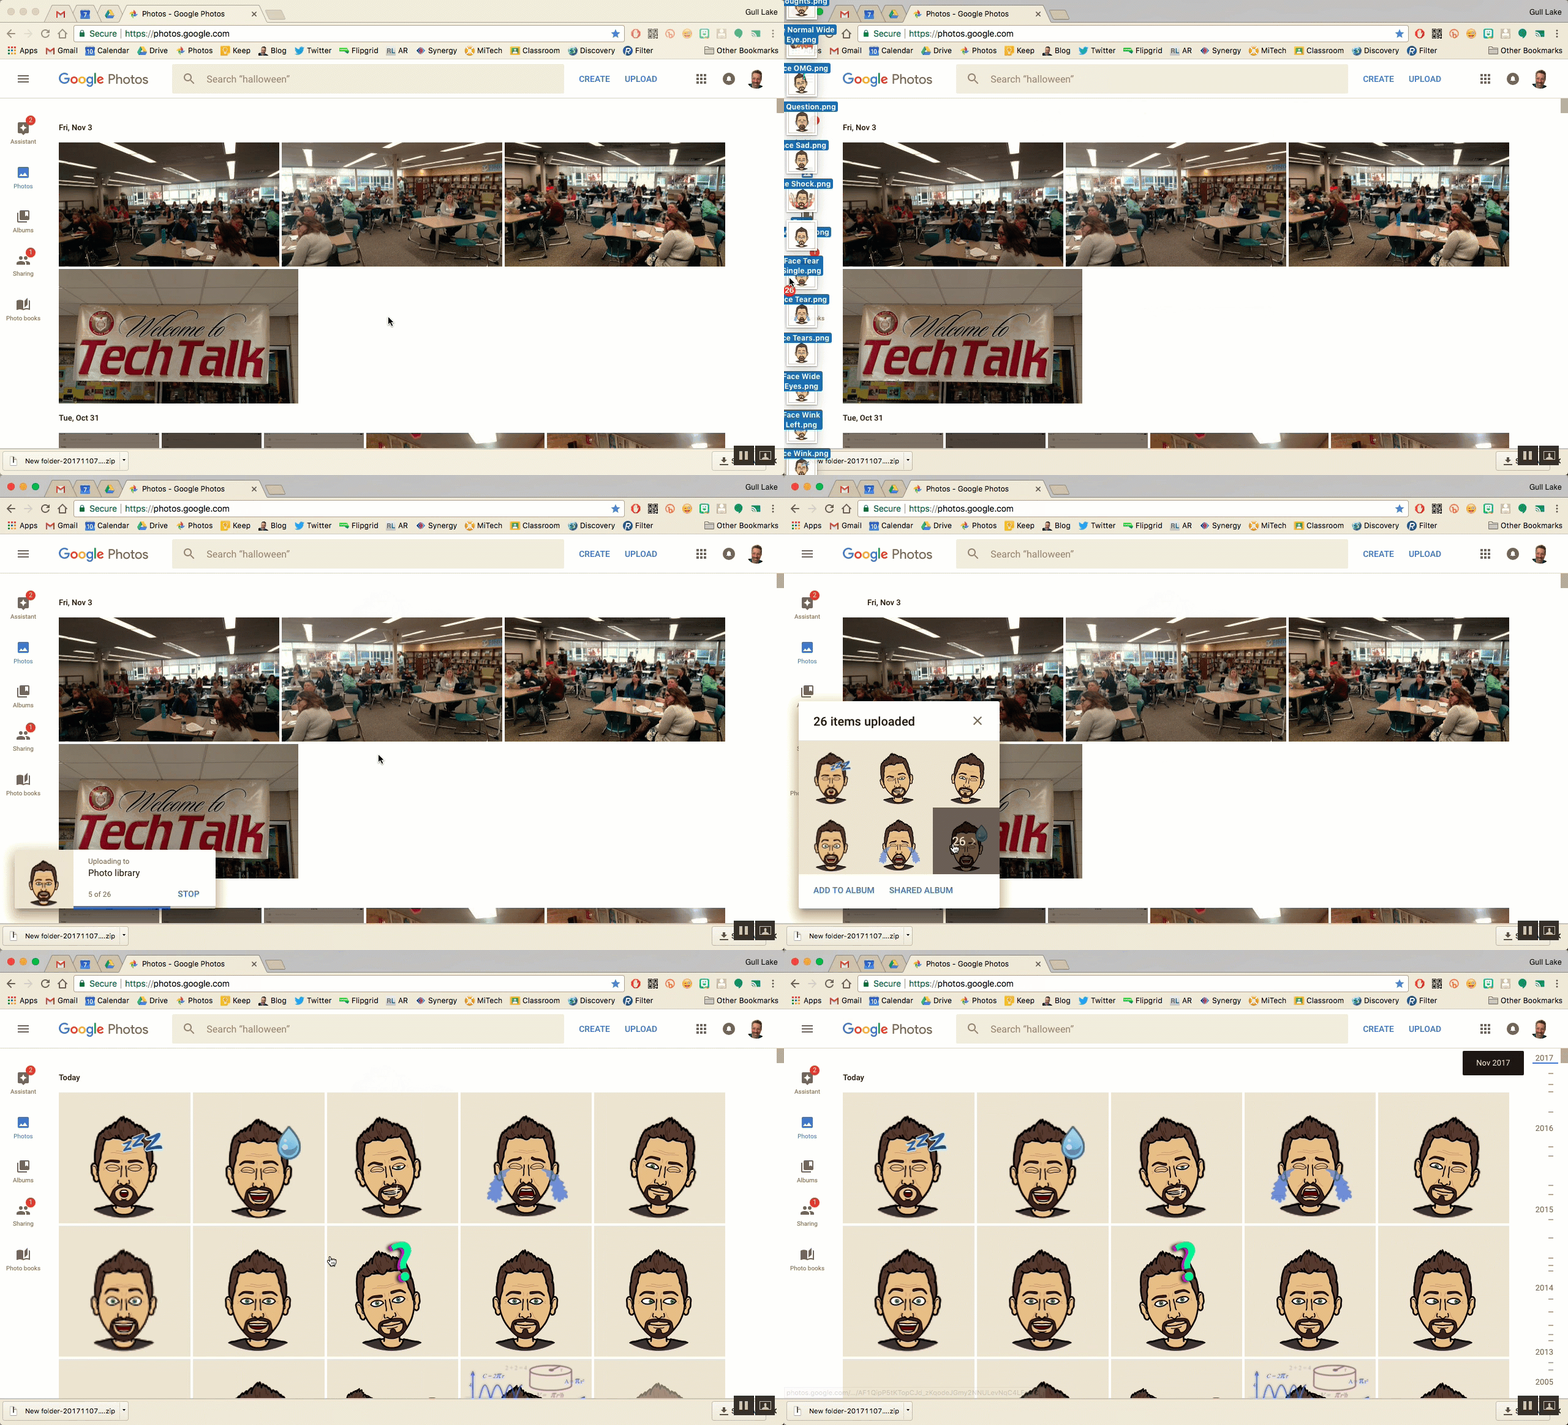
  1. Use the Google Photos app on your mobile device to auto-upload device pictures: How To Document
  2. Manually (or auto upload) upload images to Google Photos.
    1. Drag your images from your computer directly to the screen.

  1. Go to photos.google.com or use the Google Photos app and select the check mark in the top left corner of any image you want to be included in your GIF.

  1. You can choose between 2-50 images for any one GIF.
  2. Once your images are selected, click the “+” icon in the top right.

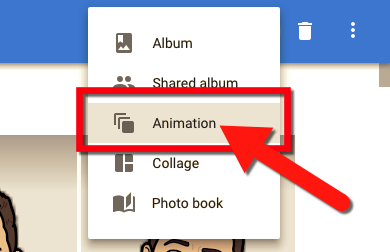
  1. Select Animation.

  1. Your animated GIF will be created. Download or insert this image into any project or social media post to share.


Make a GIF with flipanim.com:
  1. Go to flipanim.com.
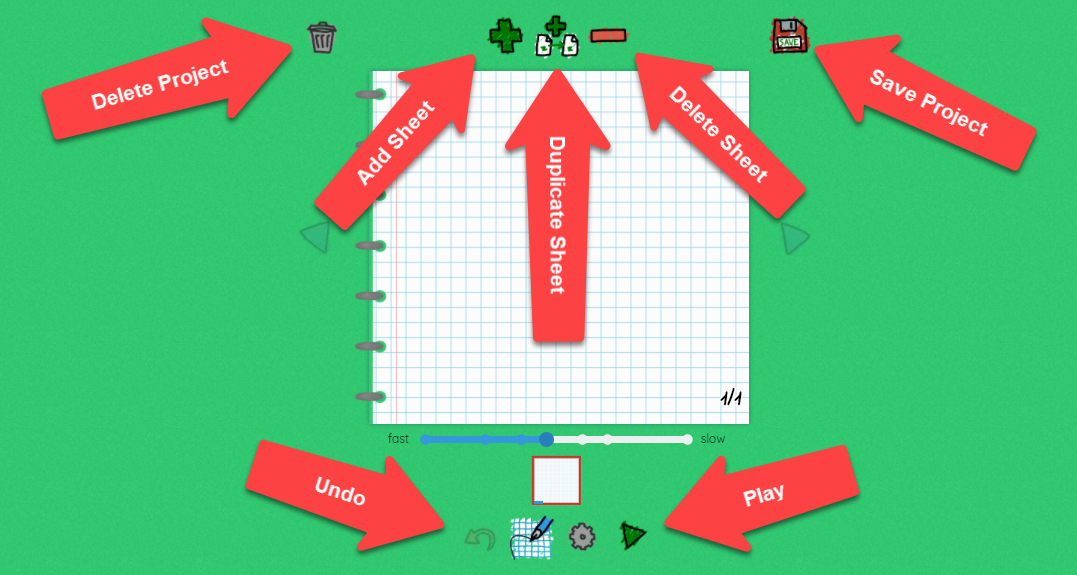
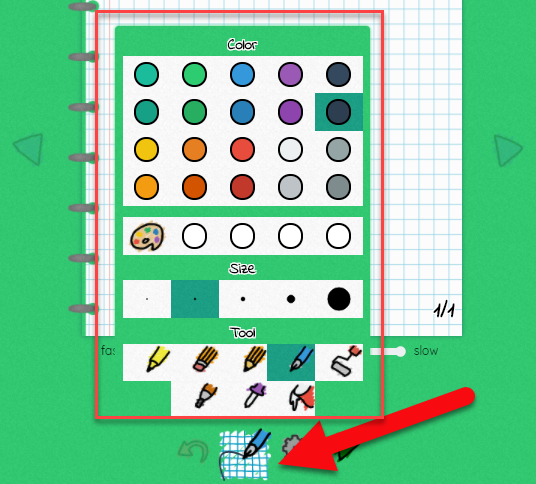
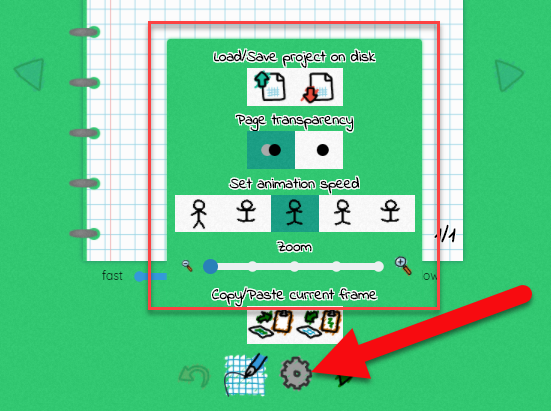
  2. Look at the tools:
 

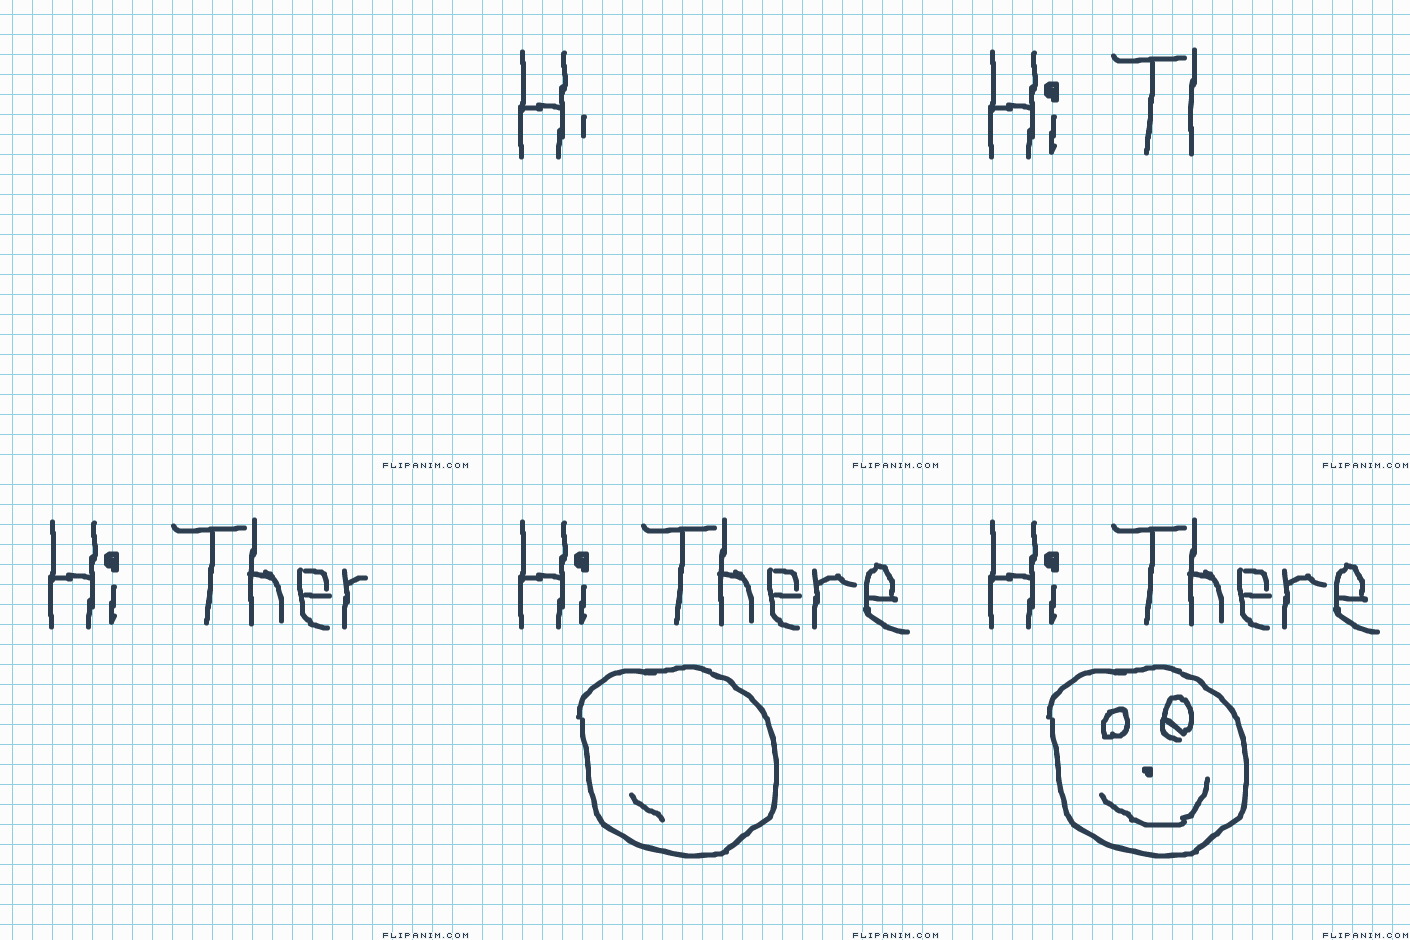
  1. The drawing process is a lot like those old school paper flip books we did as kids. You draw a little, add a page, draw a little more, add a page, etc. The advantage is that you can see the previous drawing to continue from.
    1. Start your drawing.
    2. Click the plus icon.
    3. You will see your previous drawing. Draw your moving object in the new location.
  2. Each sheet is a new “movement”. If the object is not moving (just adding things) you can use the duplicate icon to keep the previous drawing and just add to it.

  1. When you are done click “Save” and title it. The GIF will be uploaded and the next screen shows it in action. Right-click on the image and download to your device!


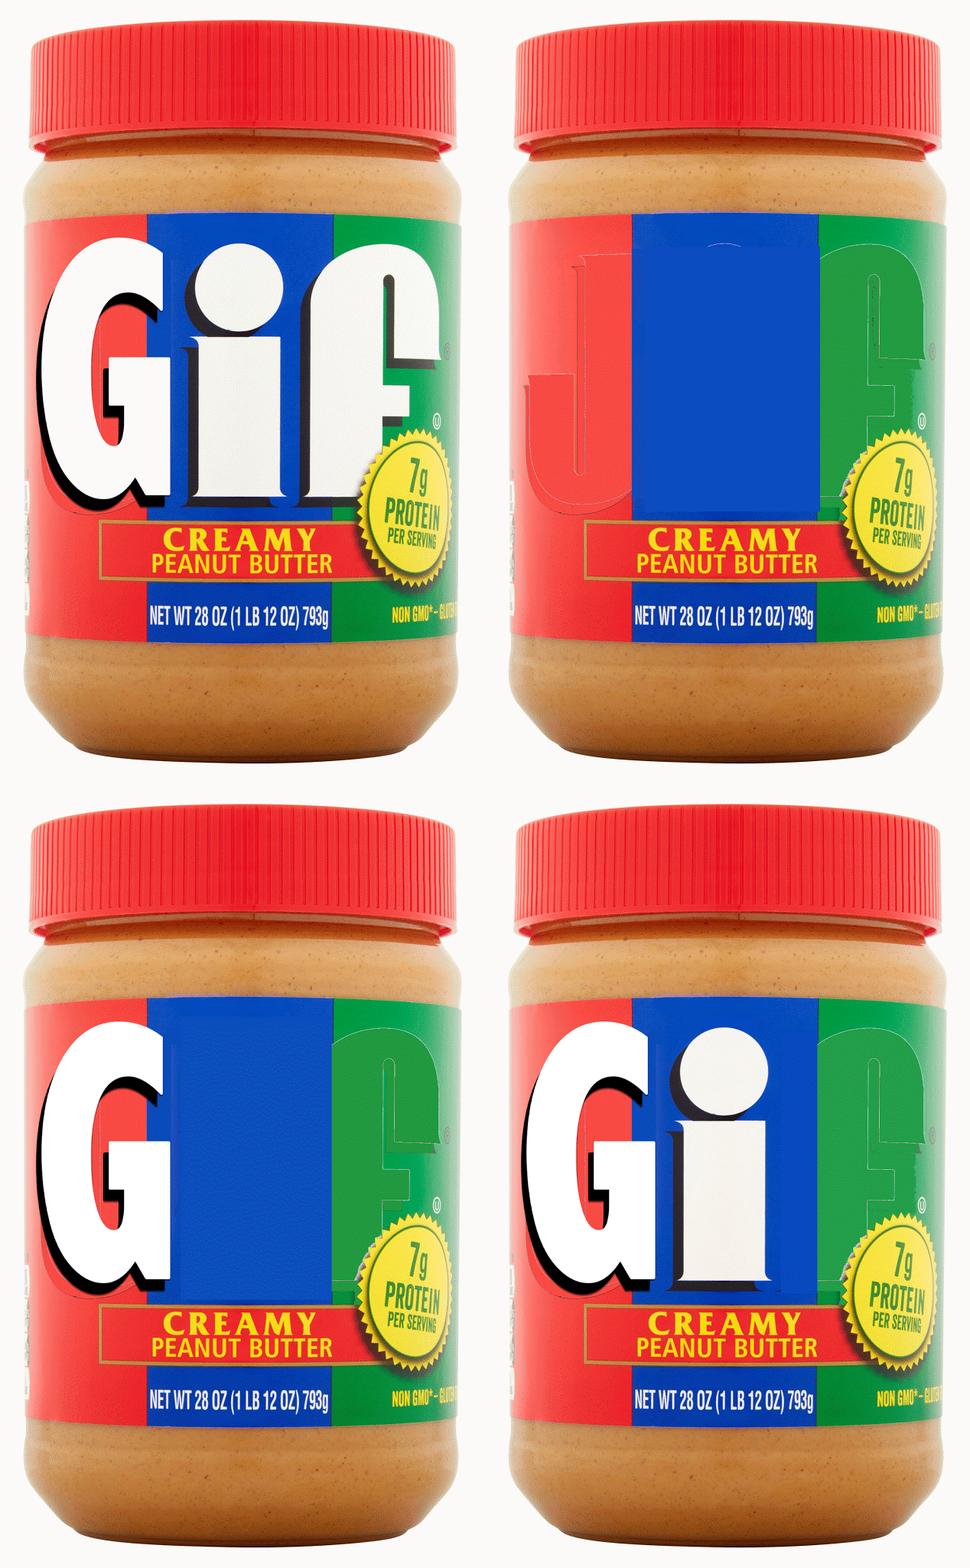
...and remember...it is a “J” sound in GIF (like the peanut butter)!


If you want these steps in a document click HERE!