Whisk is another AI tool for creating images. But it is a little different. It allows you to create images that will work together to create a final product. You will use prompts to create a Subject, Scene, and Style to be applied to your final product. Check it out!
Canva is an AWESOME tool. It can make anyone look like a graphic designer. Even better, educators get the full benefit of the paid version (sign up here). One of the new tools Canva offers is Text-to-Image. This is really cool. You can type in a description of something you want a picture of and Canva will create it! It is so fun that you just have to check it out!
*Make sure you sign up for Canva for Education to get all the FREE upgrades!
Create an Image from Text:
Head over to canva.com and sign in with your educator account.
Create a project of some kind. You really just need a blank canvas to explore this tool.
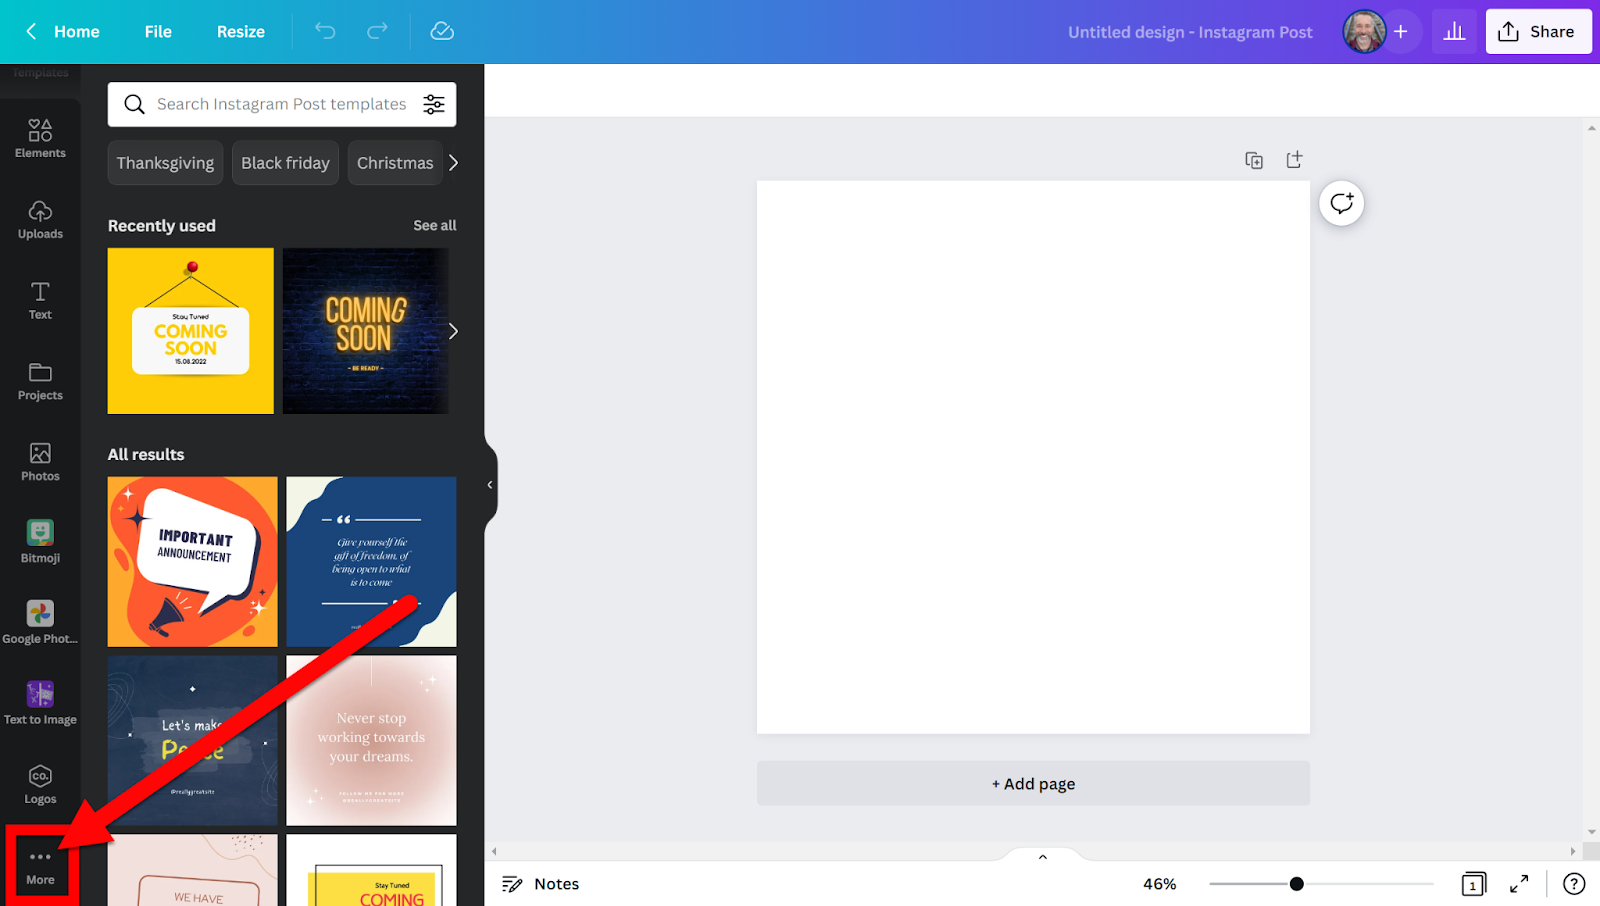
On the left side scroll to the bottom and click on “...More”.
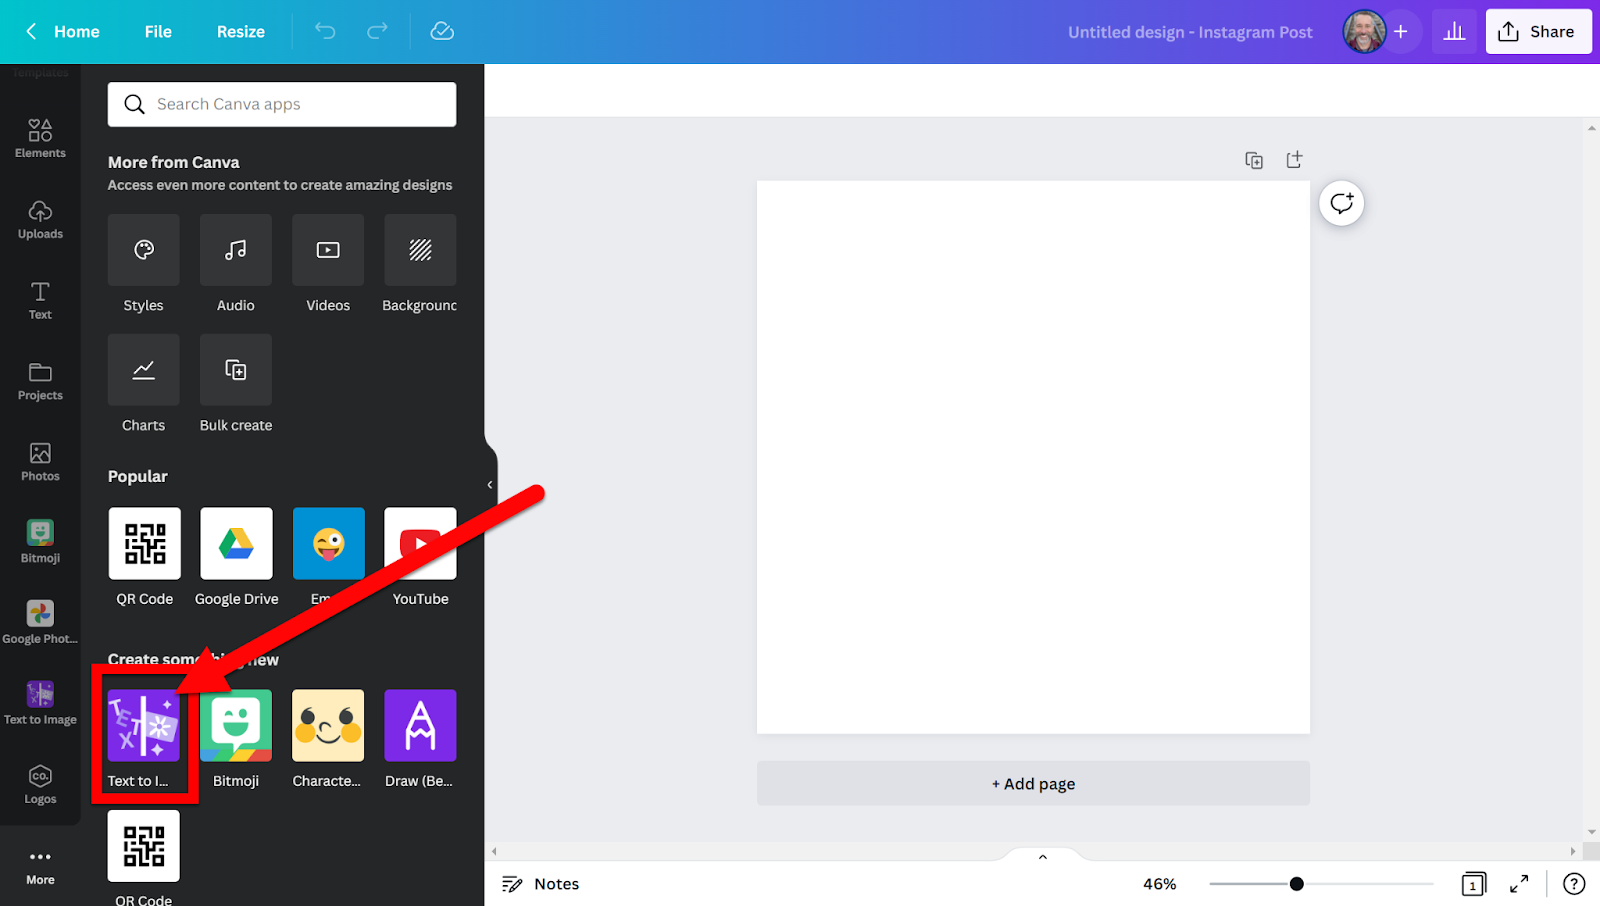
Choose “Text to Image”.
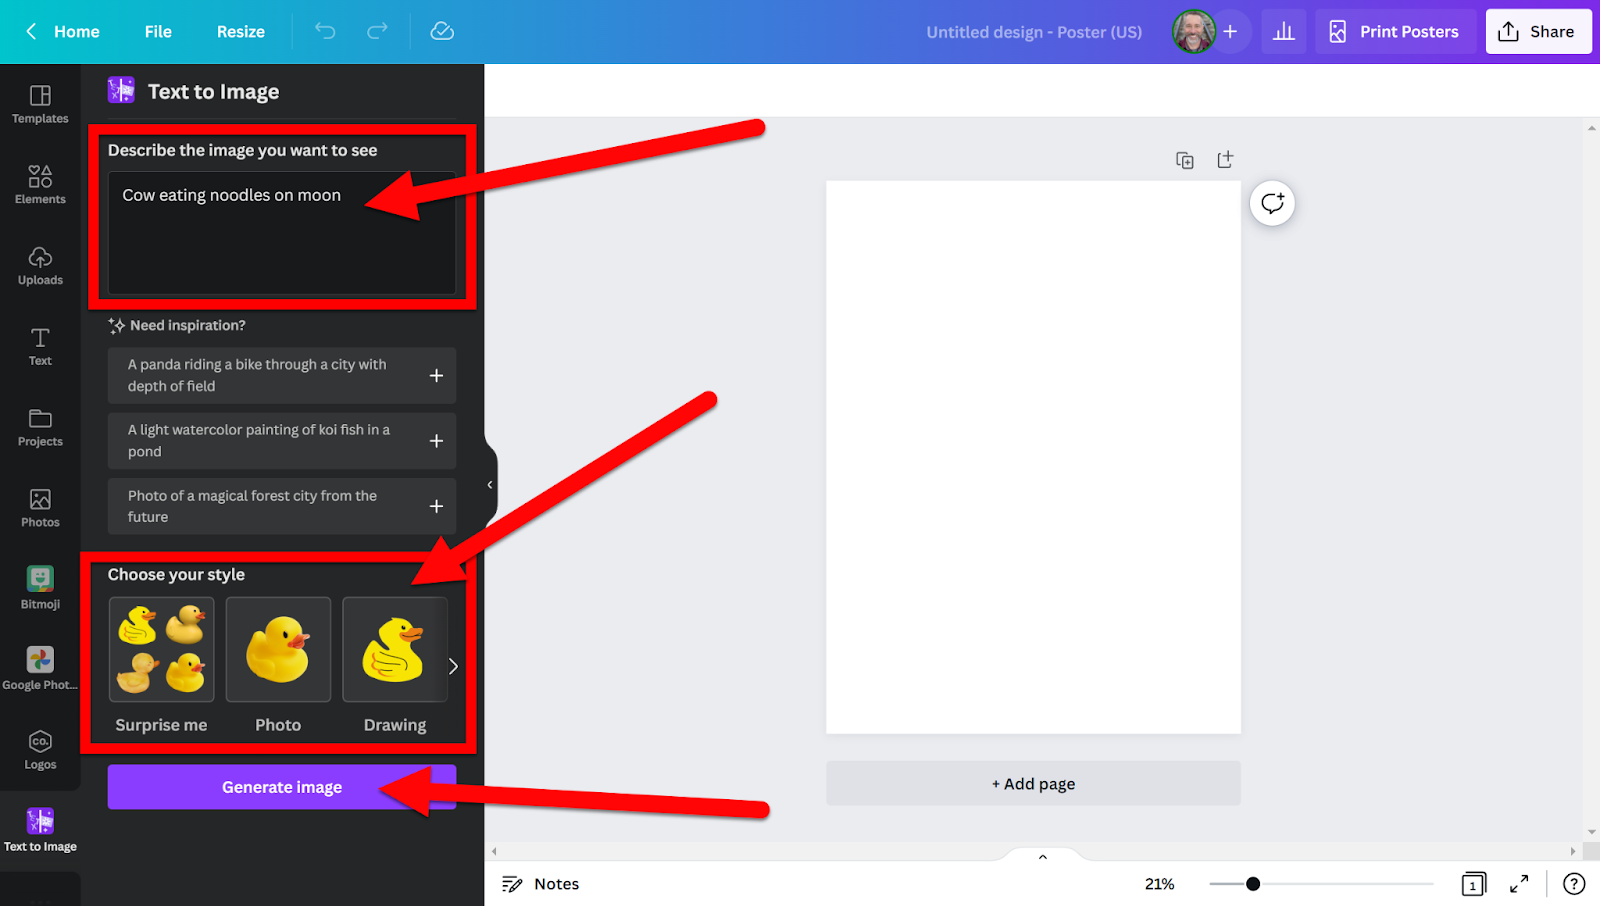
Enter a description of the image you want and choose the style of image (Photo, Drawing, 3D, Painting, Pattern, Concept Art, or even “Surprise Me”). Then click “Generate Image”.
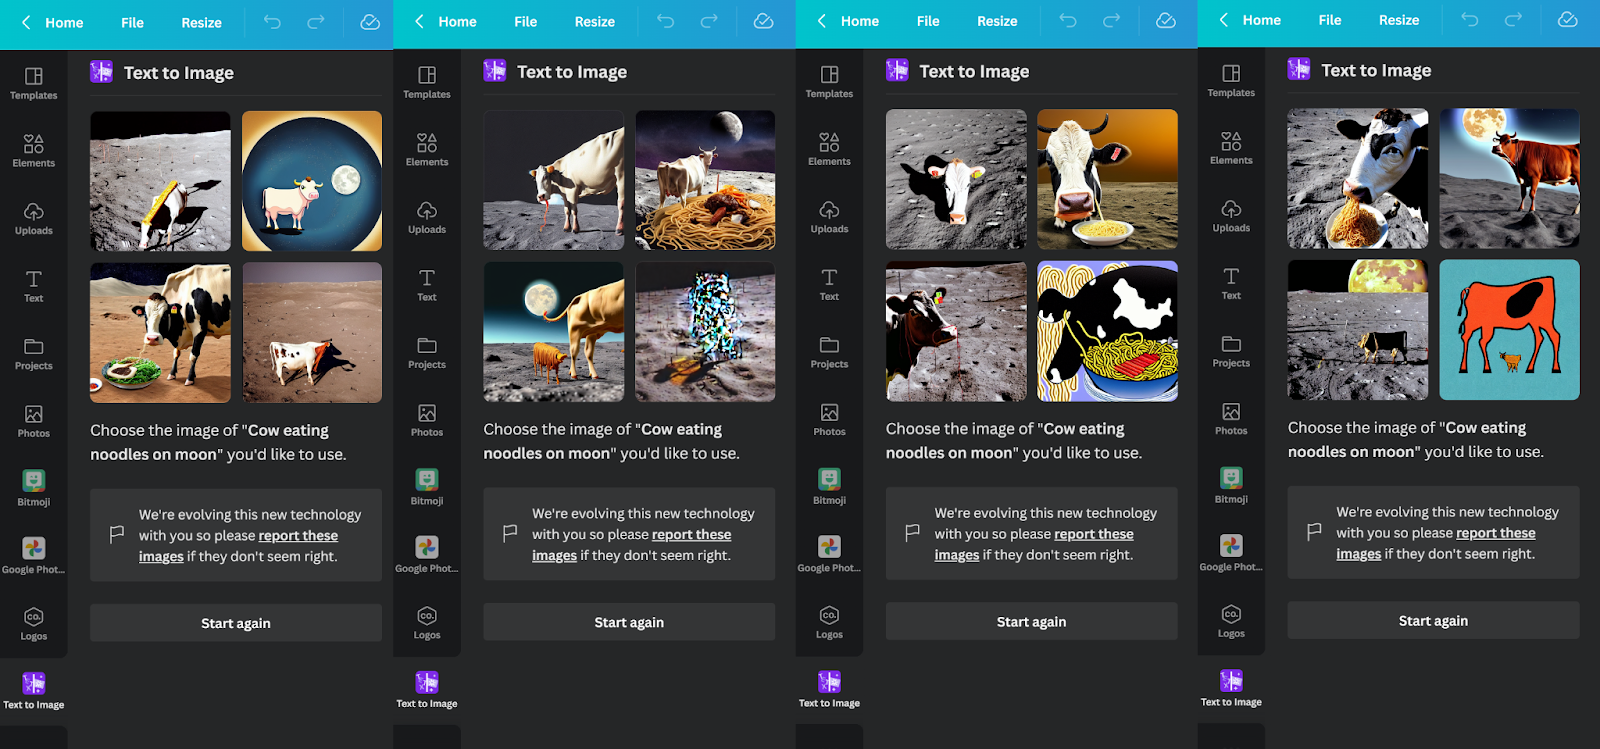
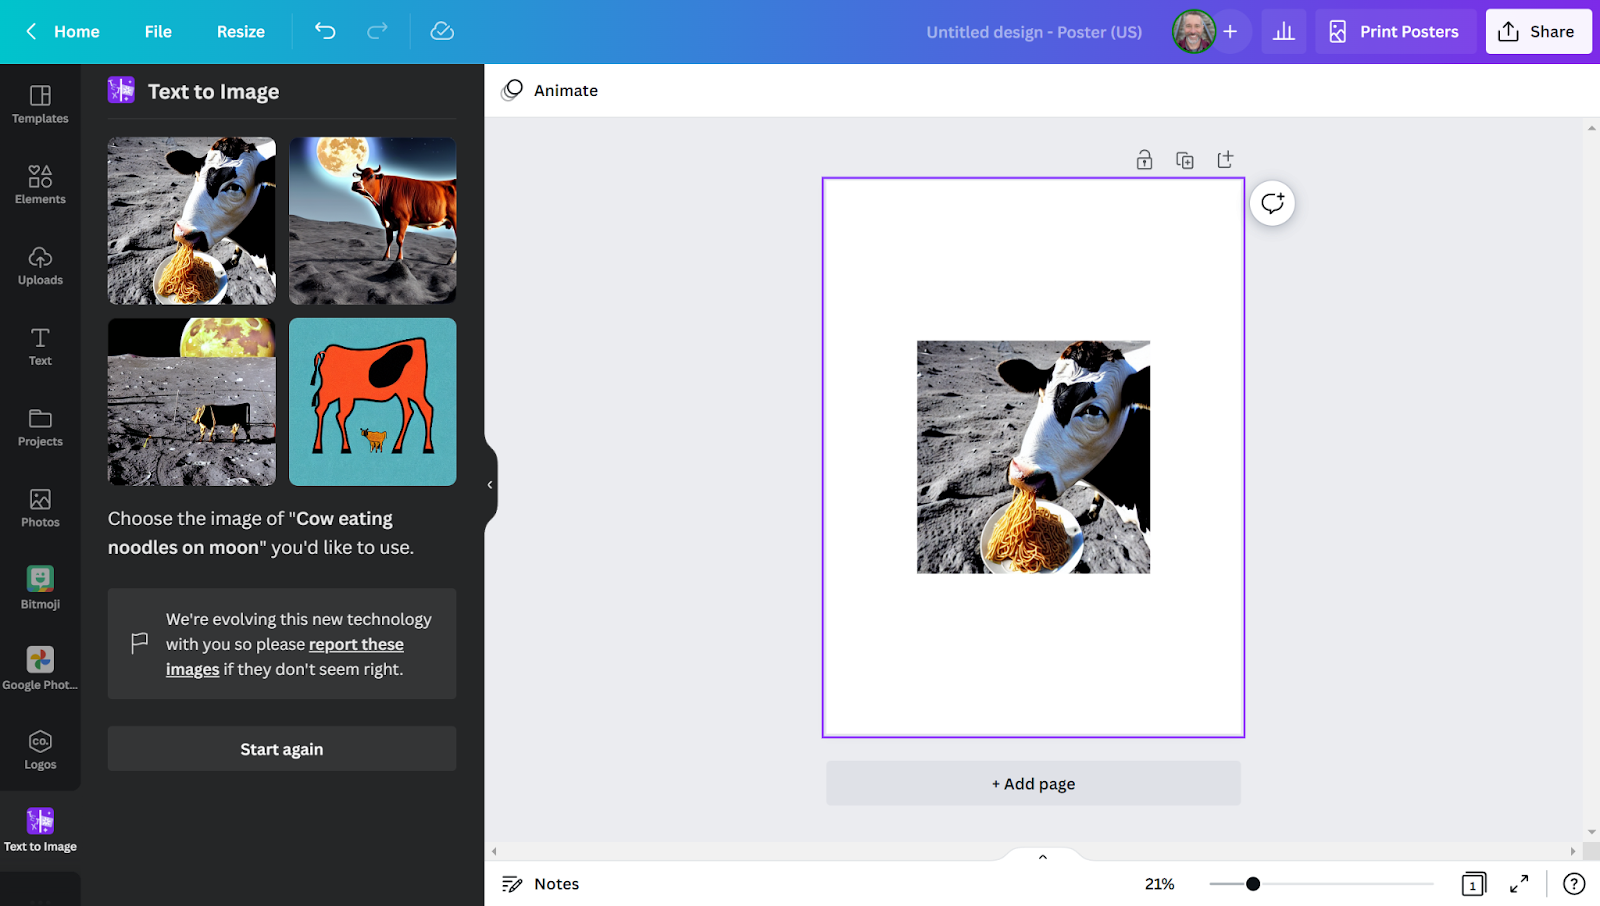
You will get 4 choices to choose from. You can also run it again with an altered description if you want. Each time you run it (even with the same description) you will get different images! Here are 4 different runs of the same search.
Click on the image you want to add to your project and it will be placed on your canvas. You are now able to resize and edit as you wish.
Alternate Way to Get to Image from Text:
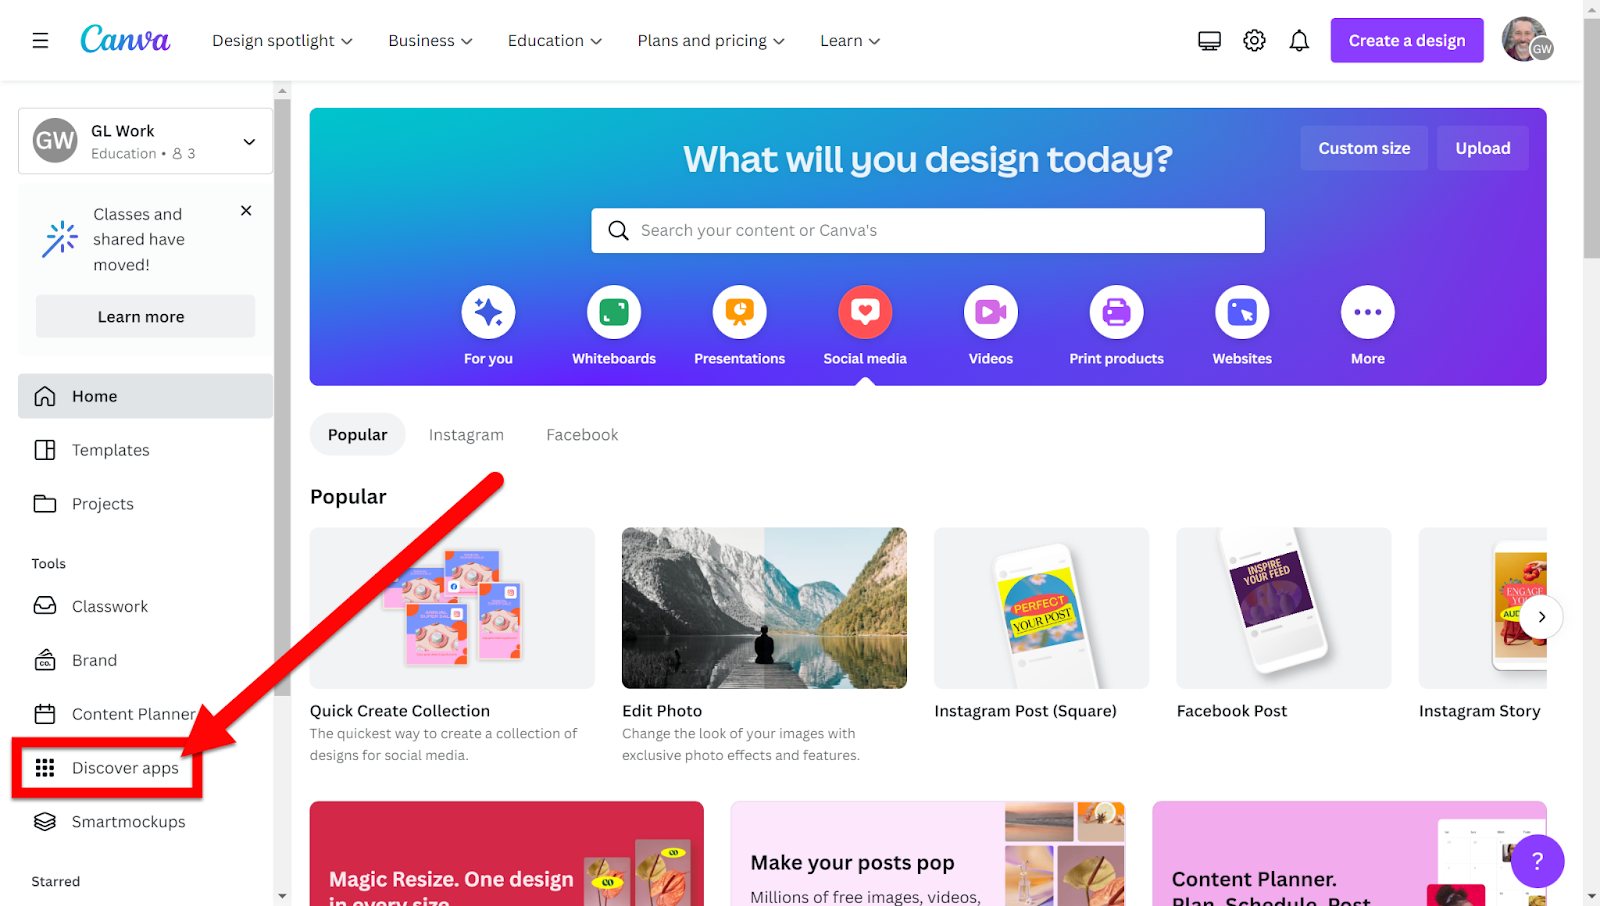
After opening Canva head to the bottom left and click on ”Discover Apps”.
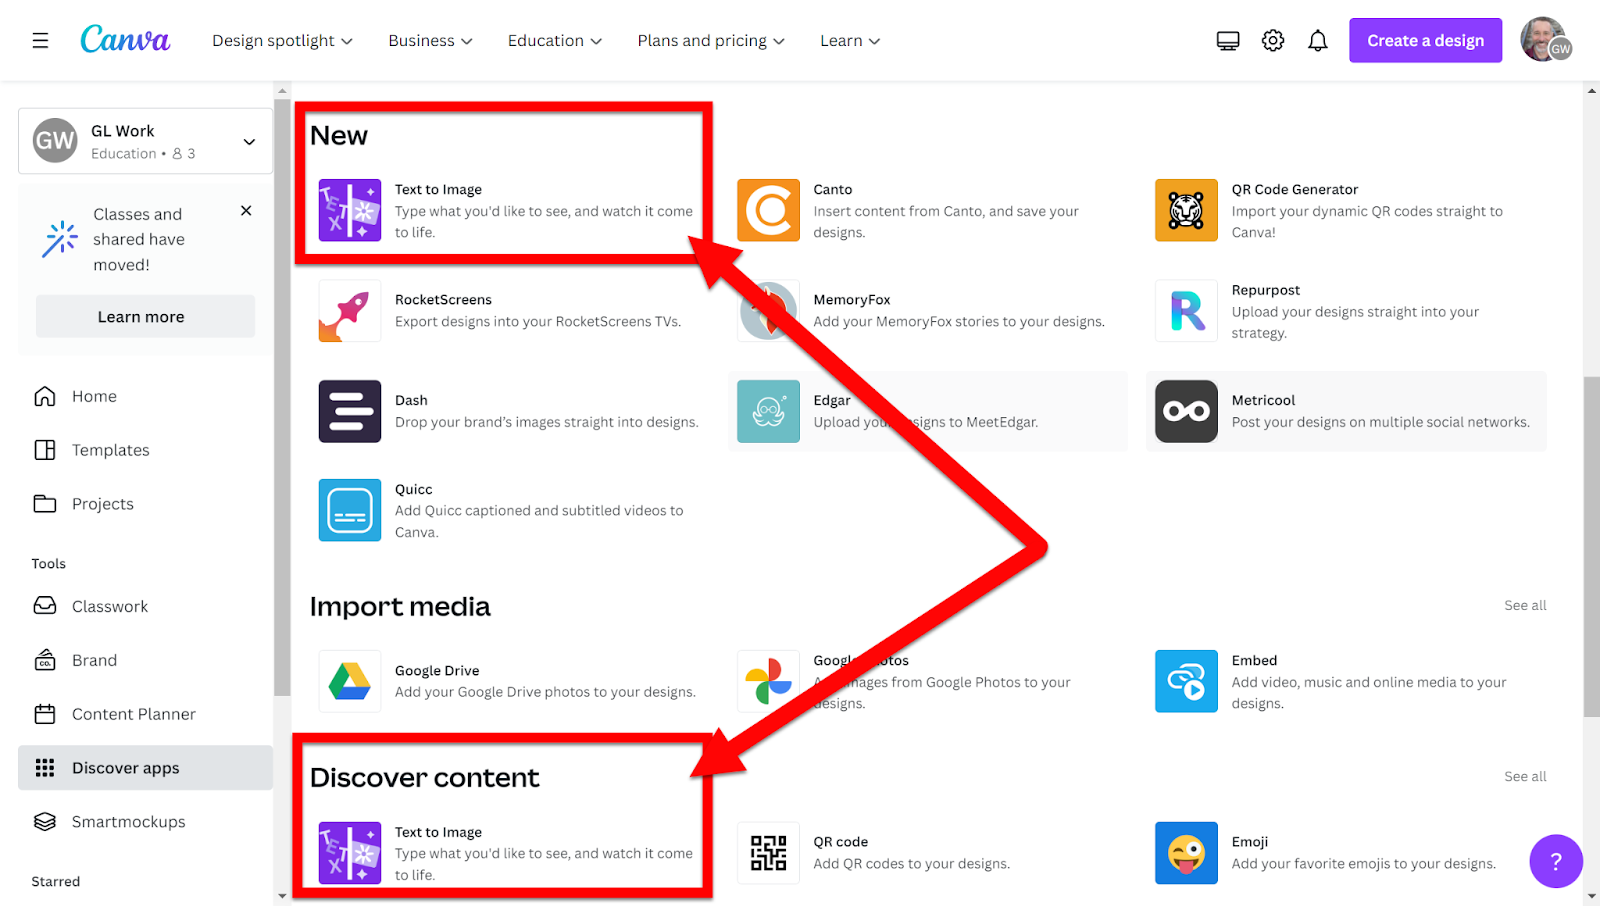
Click on “Text to Image” in the New or Discover Content section. A new canvas will open.
For an awesome video walkthrough, check out Eric Curts' tutorial Here!
If you want these directions in a Document click HERE!
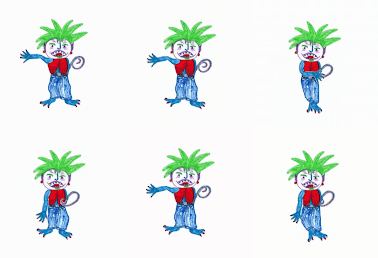
Have you ever had students create awesome drawings and wish you could bring them to life with movement? You can. With the free site sketch.metademolab.com you can take those hand-drawn masterpieces and make them animated GIFs to be added to any project. All you need is a drawing, the sketch.metademolab.com site, and Screencastify! Check out the steps and video below to get started!
Create an Animated Drawing:
Create a drawing with no background. It is important to just have the character drawn without anything else on the white paper. Take a picture of this drawing with the best resolution you can and transfer this image to your computer. You can also scan it using any tool available to get a digital copy to your device.
Upload your drawing image. After it is uploaded click “Next”.
You will need to make sure the border around your character displays your whole character. Change the border if needed.
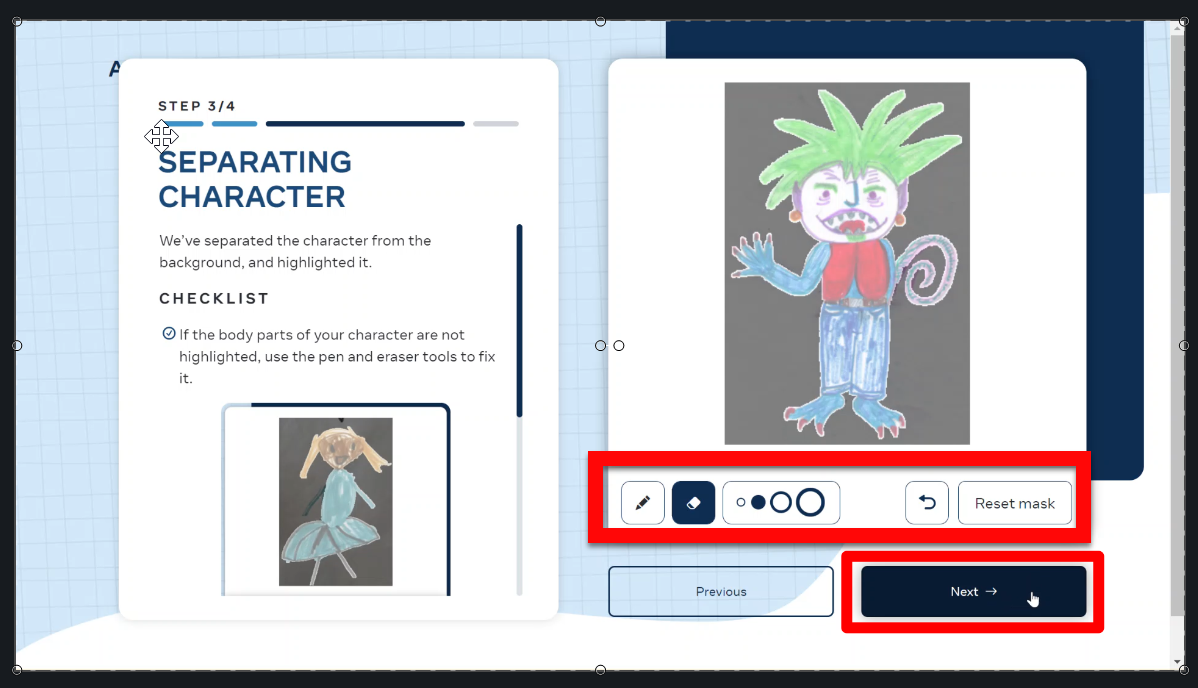
You will be asked to make sure your outline is complete around your drawing. You can edit the outline or have the site try again if there is an issue.
The next step is important. You will need to align the dots for the location of the eyes, ears, shoulders, elbows, wrists, hips, knees, and ankles so that the site knows where to put the motion. Just move the dots to the correct location if they are not already there. Then click “Next”.
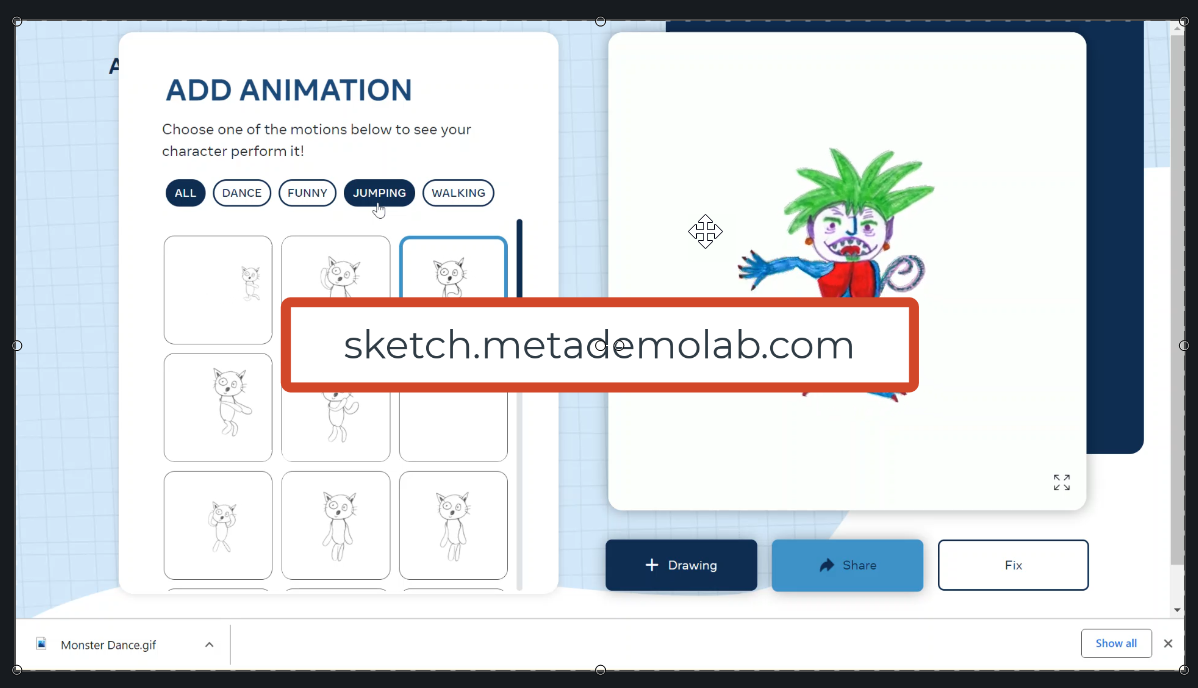
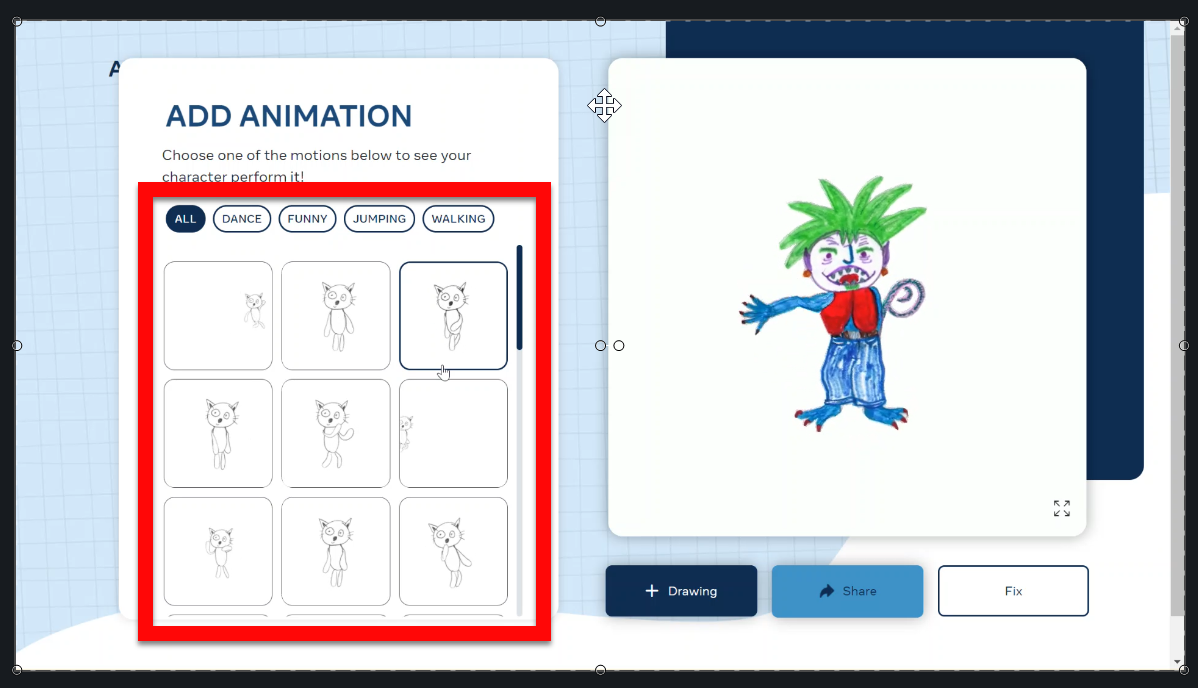
Your animation will be created! Yay! Choose what action you want your character to do. There are many choices on the left.
This is the end of the use of the site. You can share this if you want, but it will only be a web link. That does not work well for a project. The next section will show you how to create a GIF from this motion video for use in any project type you want!
Make the Animated Drawing a GIF:
Make sure to have the Screencastify extension installed and set up.
Click the extension and turn off your camera and mic (you do not need these for this recording).
Click “Record” and start recording your screen. Make sure your character is visible and your mouse icon is not in the space the character is moving (slide it to the left).
Record for about 15 seconds then click the “Stop” button to stop recording.
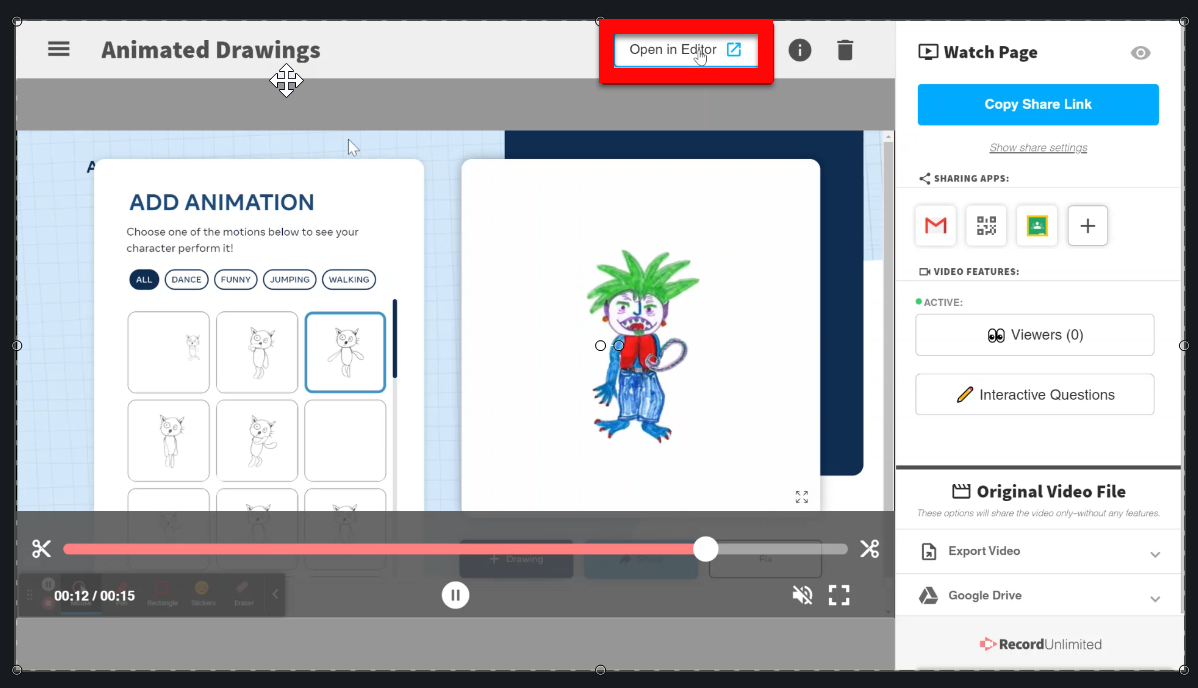
Screencastify will open a new tab and you will see your recording. At the top click on “Open in Editor”.
When the new tab opens, click on your clip in the bottom left to select it.
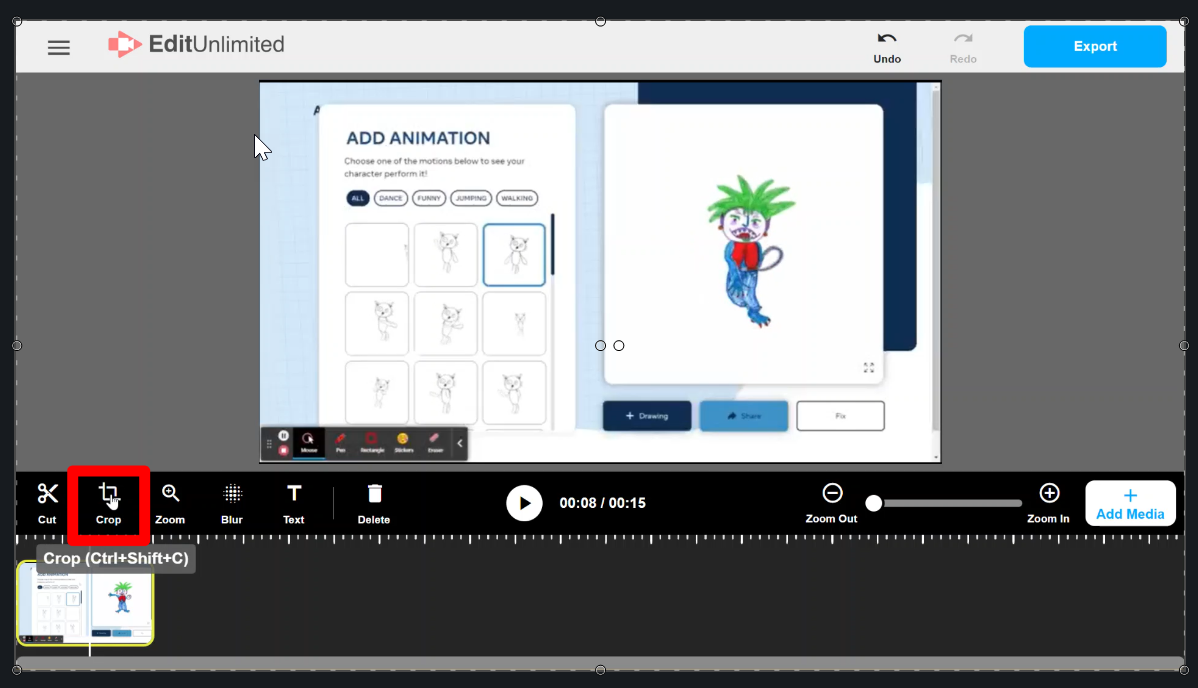
Click on “Crop”.
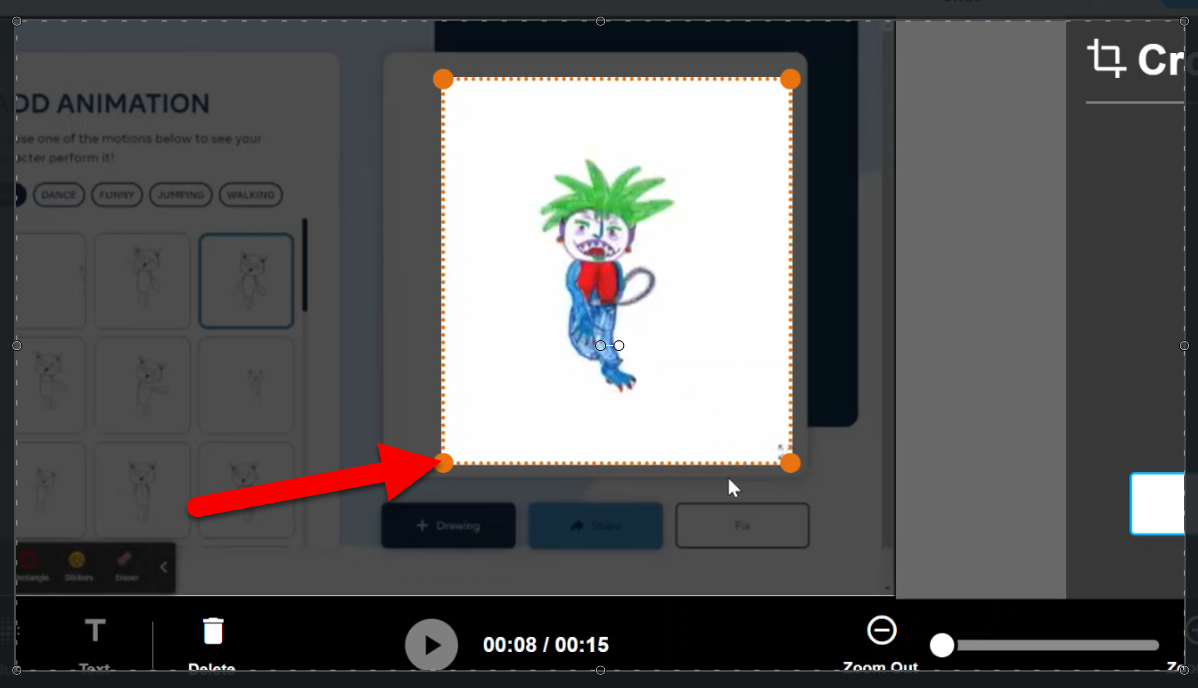
Move the corners of the crop tool to only include your character and the space they move into. Make sure it also includes any place your character moves to (if it moves across the screen make sure to select all the areas it covers).
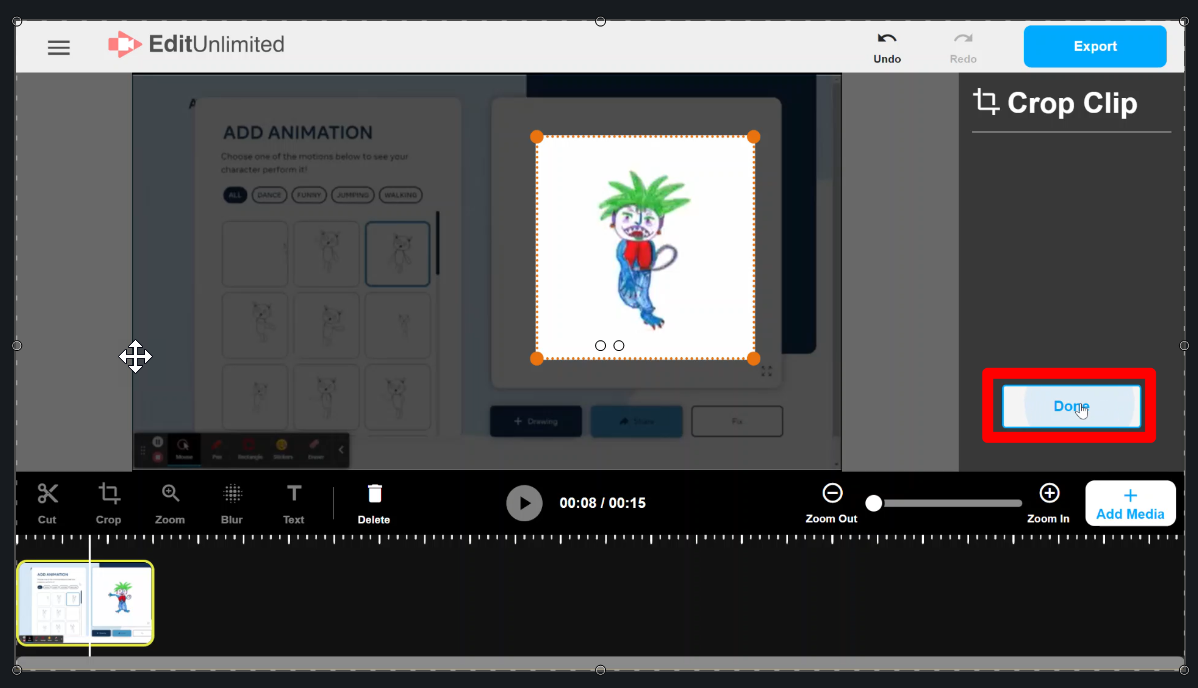
Click the play icon to make sure it is in your newly cropped area and then click “Done”.
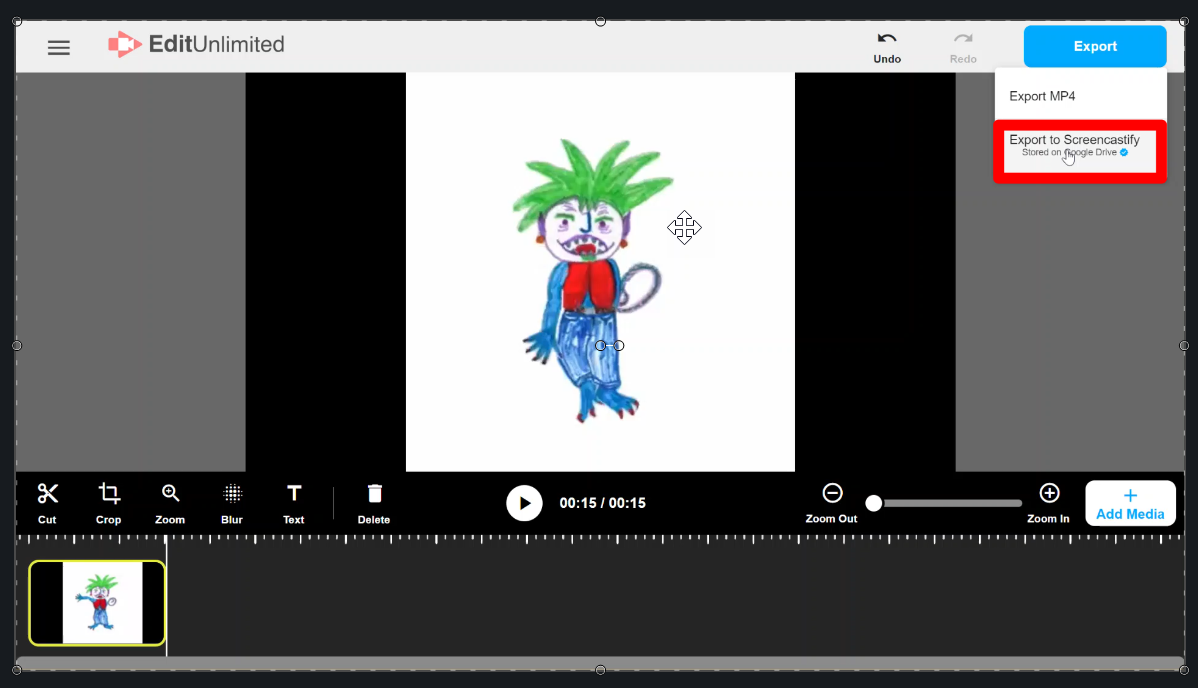
Click on “Export” in the top right when you are ready.
From the dropdown choose “Export to Screencastify”.
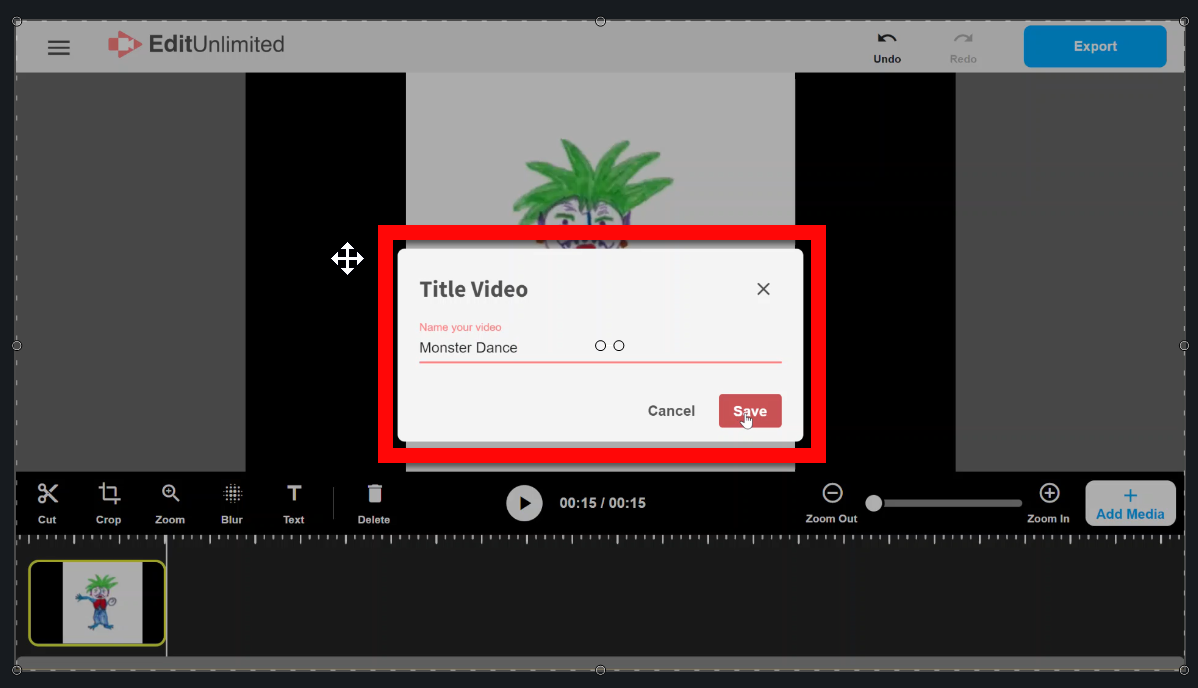
Name your image and save it.
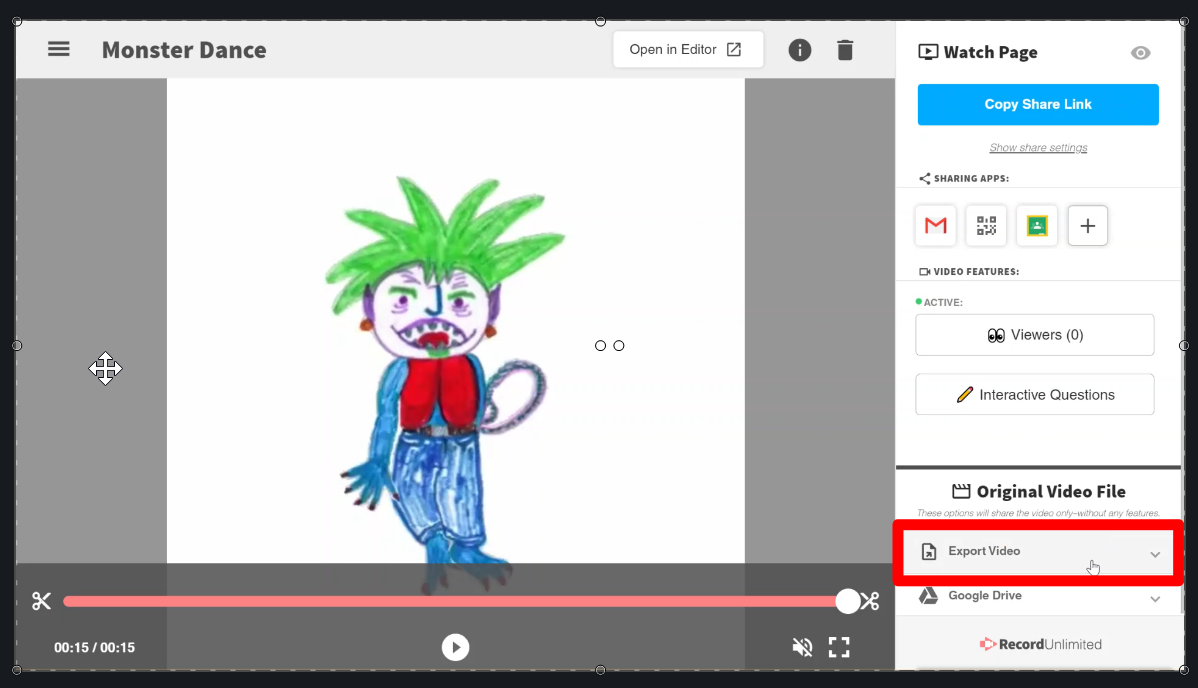
On the next screen click on “Export Video”.
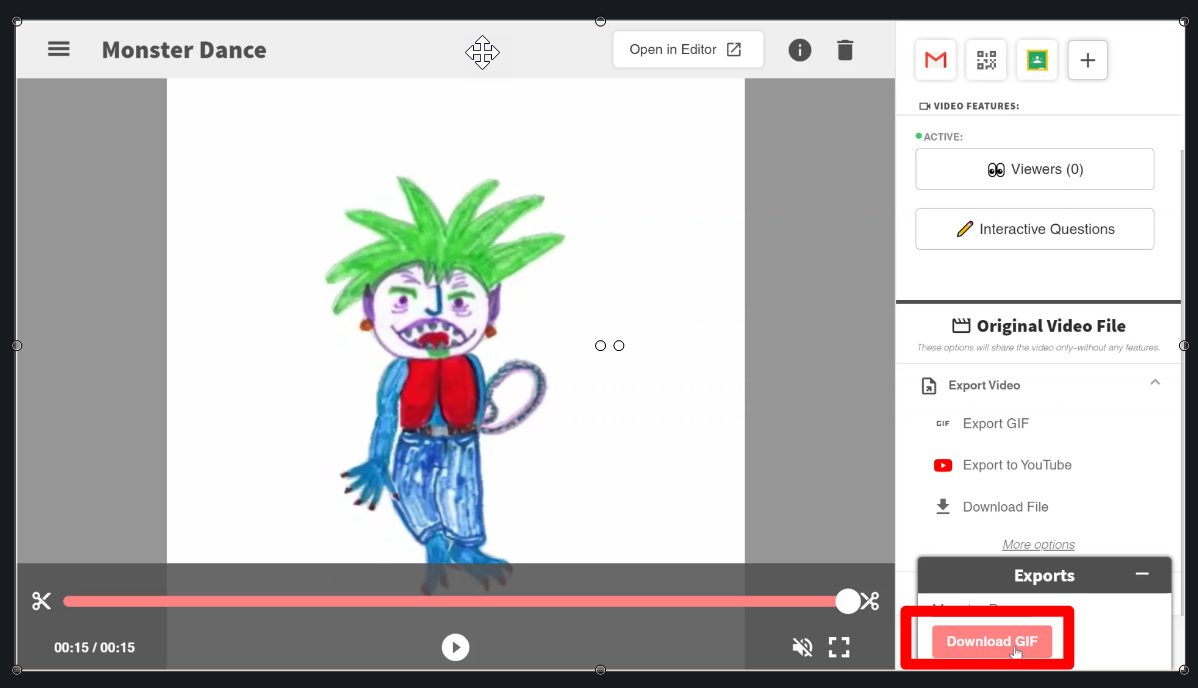
Select “Export GIF”.
You will see the resolution. You can leave it at what it shows or adjust it. The bigger the number, the better quality, but also the larger the size. Too big will cause issues creating or using in projects. Generally, I just leave it where it is set. Click “Export”.
Your GIF will be created. When it is done click “Download GIF.
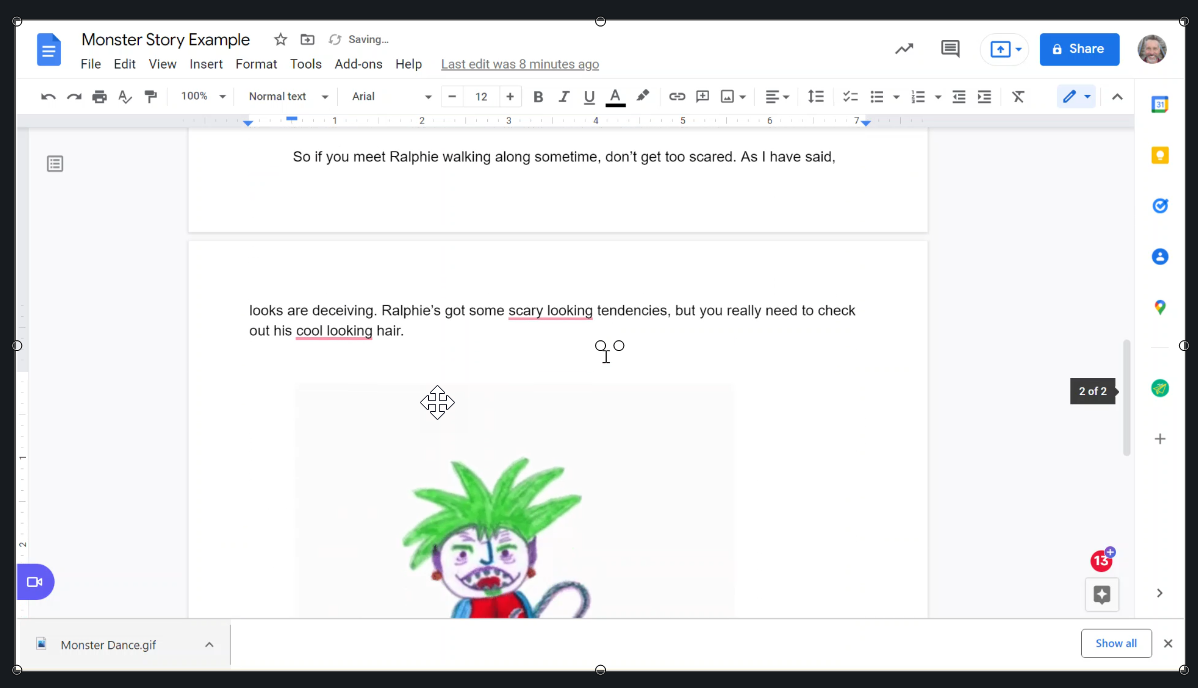
You can now use this GIF in any project, even Documents where videos can not be added!
Here is a video showing all these steps in real-time!