Showing posts with label GIF. Show all posts

Thursday, August 28, 2025

Create Animated GIFs from Drawings

Animated GIFs are cool. They are easy to use because they are images, but carry more power because they look like videos. This tool is a cool way to take your students’ drawings and make them come to life! Check it out!


Steps:

  1. Head over to www.eatmy.art.

  2. Choose the template to use and click “Print” to download the PDF. The more squares available, the smoother the image movement is and the more action you can have, but the more drawing to create.


  1. Have students draw in each square. Think of this like a “flipbook” of the old days. Each square shows where the object moves as it progresses. Here is an example of zooming into a book that has a picture of the book in it.


  1. Once they have created all the required drawings, take a photo of this PDF. Get this to your computer.


  1. Upload this image to the site with this link.


  1. Let it process. When it is done, click “Download”.


  1. Use this GIF in documents, Slides, or other places you could insert an image!


Here is my example:


If you want these directions in a Document, click HERE

Tuesday, January 30, 2018

Create Animated GIFs

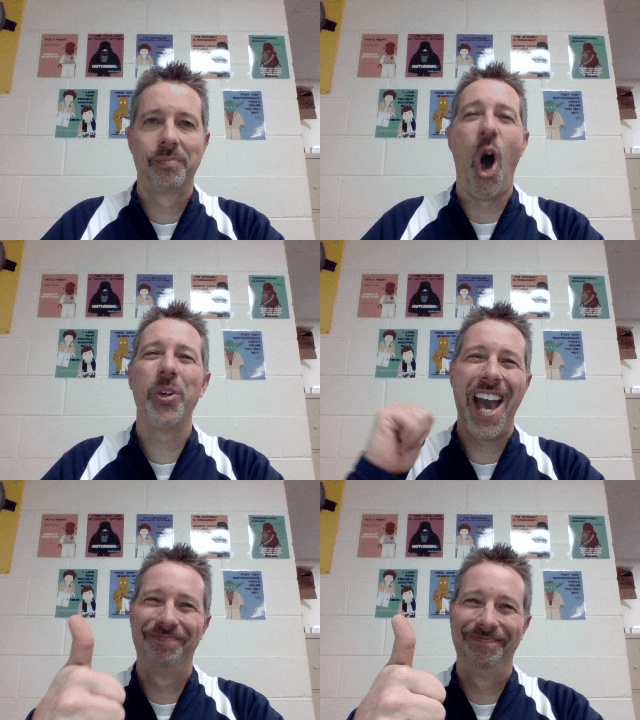
They are everywhere. Those little animated pictures. They are in documents, on social media, and in our text messages. They say a picture is worth a 1,000 words, I have to wonder how many is an animated GIF worth? It has to be millions! The best part about a GIF is that they are easy to make and use. Give these 3 easy to use tools a try and start saying more without speaking a word!


Make a GIF with your Web Camera:

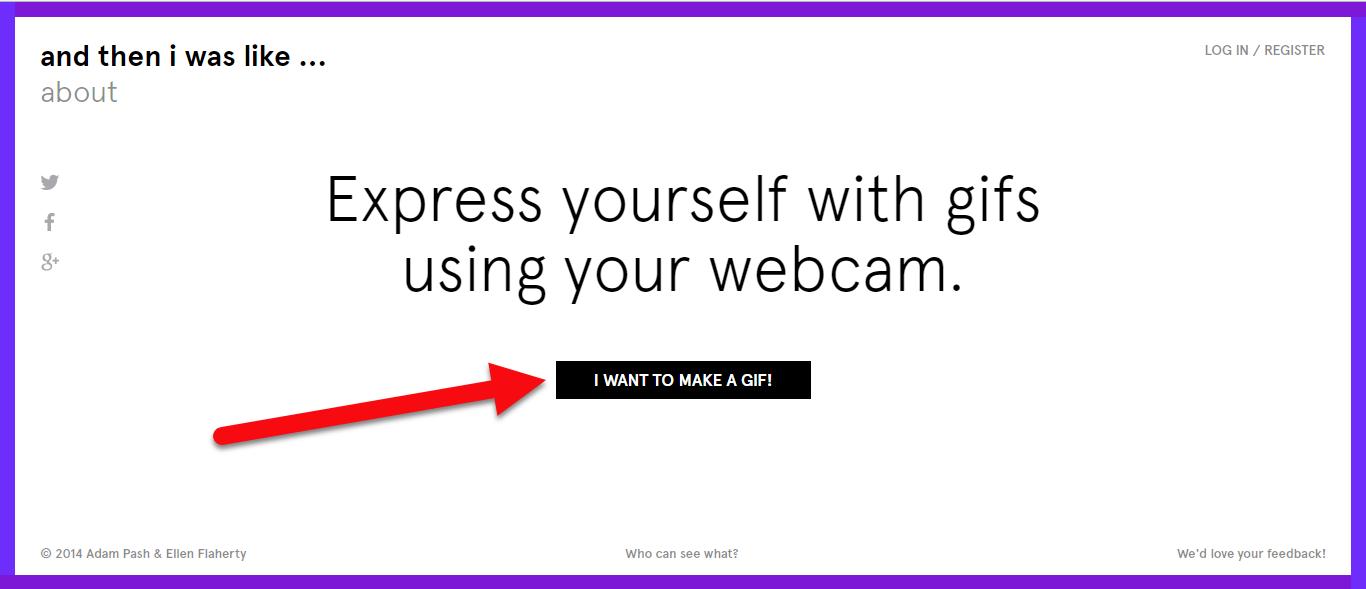
  1. Click “I want to make a GIF” and allow camera access.


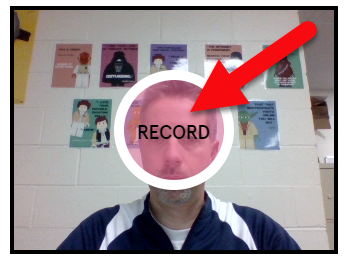
  1. In the center of the camera view click “Record”.

  1. The countdown will start and then it will record. You only have a few seconds so make your message quick.
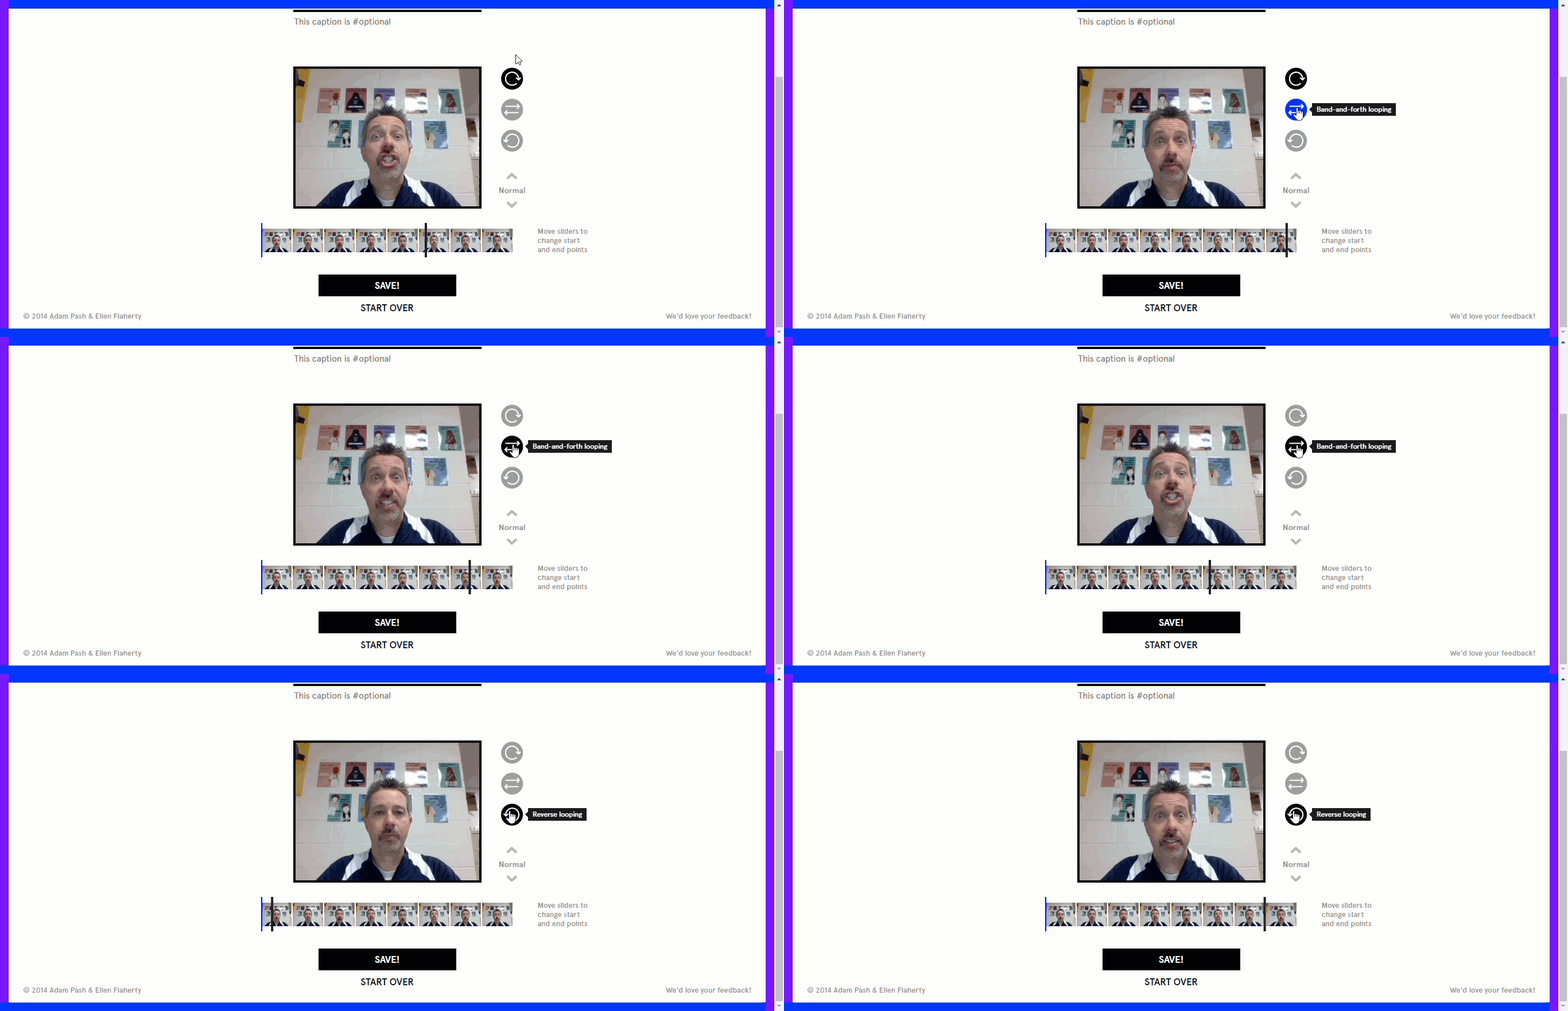
  2. You can choose the begin and end point of your GIF.
  3. You can also choose to loop the GIF (top), have it play forward, then backward (middle), or have it play in reverse (bottom).

  1. Either click “Save” or “Start Over”.
  2. On the next screen, you can share to social media tools or right click on the image and save it to your device.


Make a GIF with your Google Photos Images:
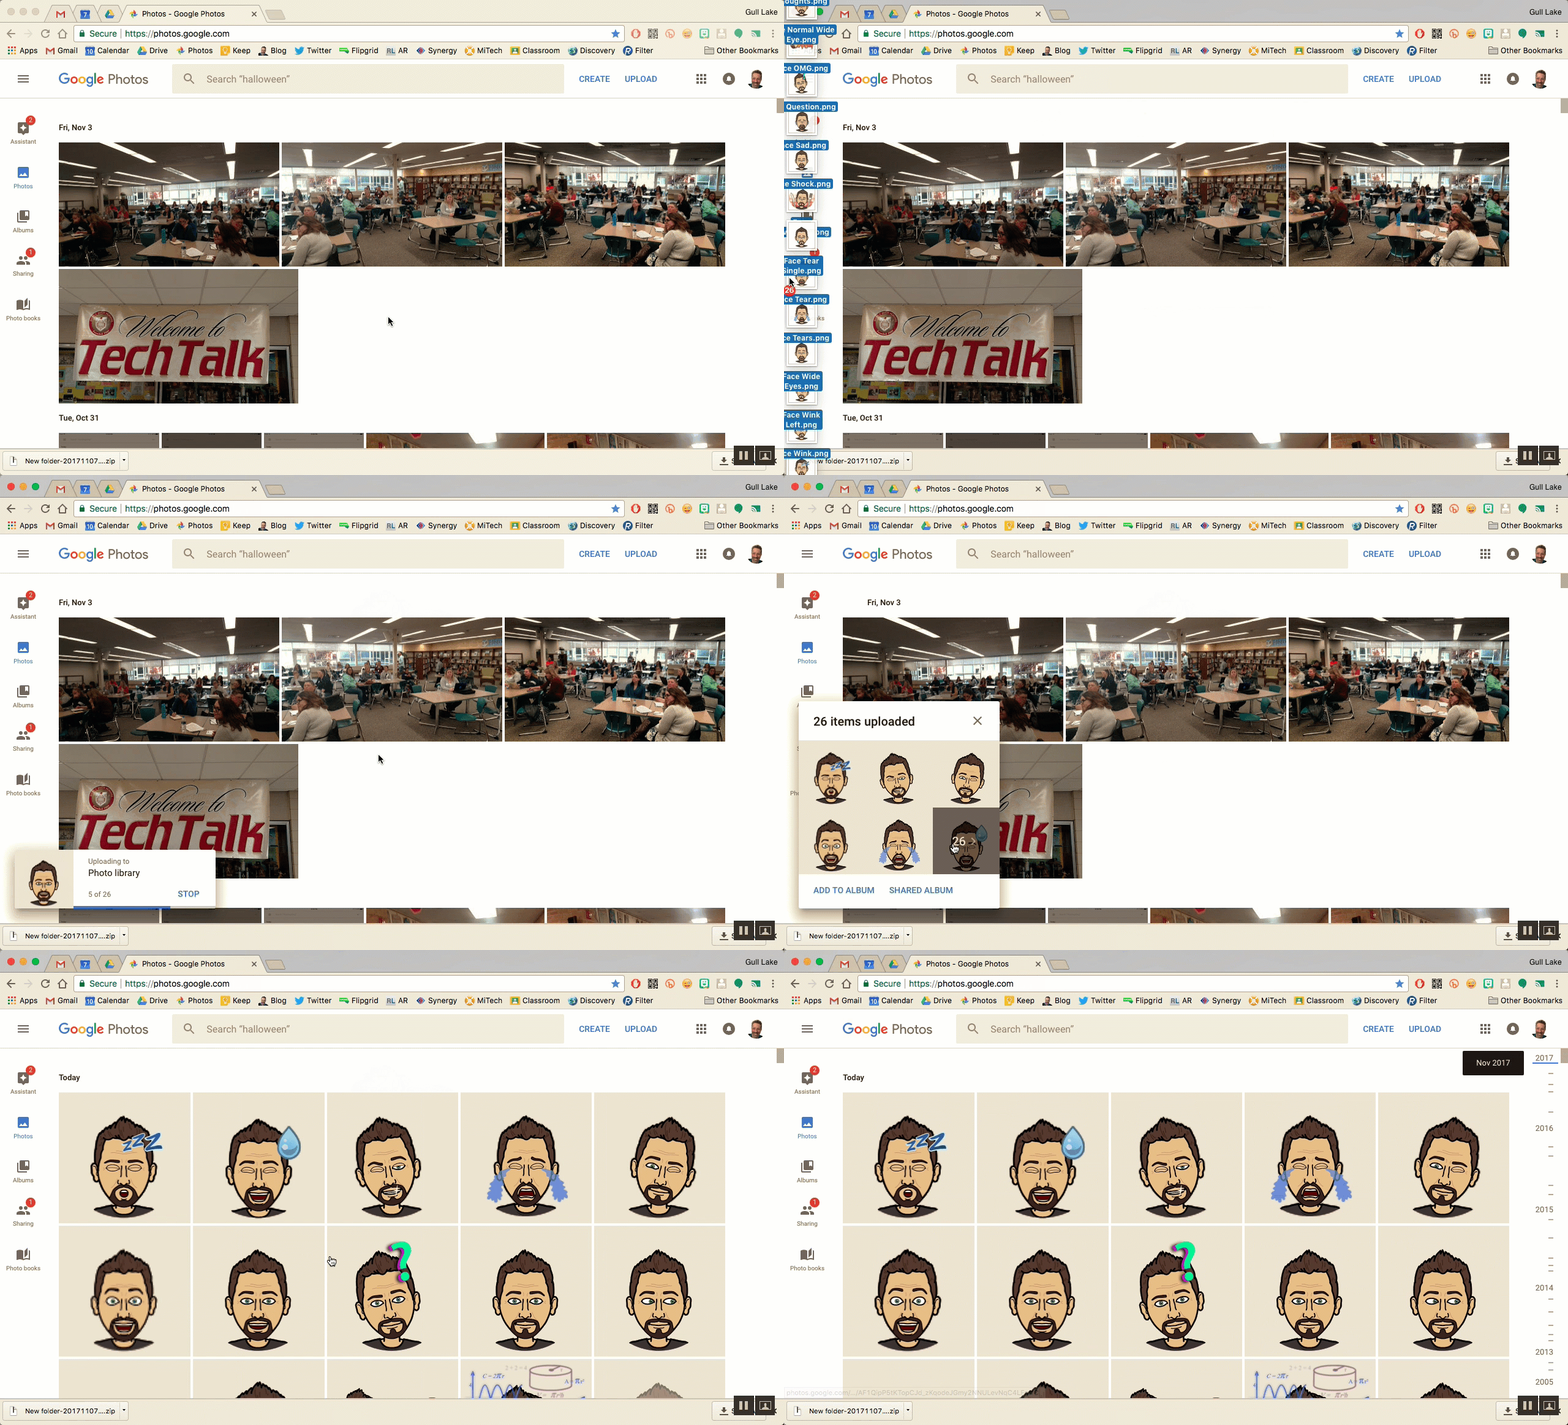
  1. Use the Google Photos app on your mobile device to auto-upload device pictures: How To Document
  2. Manually (or auto upload) upload images to Google Photos.
    1. Drag your images from your computer directly to the screen.

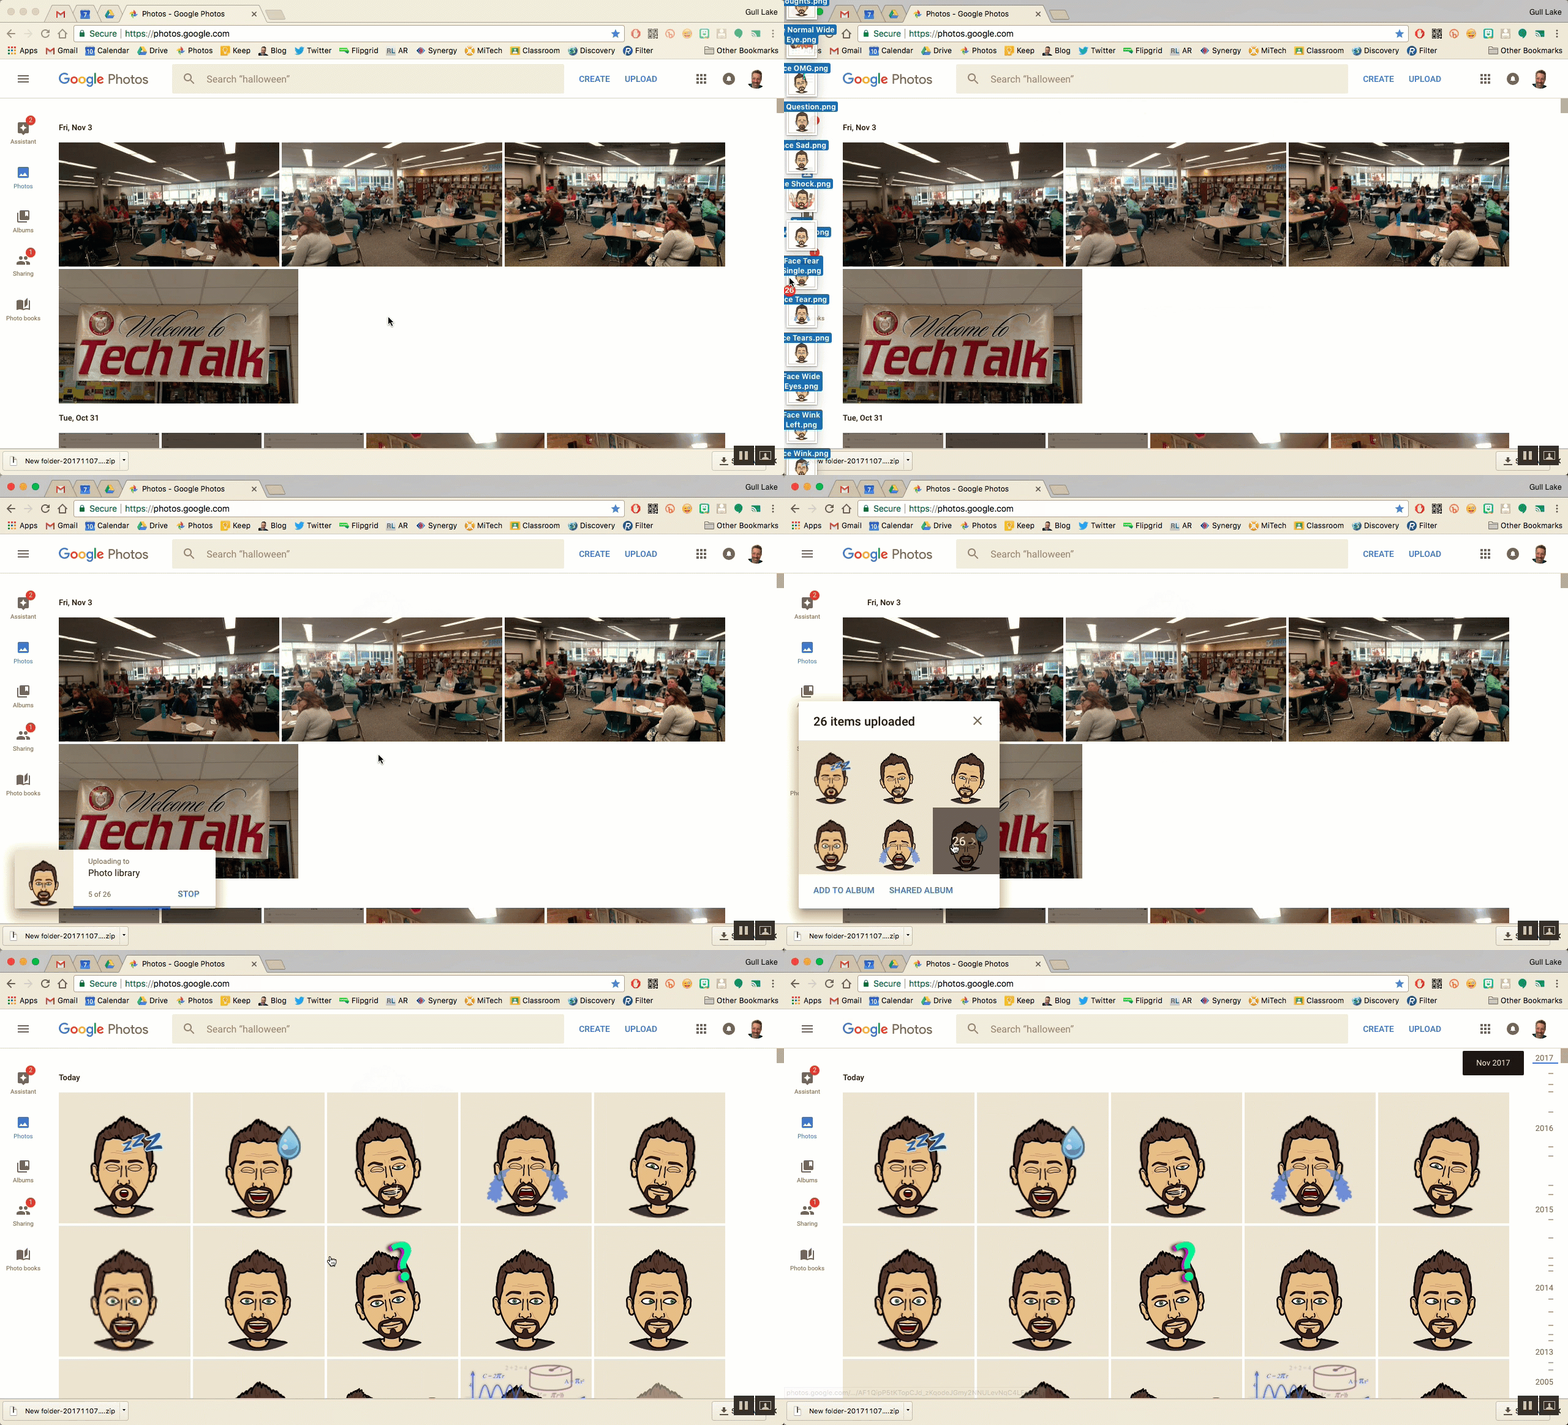
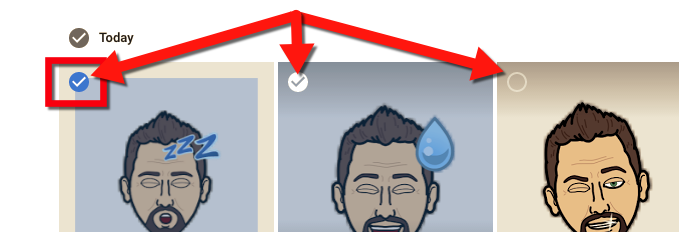
  1. Go to photos.google.com or use the Google Photos app and select the check mark in the top left corner of any image you want to be included in your GIF.

  1. You can choose between 2-50 images for any one GIF.
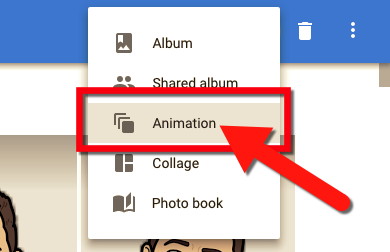
  2. Once your images are selected, click the “+” icon in the top right.

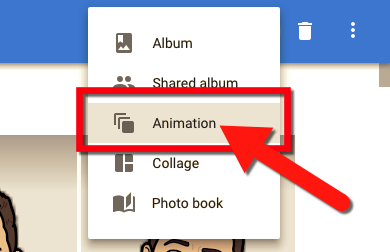
  1. Select Animation.

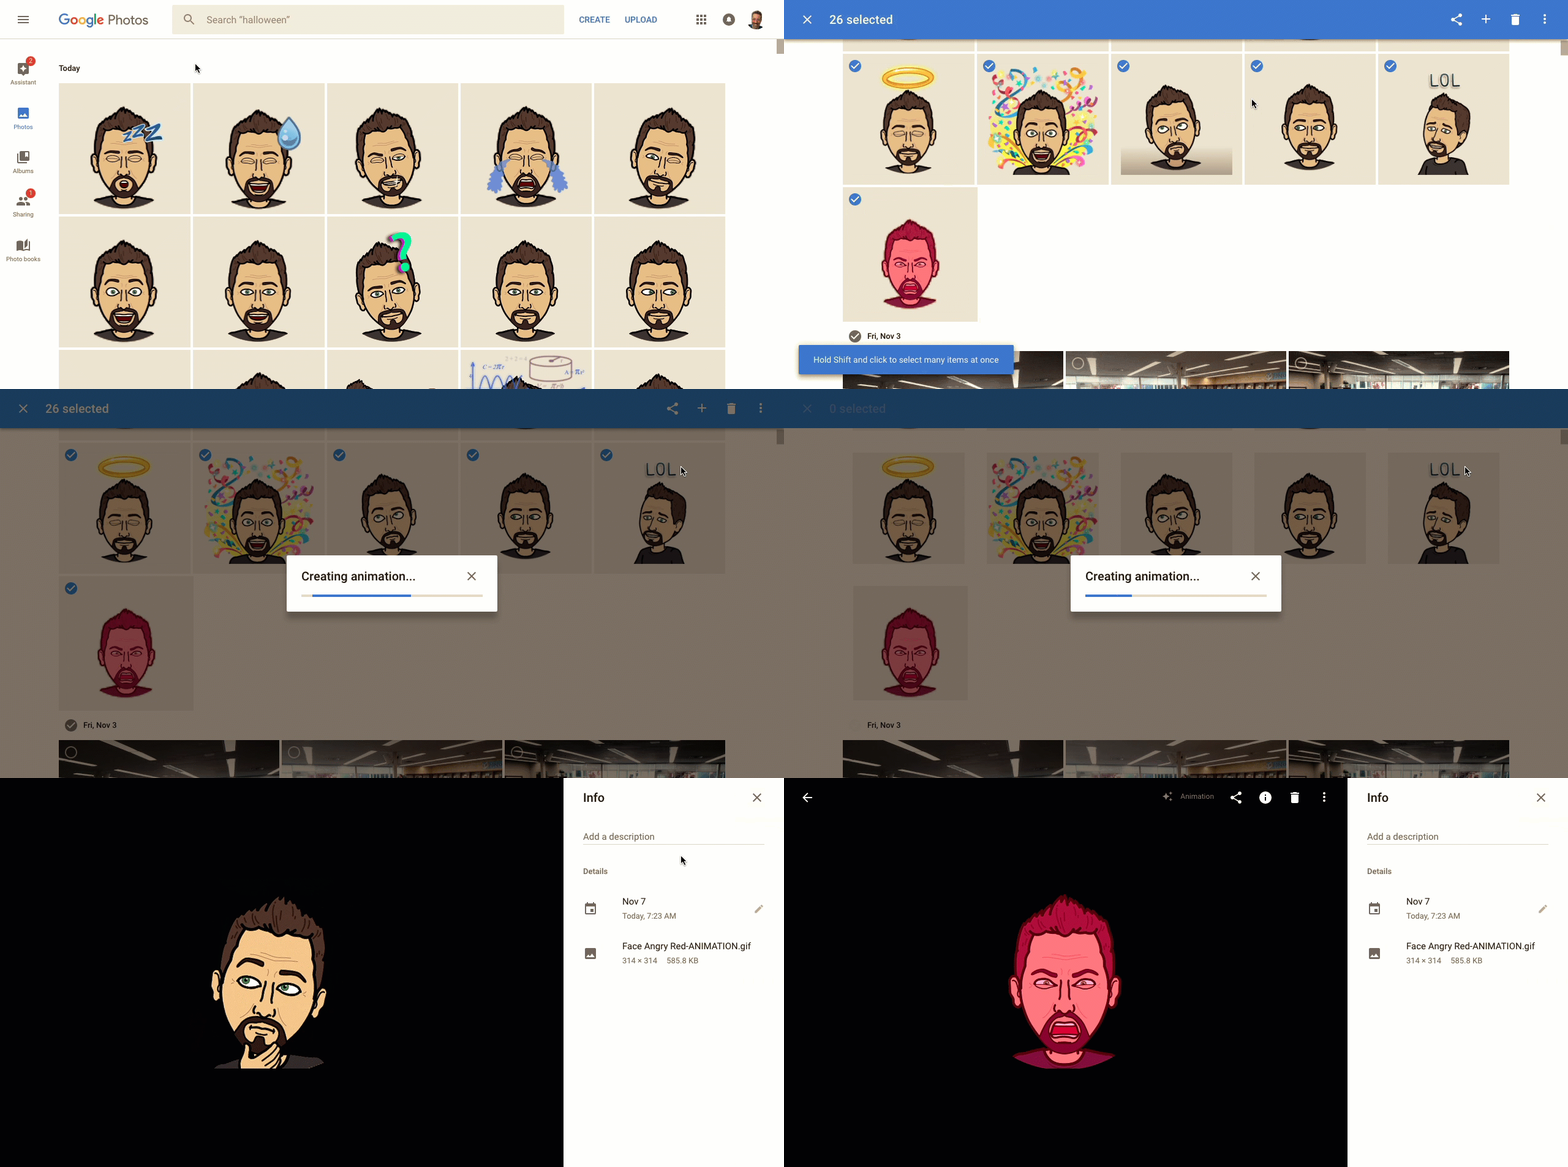
  1. Your animated GIF will be created. Download or insert this image into any project or social media post to share.


Make a GIF with flipanim.com:
  1. Go to flipanim.com.
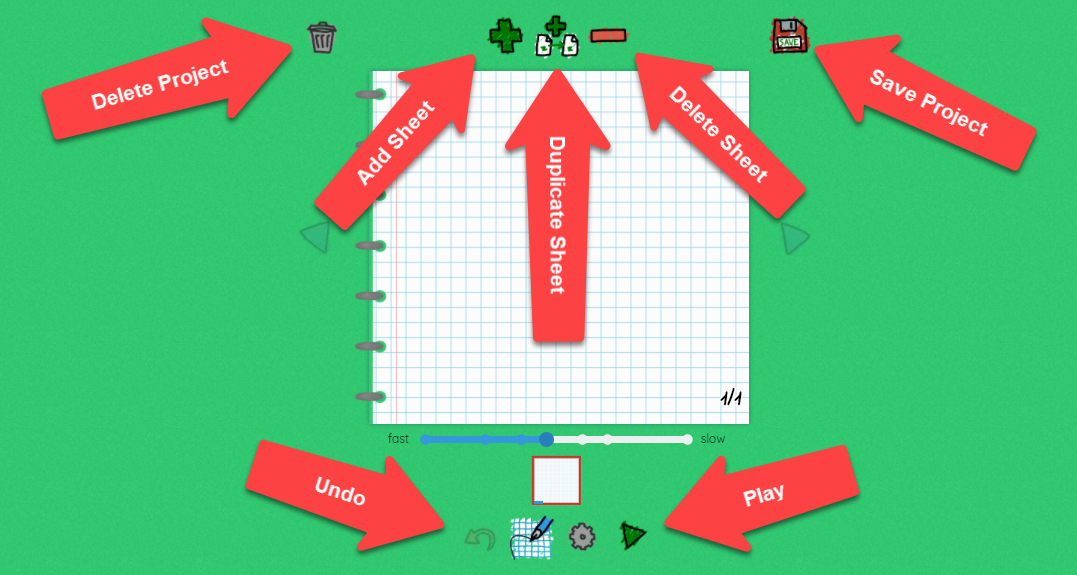
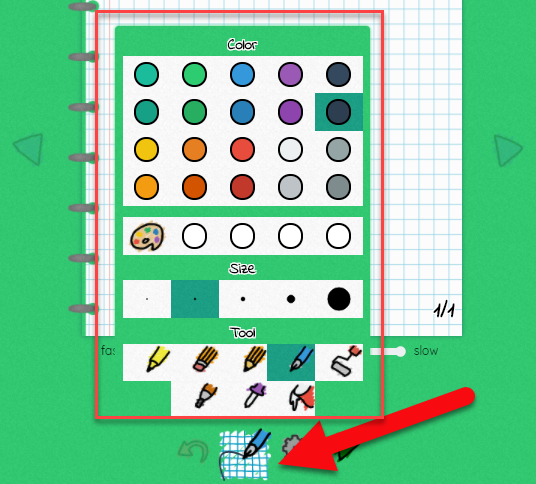
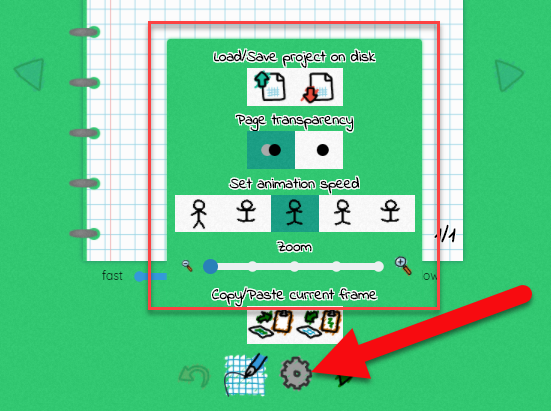
  2. Look at the tools:
 

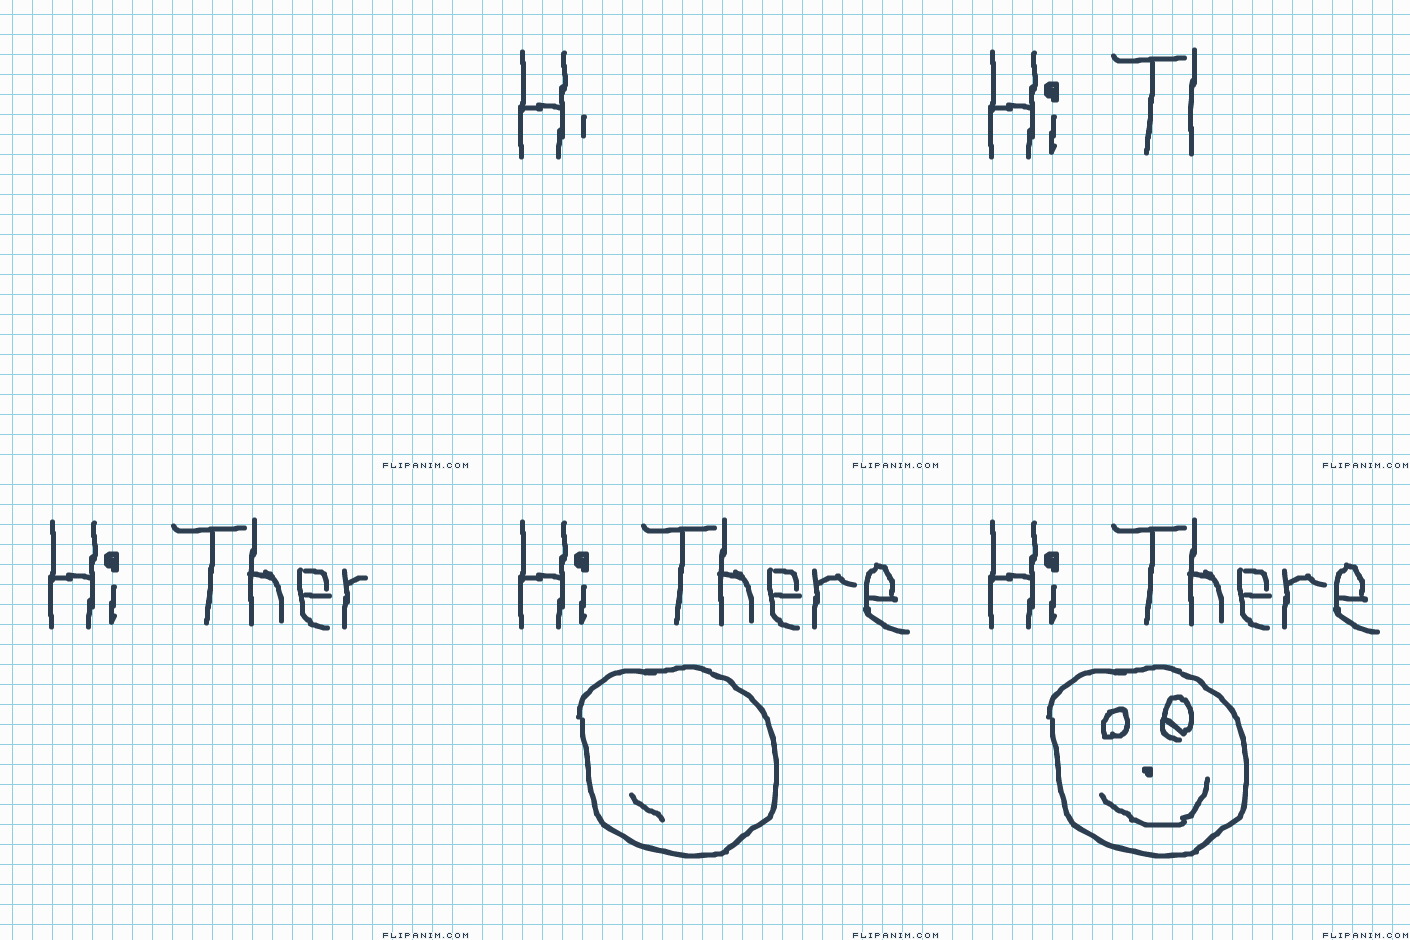
  1. The drawing process is a lot like those old school paper flip books we did as kids. You draw a little, add a page, draw a little more, add a page, etc. The advantage is that you can see the previous drawing to continue from.
    1. Start your drawing.
    2. Click the plus icon.
    3. You will see your previous drawing. Draw your moving object in the new location.
  2. Each sheet is a new “movement”. If the object is not moving (just adding things) you can use the duplicate icon to keep the previous drawing and just add to it.

  1. When you are done click “Save” and title it. The GIF will be uploaded and the next screen shows it in action. Right-click on the image and download to your device!


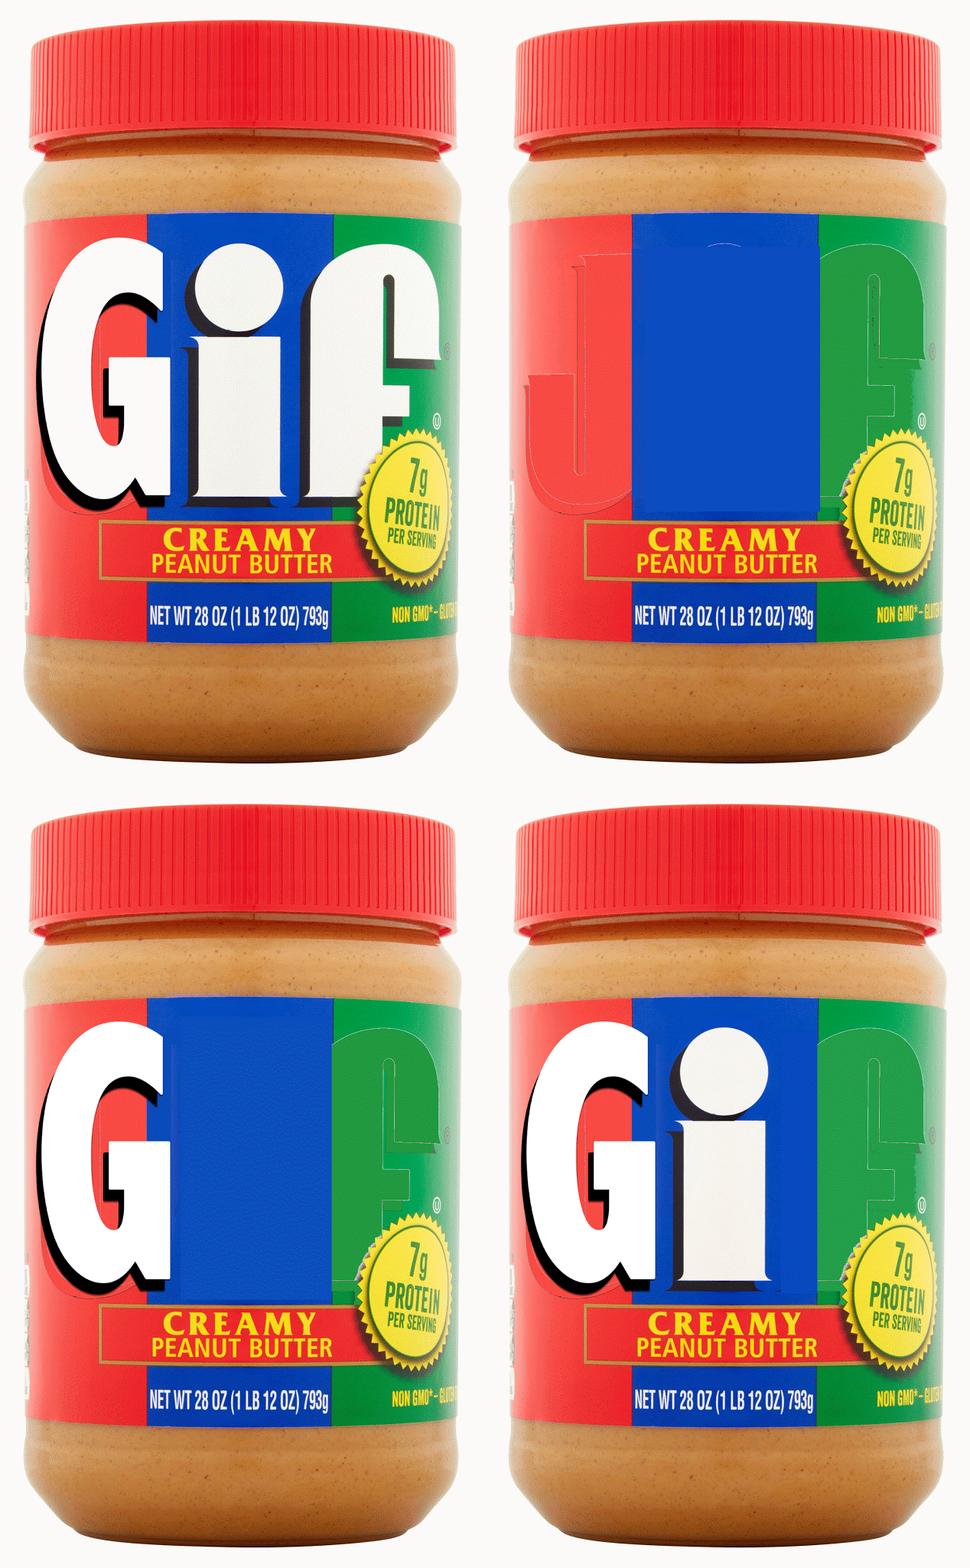
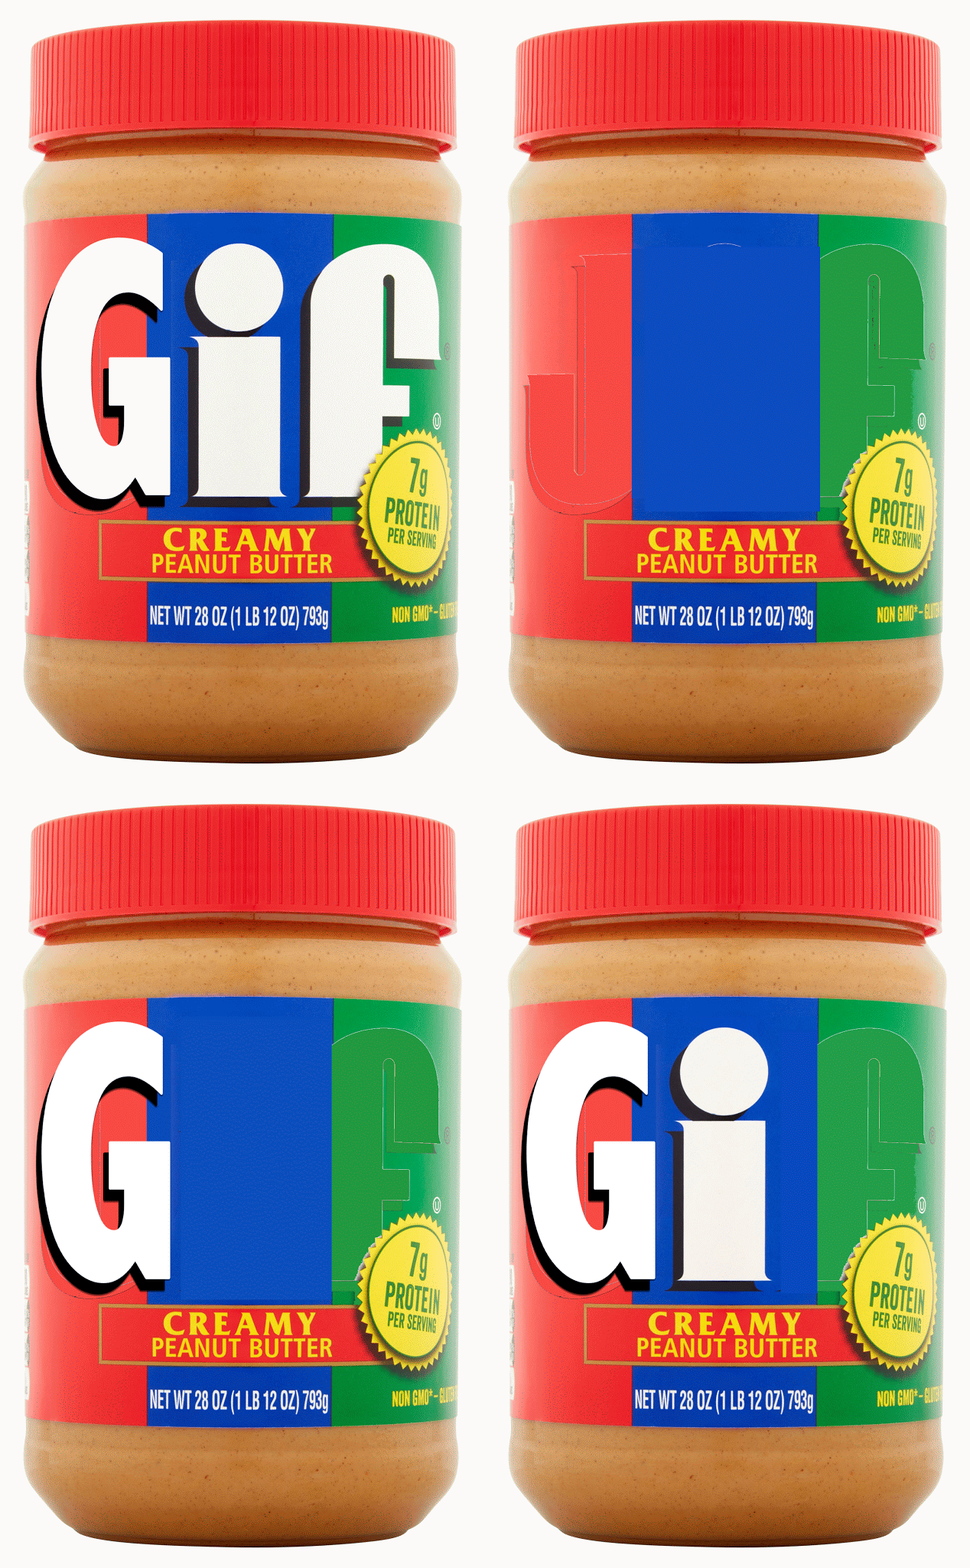
...and remember...it is a “J” sound in GIF (like the peanut butter)!


If you want these steps in a document click HERE!


Tuesday, November 7, 2017

Create Animated GIFs with Google Photos

They are everywhere...GIFs...those animated pictures we all love. They tell stories, make us laugh with jokes, and allow the sharing of multiple images in one frame. They are great to use in documents, slides, email, and social media but how can you easily make them? There are apps and tools that you can use, but there is also an easy way already built into your Google Account. Making basic GIFS is as easy 1, 2,3 using Google Photos. Follow the steps below and get GIFing!


1: Get Photos into Google Photos
  1. Use the Google Photos app on your mobile device to auto-upload device pictures: How To Document
  2. Manually upload images to Google Photos.
    1. Drag your images from your computer directly to the screen.


2: Select Images in Google Photos
  1. Go to photos.google.com or use the Google Photos app and select the check mark in the top left corner of any image you want to be included in your GIF.


  1. You can choose between 2-50 images for any one GIF.


3: Create Animation
  1. Once your images are selected, click the “+” icon in the top right.


  1. Select Animation.


  1. Your animated GIF will be created. Download or insert this image into any project or social media post to share.


The best feature of a GIF is that you can insert this into almost anything (Docs, Slides, Email, Twitter, etc…). This is an easy way to share multiple images in one frame or to create a step by step process (such as stop-motion action/time lapse). The uses are endless and add a little flair to your documents.


...and remember...it is a “J” sound in GIF (like the peanut butter)!


If you want these directions in a document click Here!