

This is just a basic “Get Started” doc. There is so much to this tool that it would take many docs and videos to share them all. The Whiteboard.chat team does a great job on their YouTub channel with all their YouTube Videos.
Create a Whiteboard:
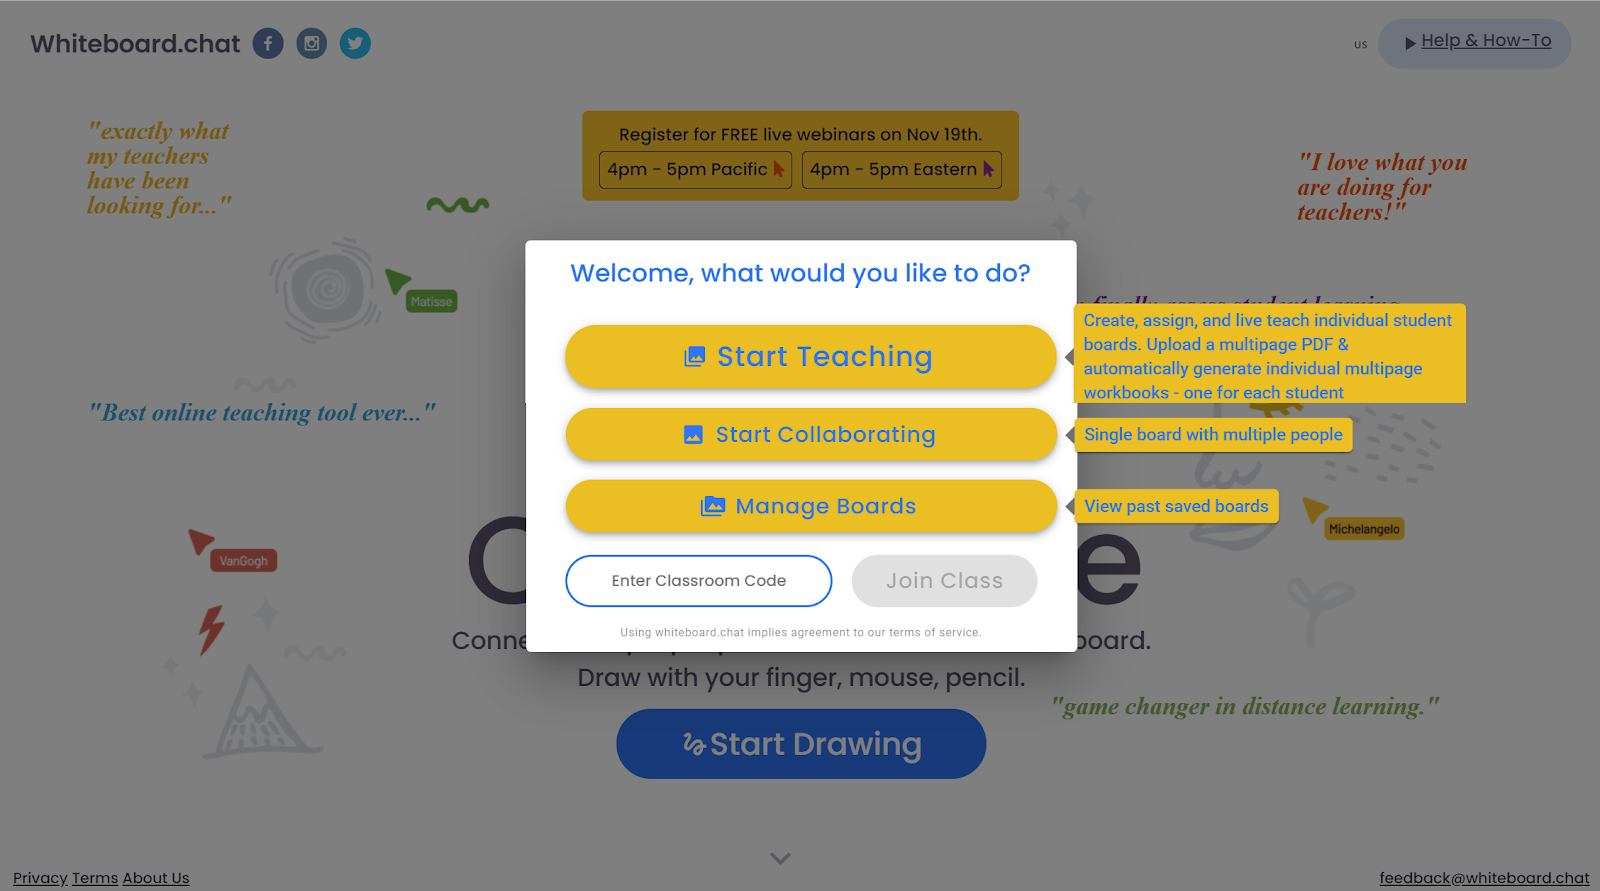
Head to Whiteboard.chat.
Click “Start Drawing”.

Choose what you wish to do (Teach, Collaborate, or manage boards).
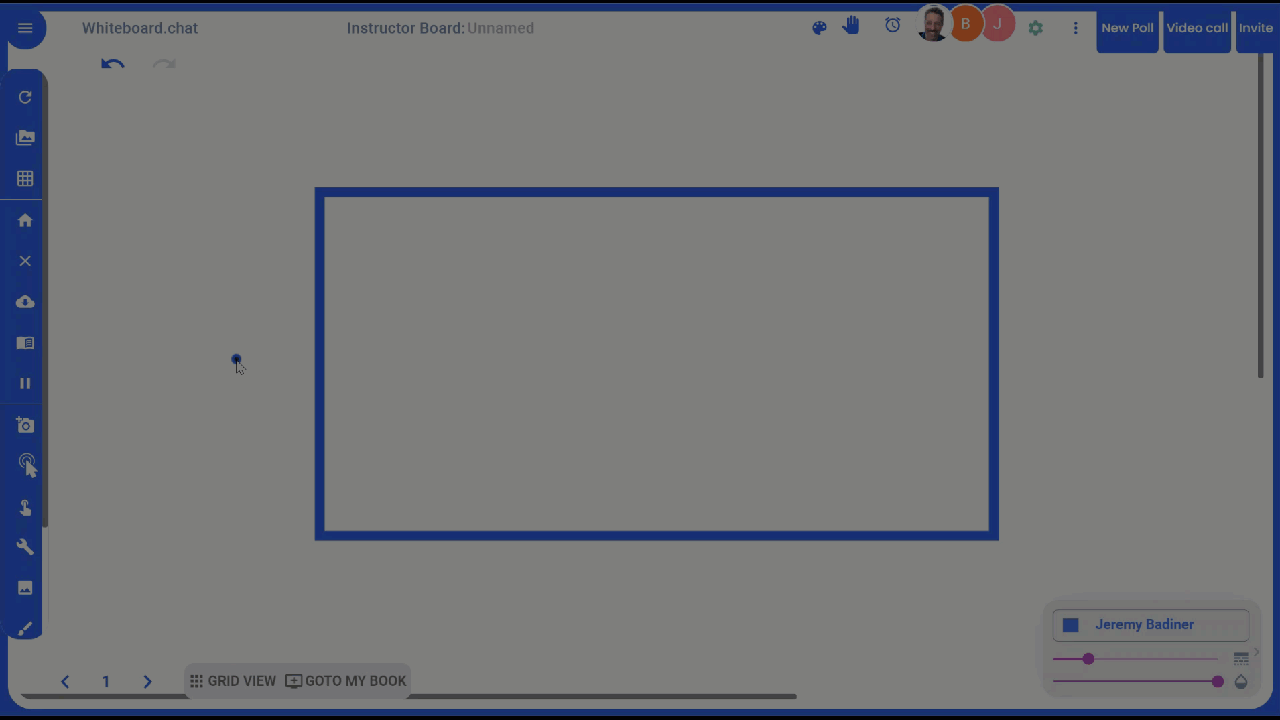
Click the 3 lines in the top left corner to see tool labels.
The “Tools” option has many helpful tools.
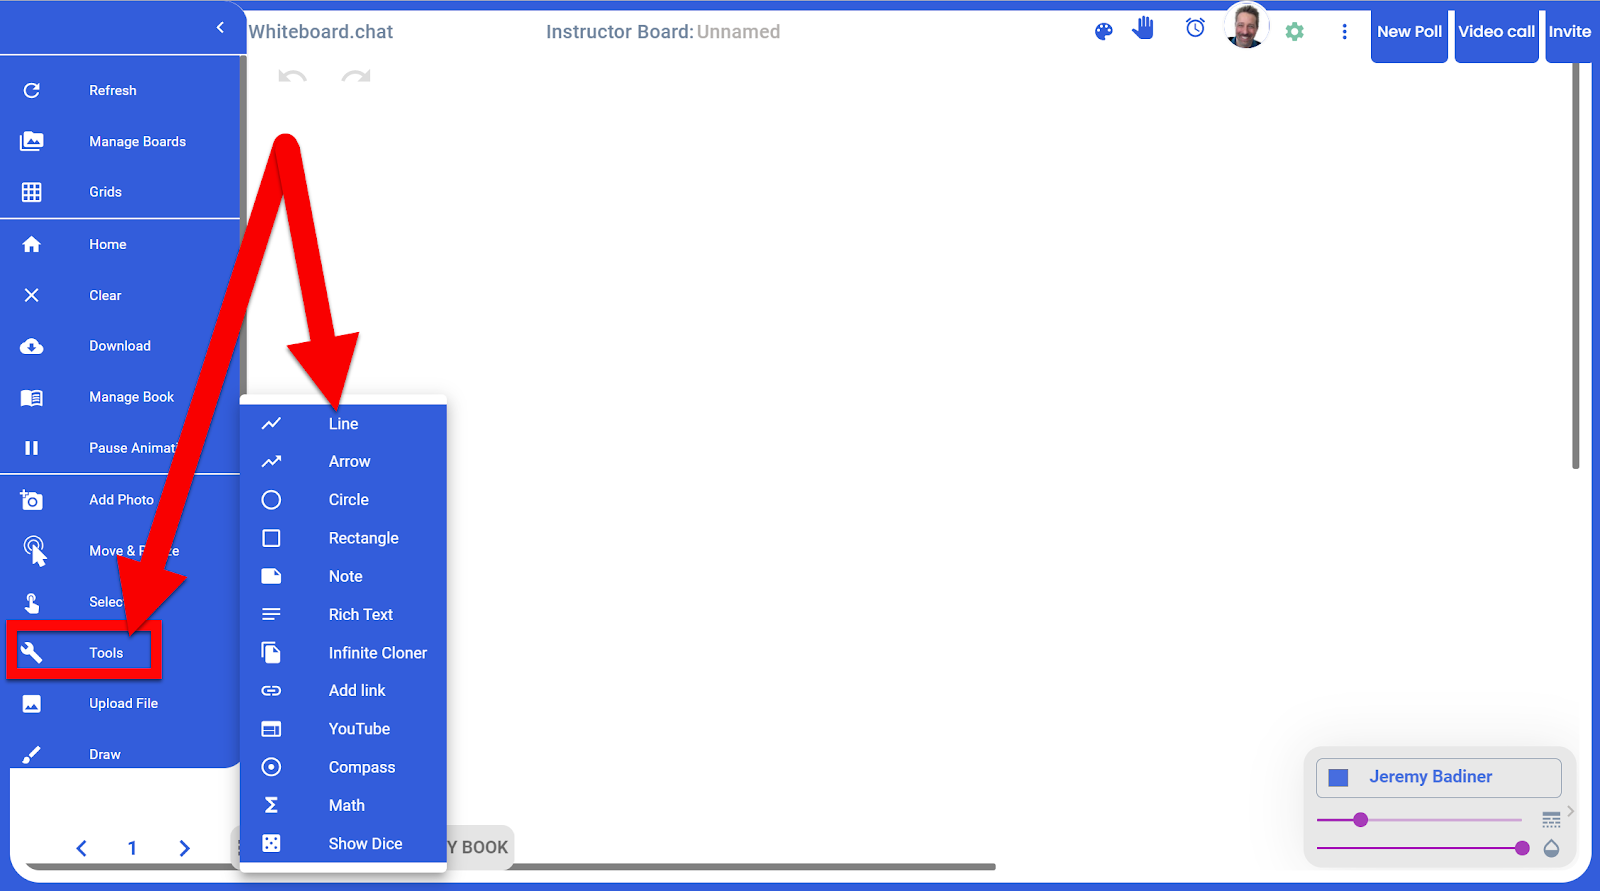
You can upload an image or PDF as the background for students to draw or write on. This is a great way to create “fillable” activities.
Share a Whiteboard:
Click on the “Invite” button in the top right. Then share either the QR Code, Classroom Code, or the URL with your students.
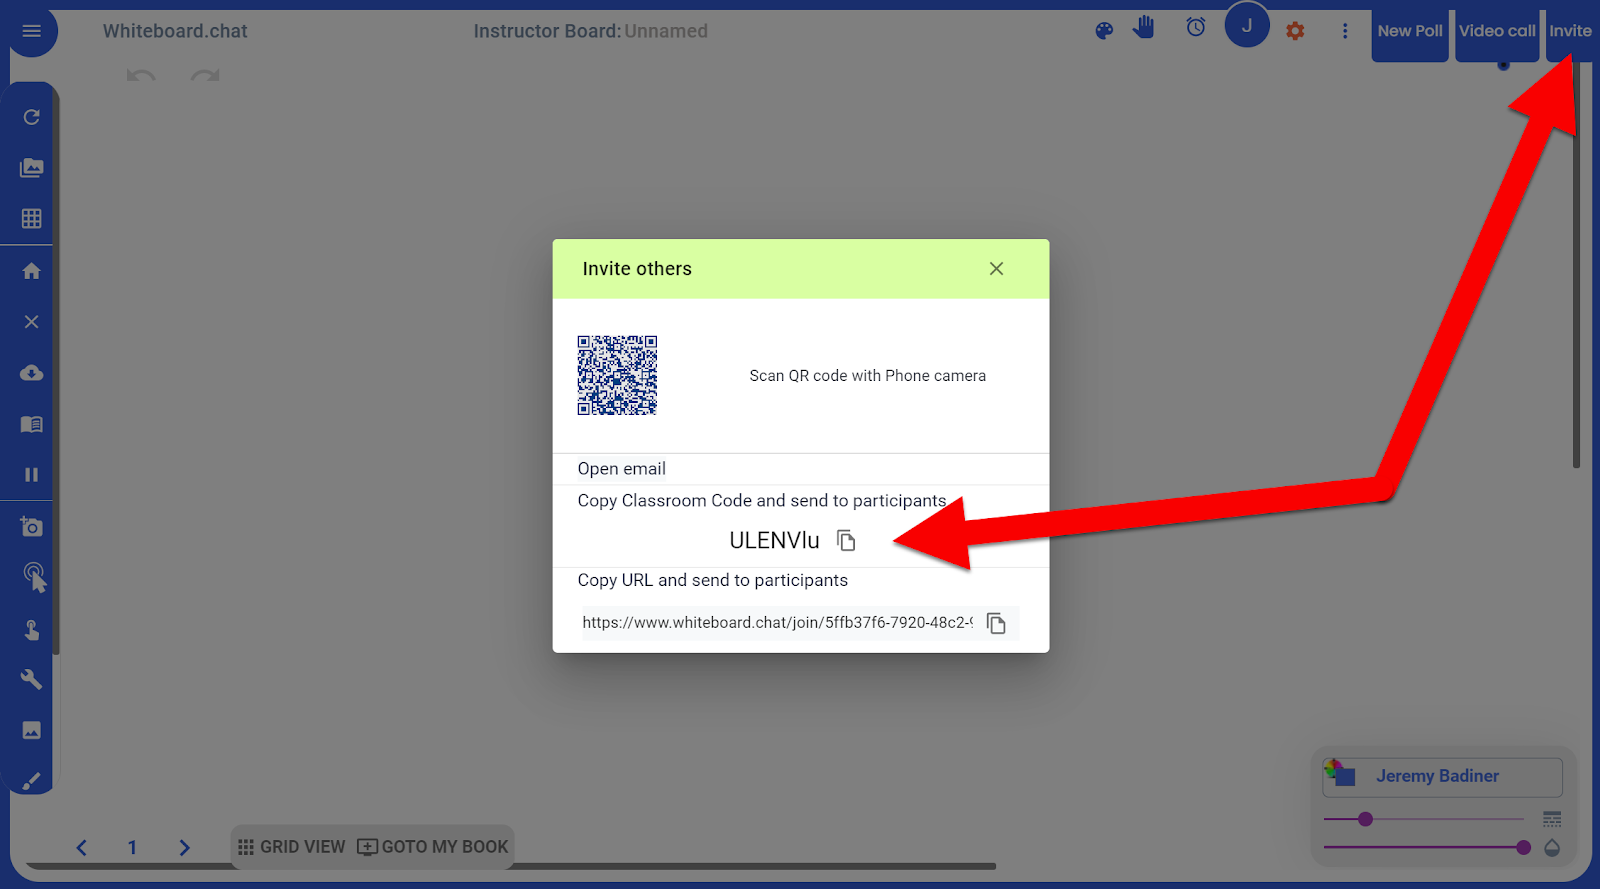
When they join twitch the QR Code or the URL they will be directly in your Whiteboard (nothing more to do to join). If they use the Classroom Code they will need to enter that code in the code box. All will be asked to enter in their name.
If you want them to be signed in (I recommend) have them click the Gear in the top right and then your sign-in method (sign in with Google).

Each student will be assigned a different color. They can change this if they wish (bottom right).
Anything you draw or add to your Whiteboard will be added to their Whiteboard in real-time.
See Student Work:
Here is where Whiteboard.chat gets COOL! You can see their work in real-time.
Click on “Grid View” at the bottom. YOu will see all your students’ screens. You can click on any of them and join their screen and add to their Whiteboard.
You can just see or collaborate with each of your students. There are MANY more options to look at in their feature as well!
This is just a very basic “Get Started” walk-through. There is so much more you can do with Whiteboard.chat. You can collaborate, invite teachers, share a student board with the class, video call, and so much more. Check out all you can do by learning more directly from Whiteboard.chat with their YouTube Videos or join any of their many webinars!