Start a Project:
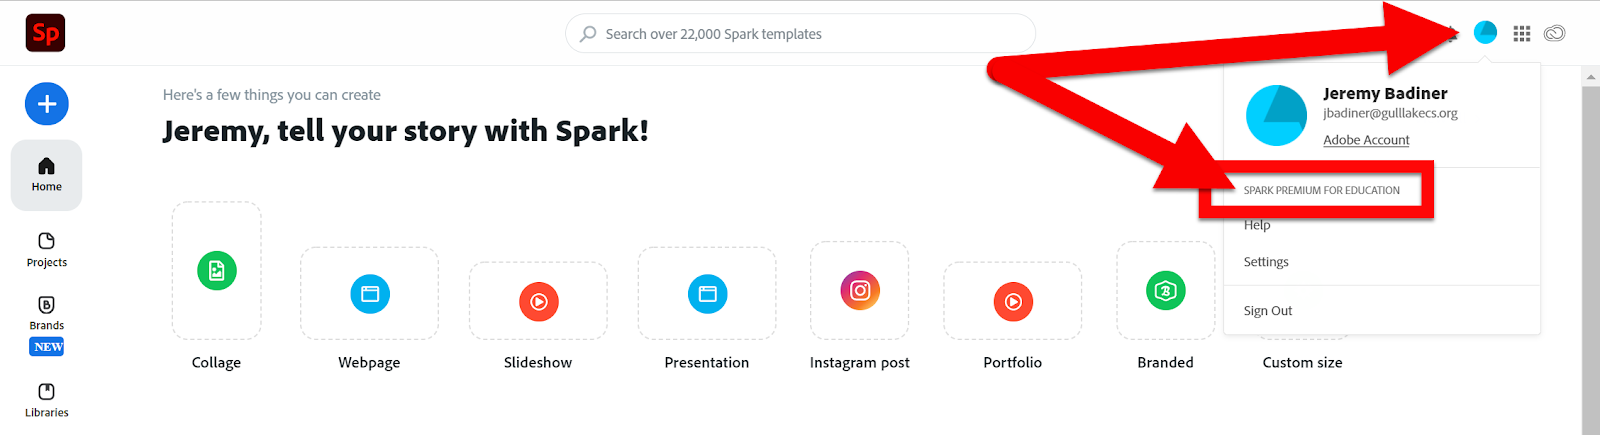
Head to https://express.adobe.com/sp/ and sign in with your Enterprise Account.
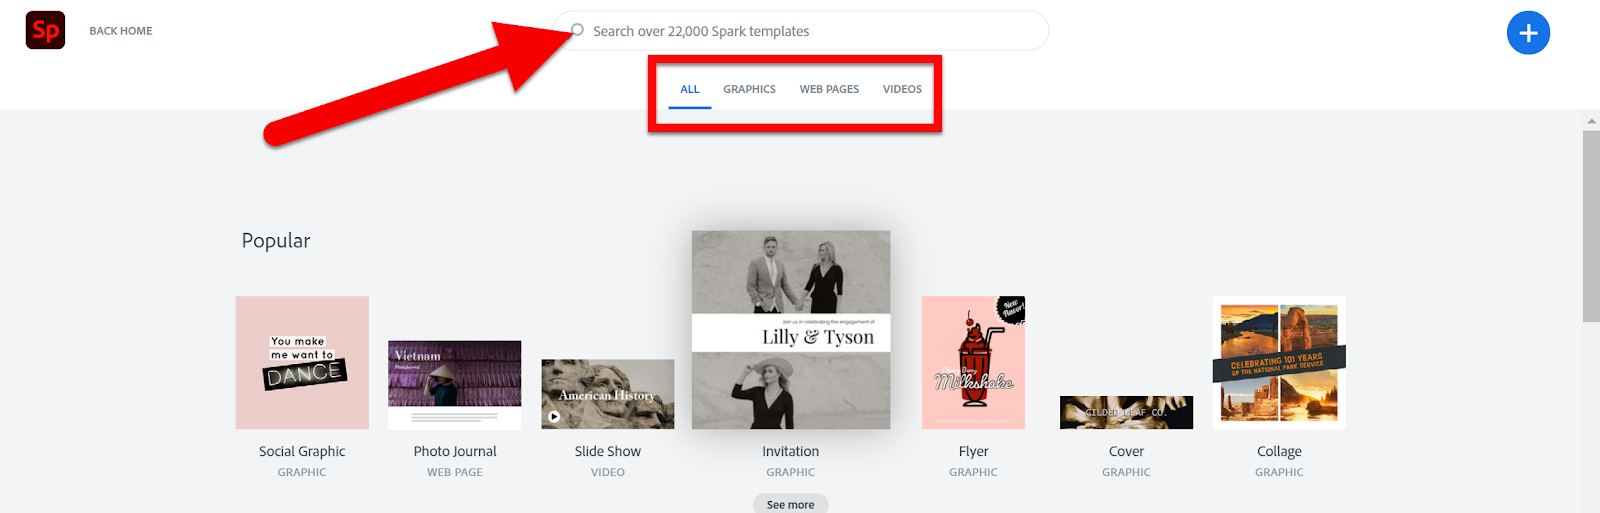
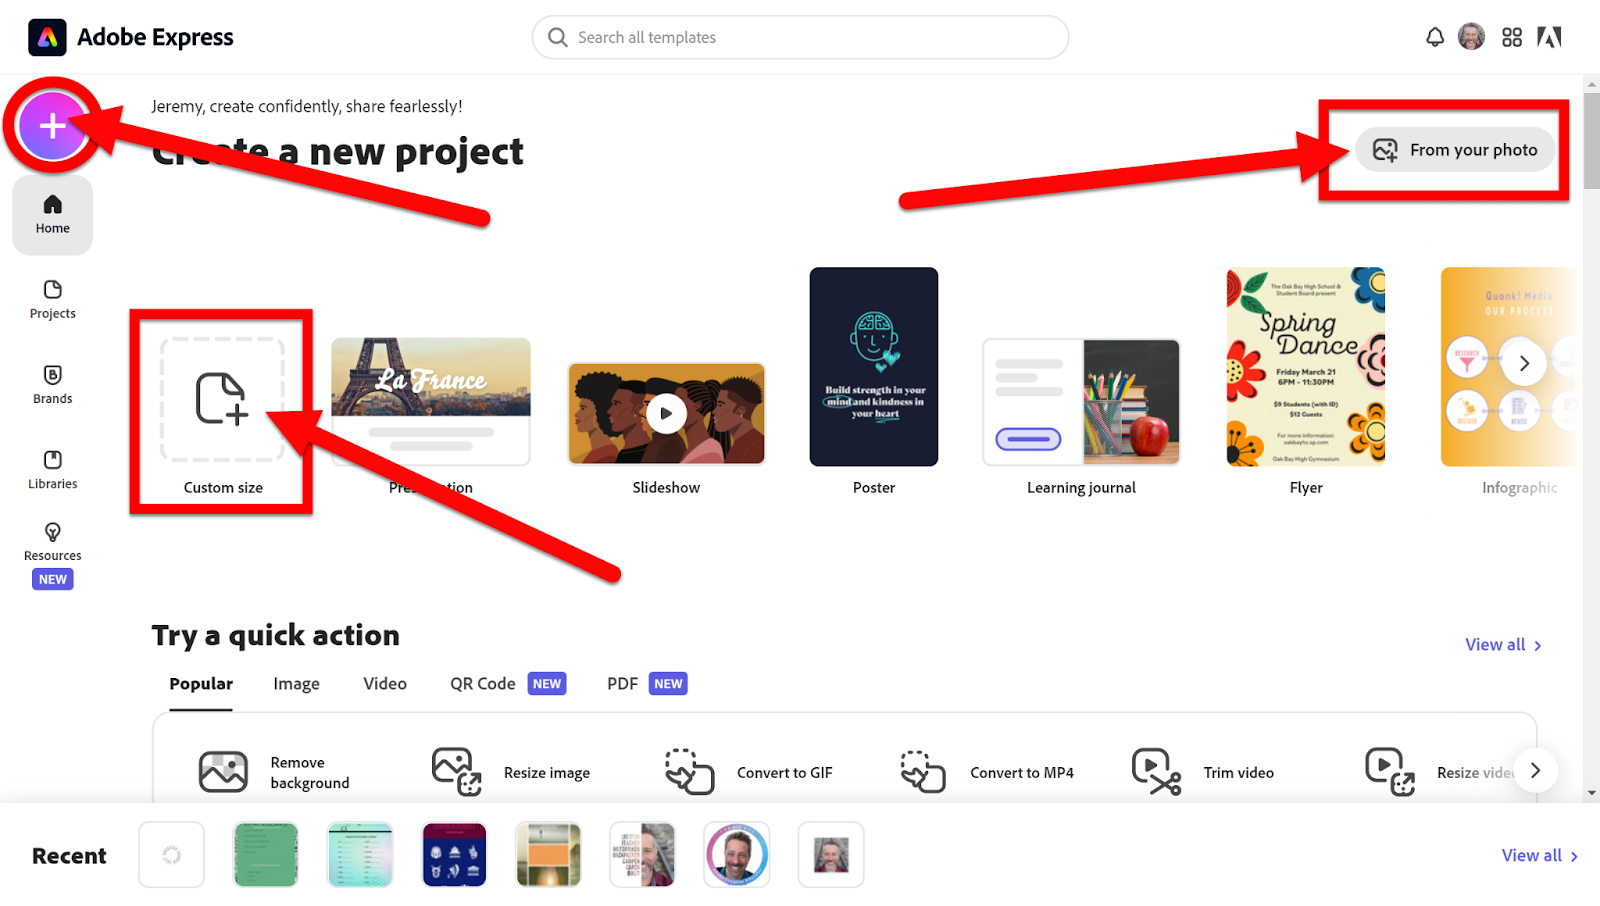
On the main page, you will see a list of easy-to-create projects. You can also click on the purple “+” icon on the left to see more tools. Click on “Custom Size” or “From your photo” to make a quick project.
In addition, you can search for templates with the Search Box or filter by project type.
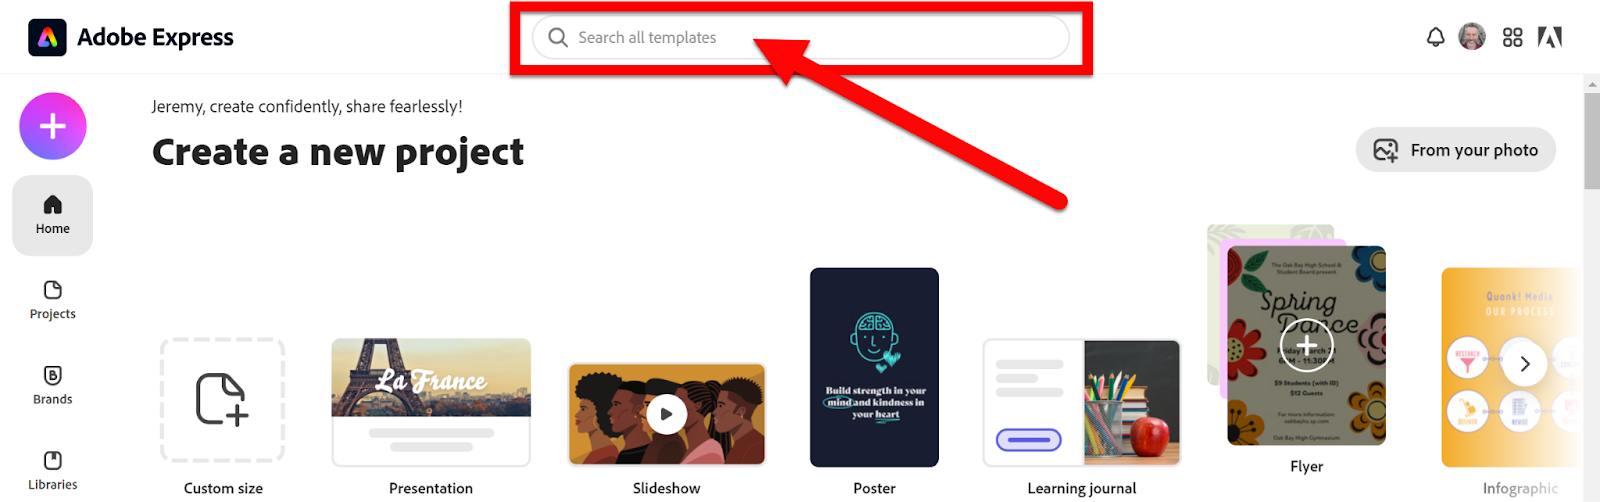
Choose one to use.
Add Curved Text
Add some images or a background to your project.
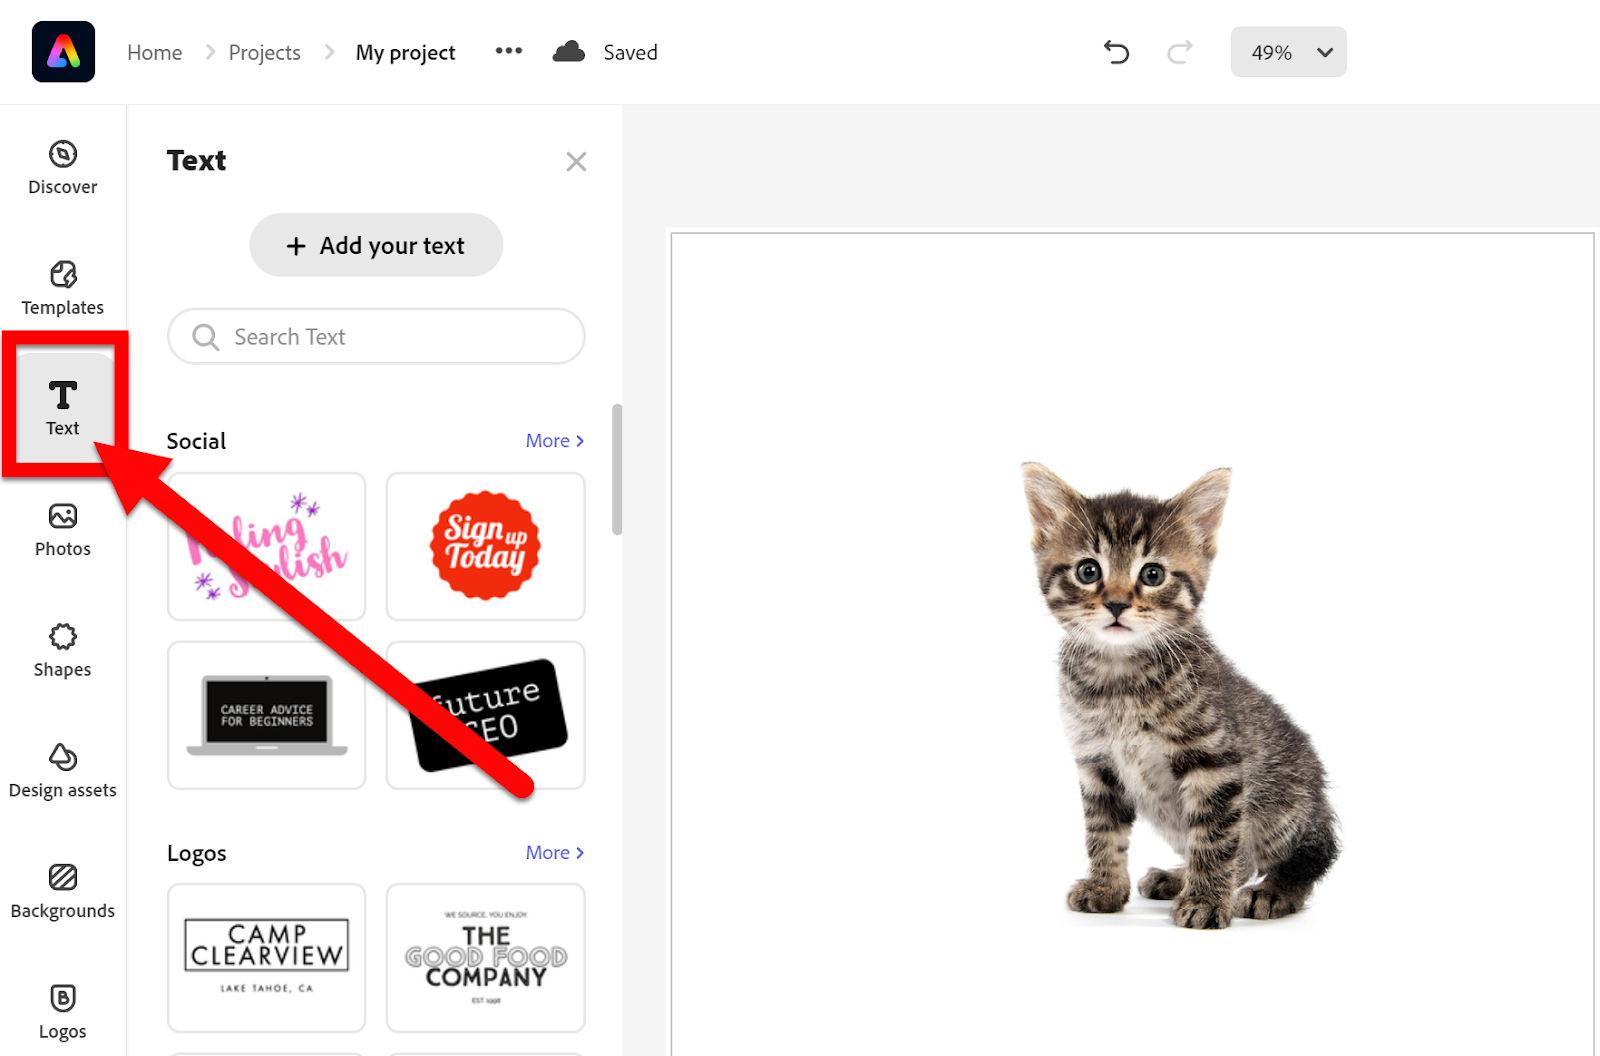
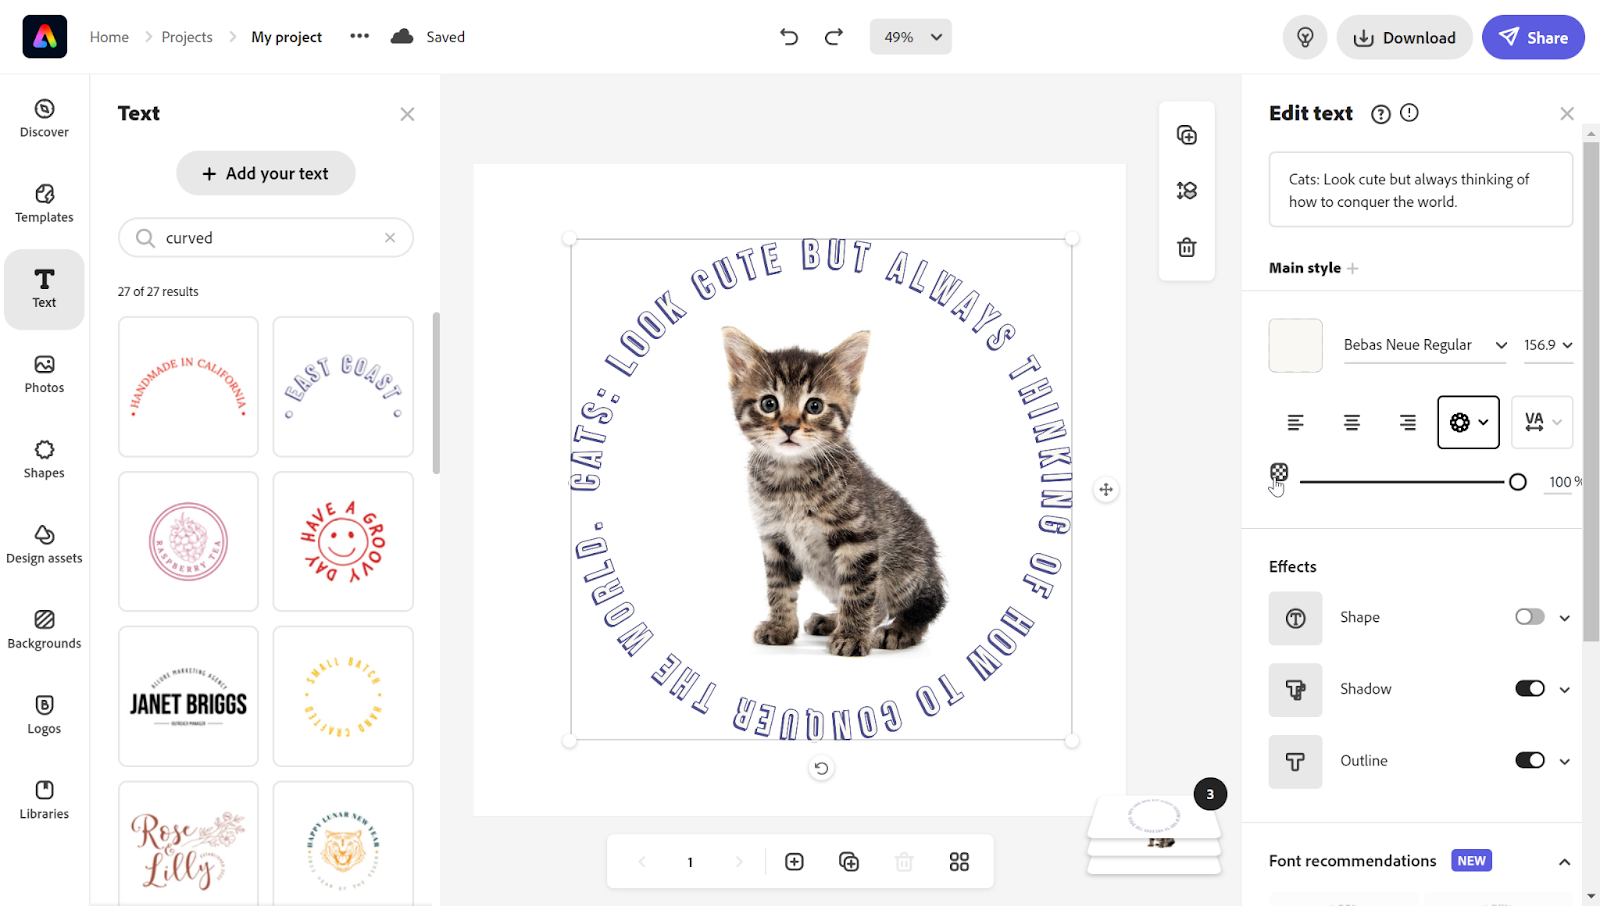
Click on “Text” on the left.
Type “Curved” in the search box and hit enter.
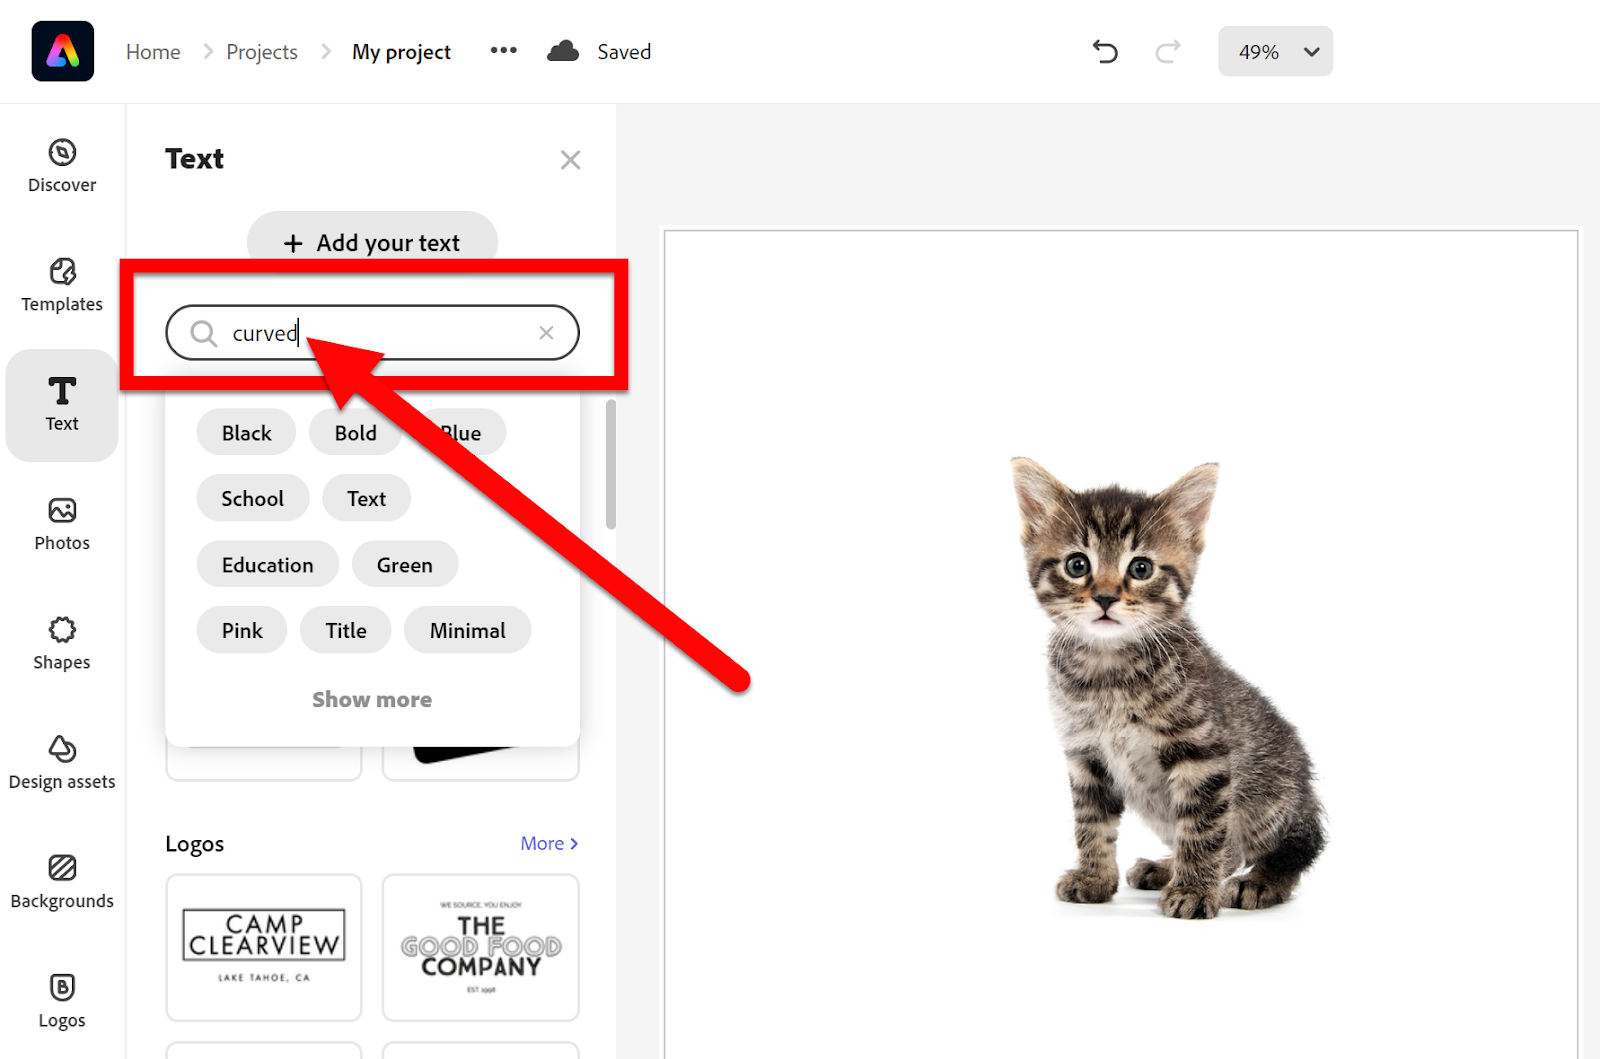
Choose one of the curved styles at the top.

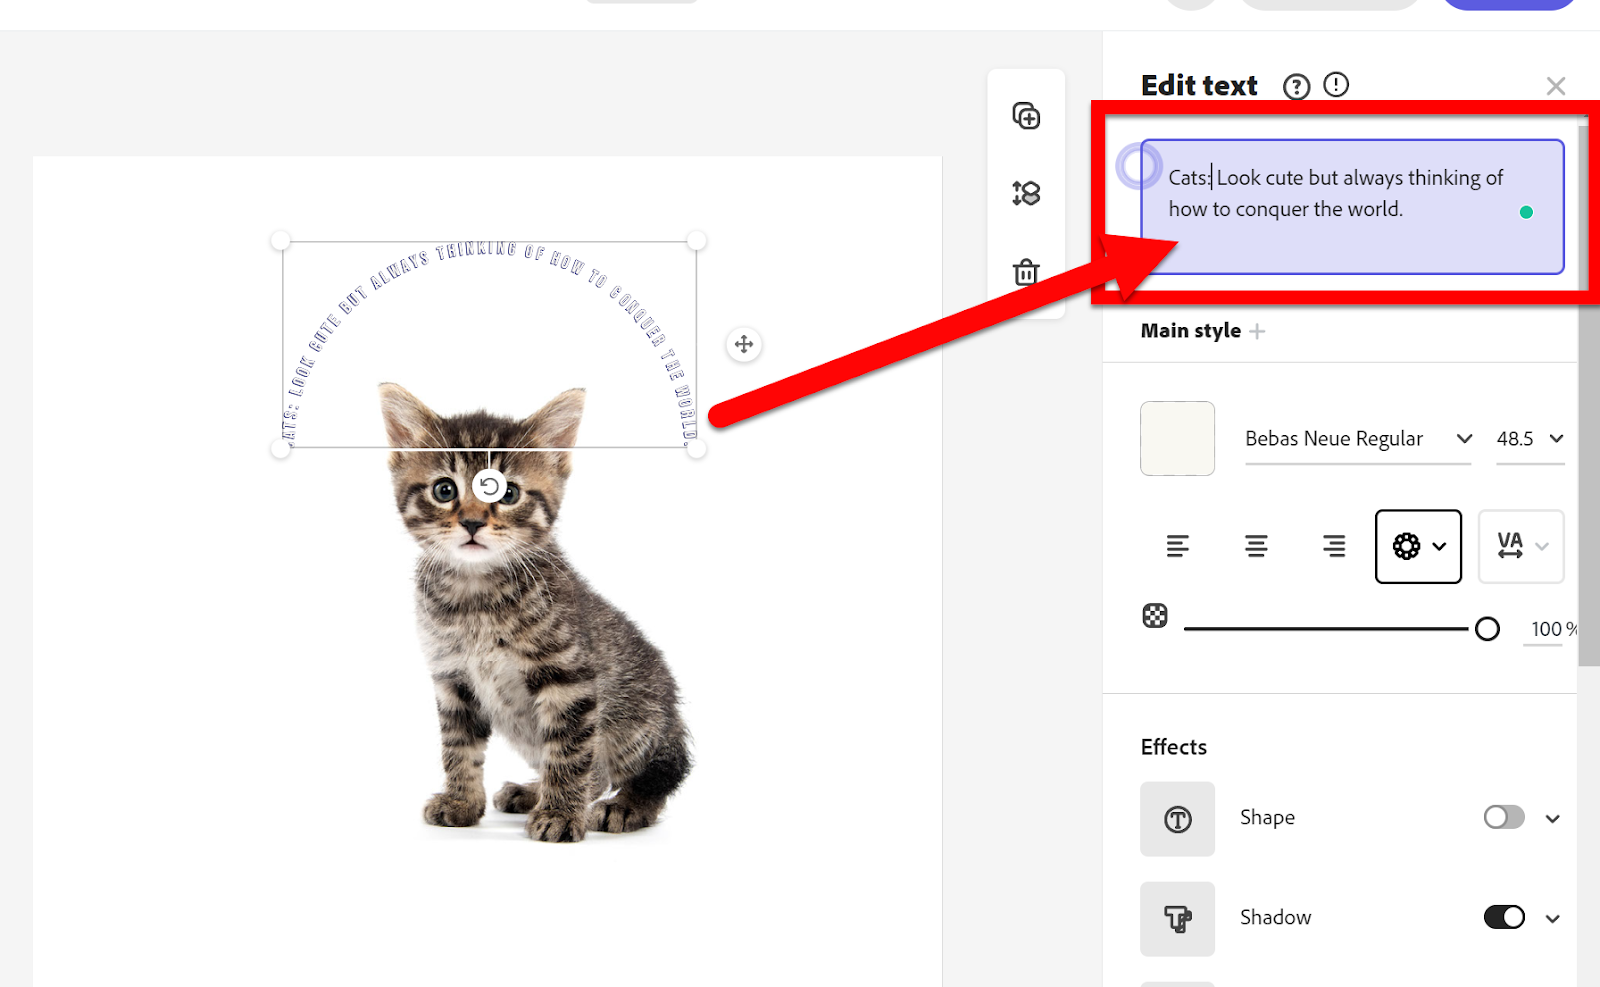
Drag the inserted text to where you want it on your image.
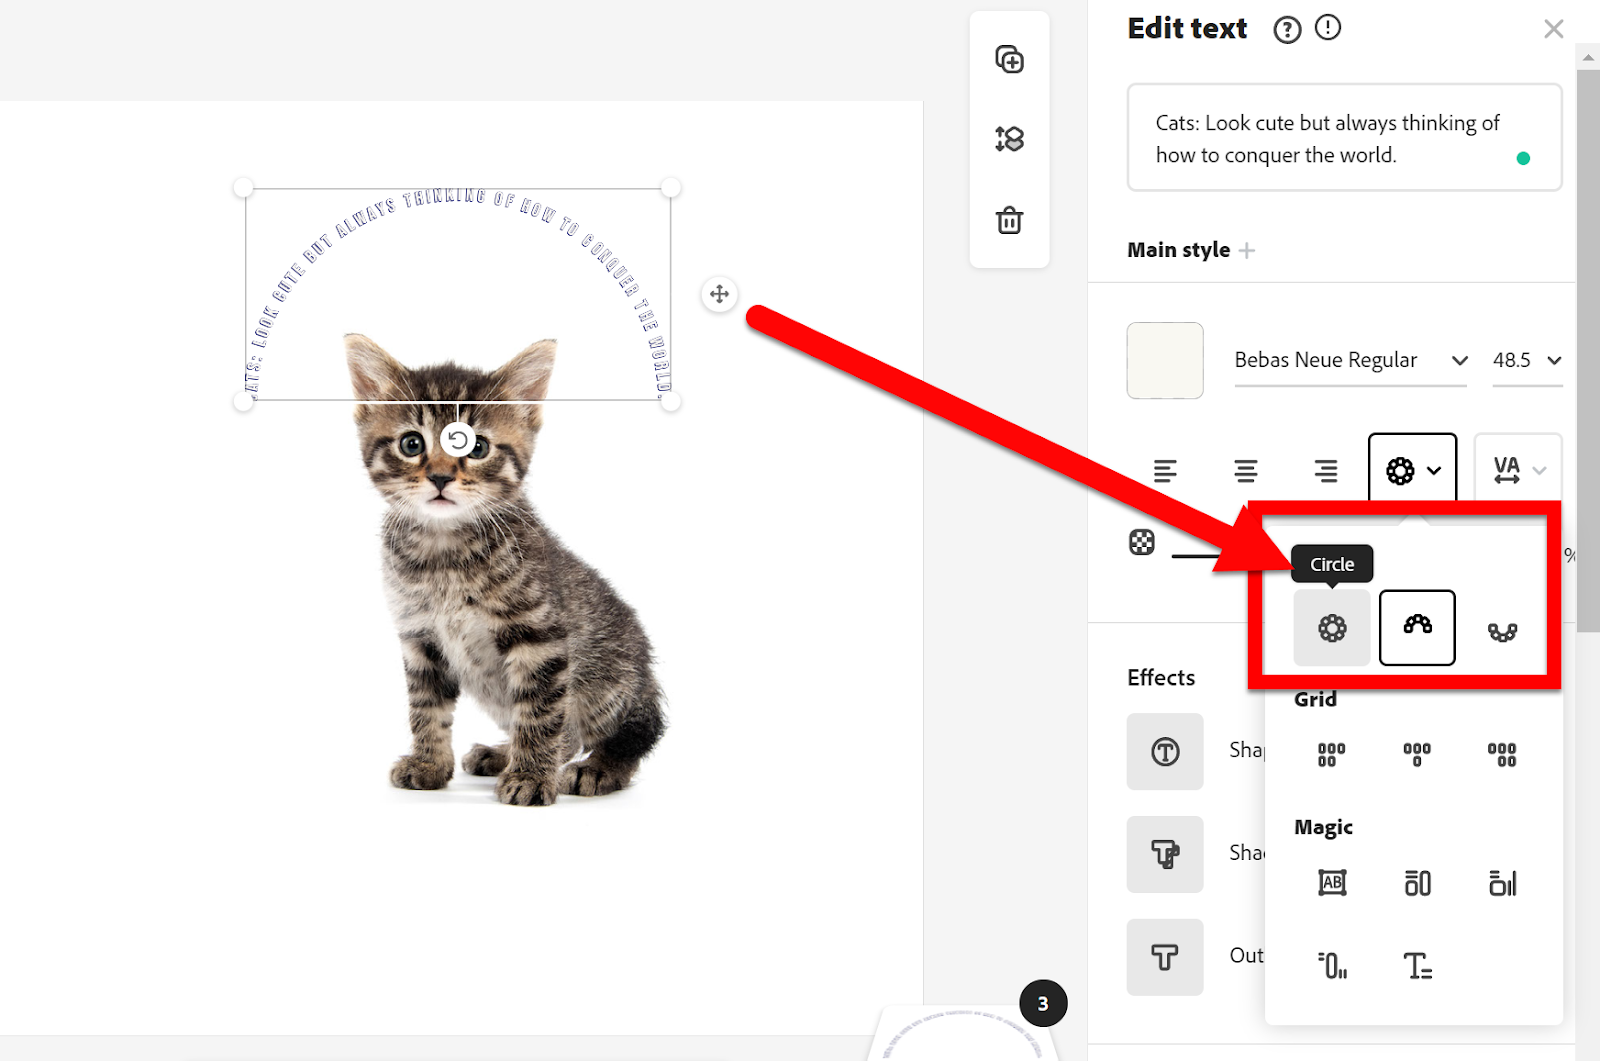
Edit your text.
Change the type of curve by clicking the Curved icon.
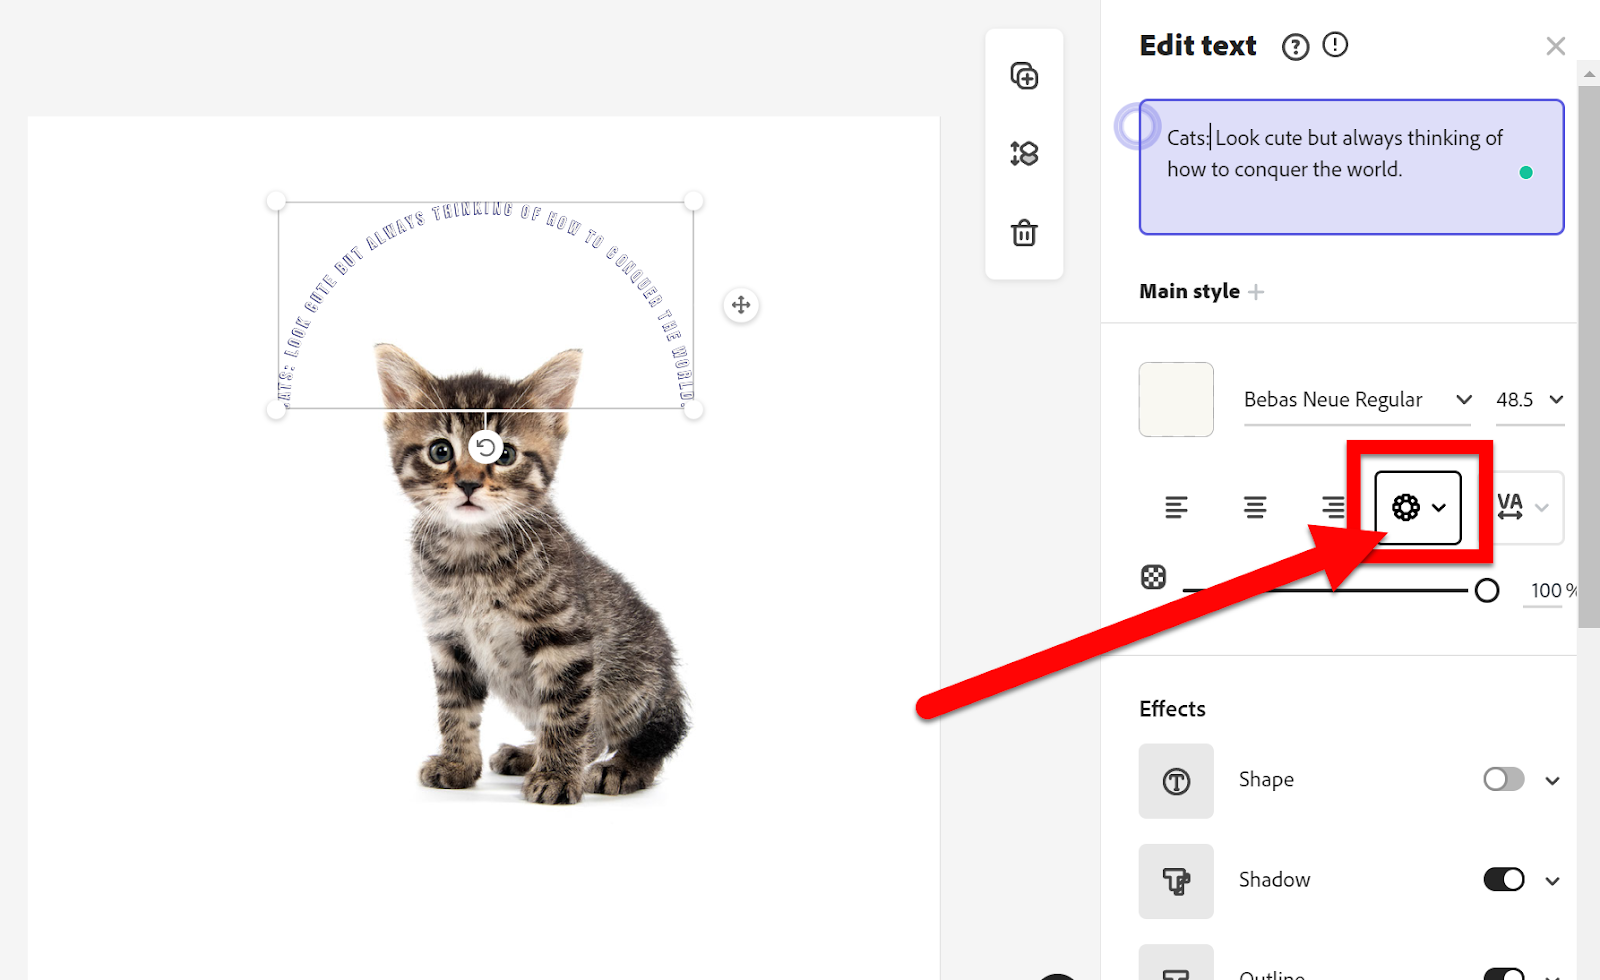
Choose the style you want.
Resize the text on your image.
Share Adobe Creative Cloud Express Projects:
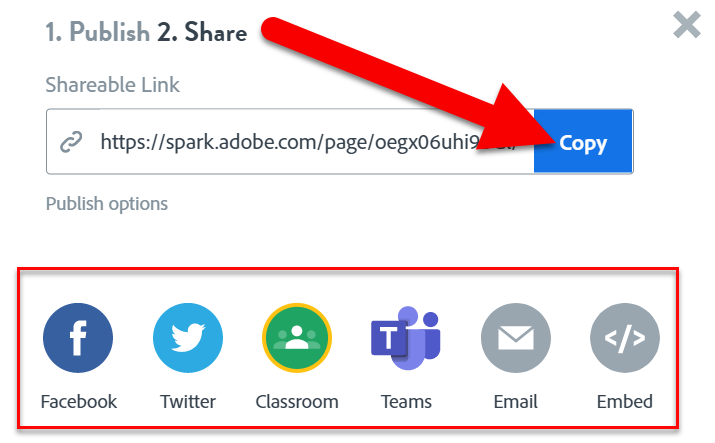
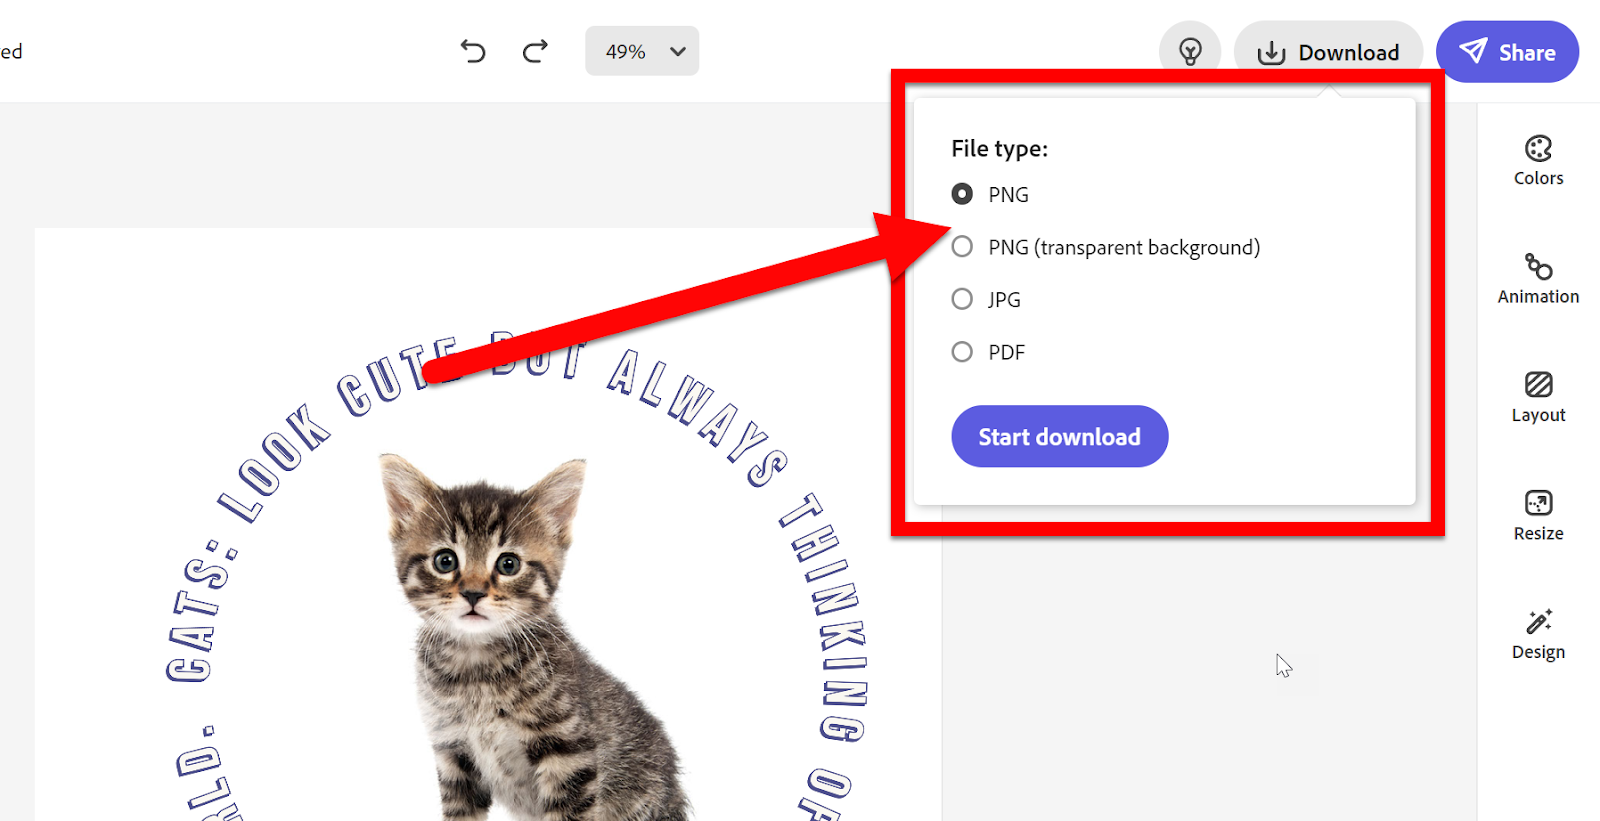
After you create a project you will want to share it. You can share a link to this file or download it as an image. Because you are creating an image you should choose “Download”.

Choose the image format that best fits your needs. I always choose PNG. If you want the background to be transparent, you MUST choose PNG.
Head to Adobe Creative Cloud Express & Start CURVING Your Text!!