

Setting Up your Grid:
- Log into your Flipgrid account and click on “New Grid”.
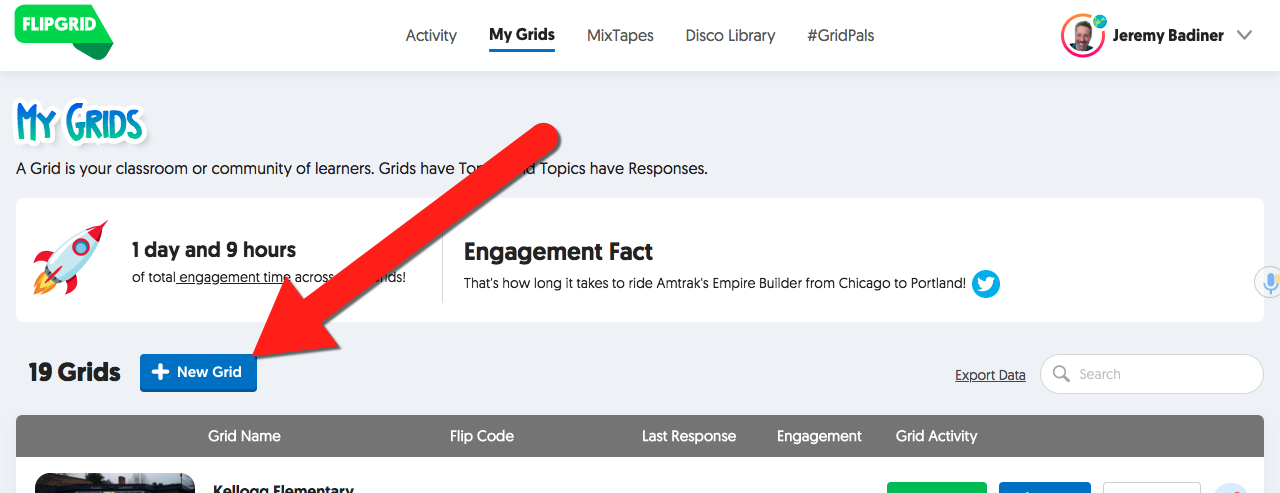
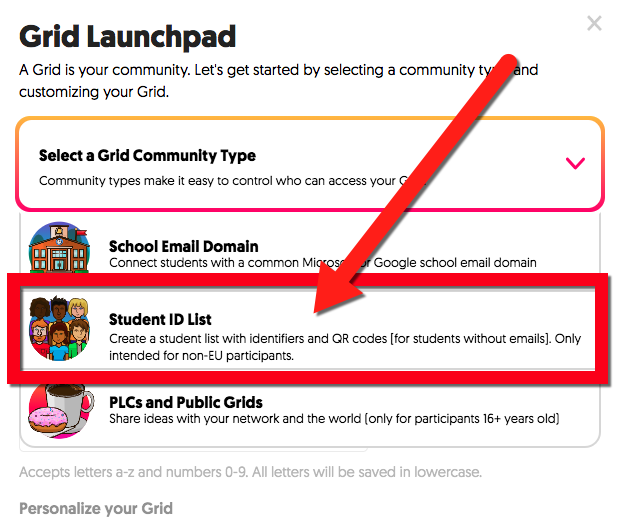
- Choose “Student ID List” as your Community.
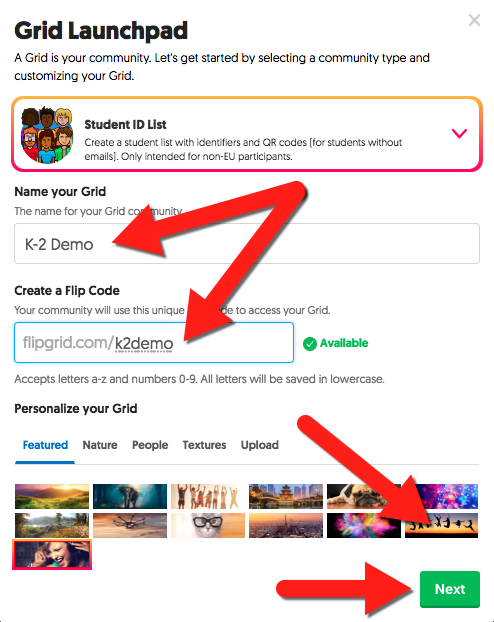
- Name your Grid. I suggest you also name the URL as well (keep in mind that someone may have already chosen the one you want and you may have to get creative). Set the header as well (you can edit any of this later at any time as well).
- Enter in your students )or upload a csv file). No worries, they will not have to type any of this in. They will have QR Codes to scan.
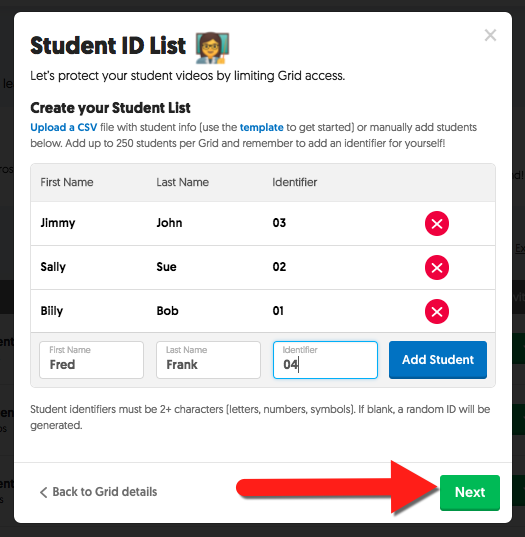
- After entering in all students print their QR Code Cards.

- Click “All Set” and create your Topic!
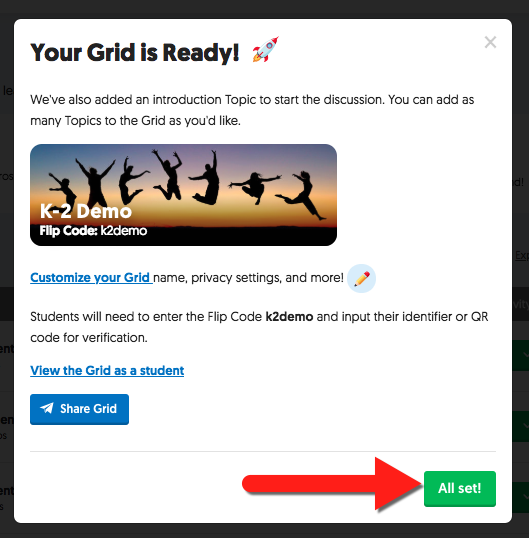
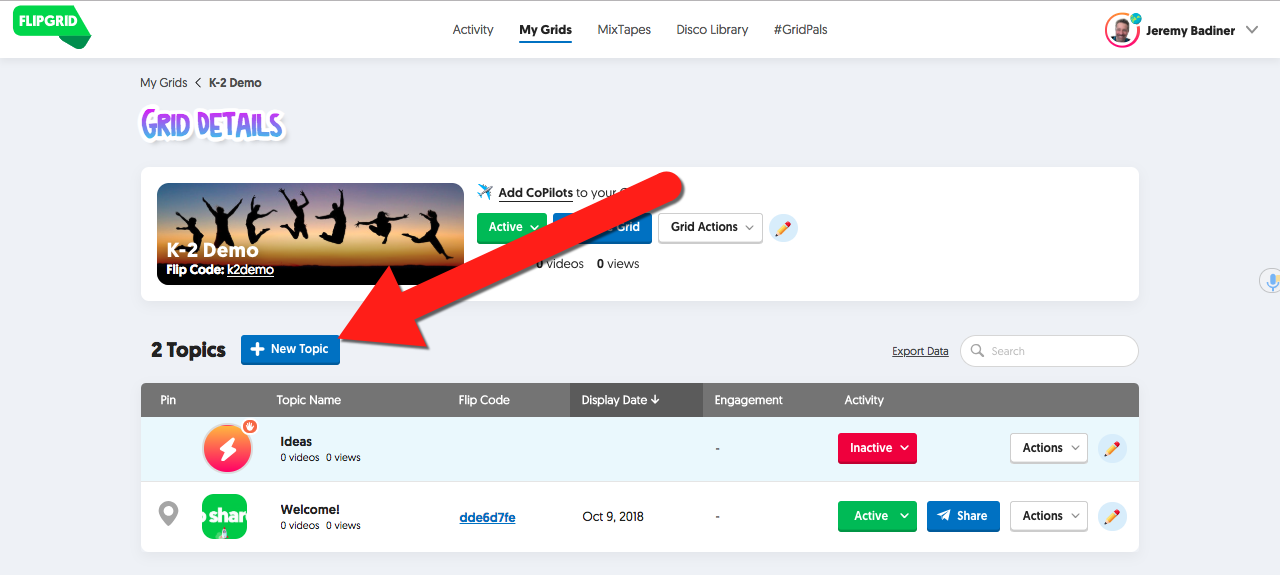
Creating your Topic:
- Click the “New Topic” button and set up your topic.
- Once the topic is created, share it with your students. The easiest way is to open the topic on your screen and push using “Share to Classroom” Chrome Extension. (How-To here.)
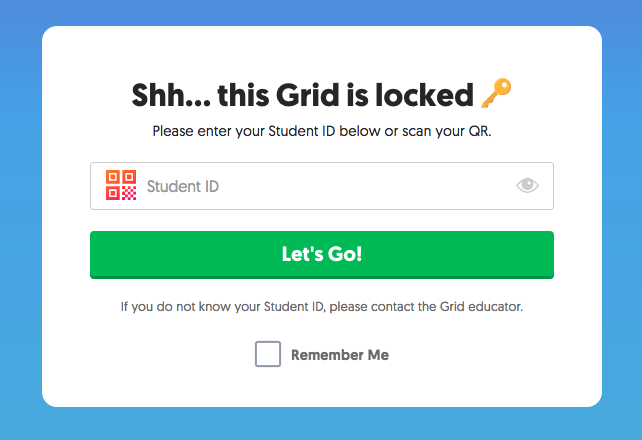
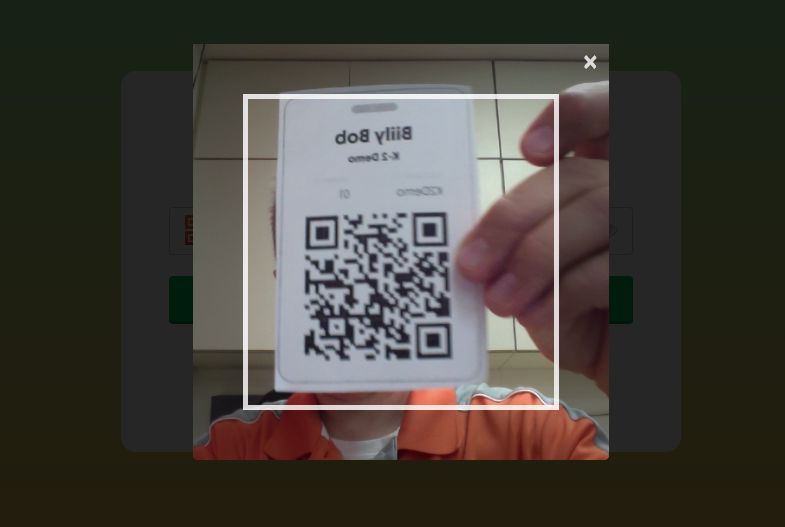
- Have them use their QR Code Card to scan in and sign in.
- Click the Green Plus button to start recording!
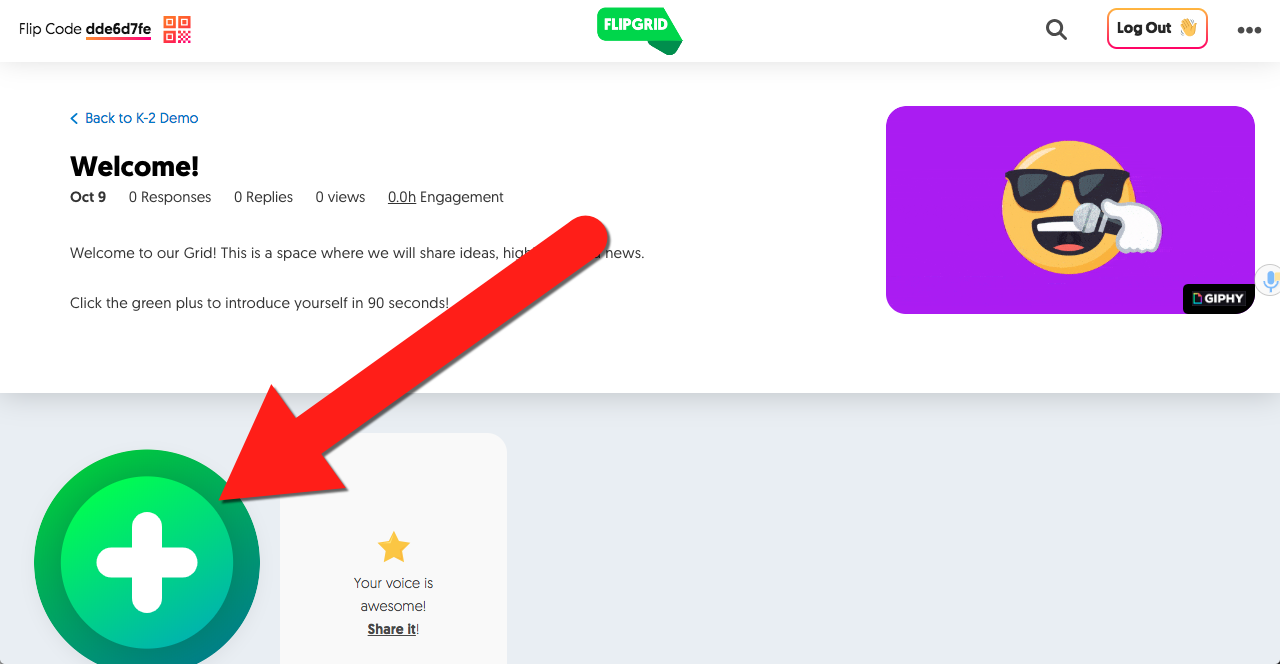
Congrats! You just gave your students a VOICE!
If you want these directions in a document, Click HERE!