Showing posts with label Google Slides. Show all posts

Monday, November 9, 2020

Create a Video or GIF from Google Slides

Google Slides is my “go-to” tool. I use it for presentations, newsletters, creating images, hyper-docs, and many more uses. (You can find some of my other uses
here.) You can also use it to create videos and GIFs! With the Slide’s Add-On called Creator Studio, you can make your Slides come to life! Follow the steps below to give it a try!


Create a Video or GIF:

  1. Create a Slide deck that you want to turn into a video (mp4 of the slides advancing) or a GIF (image of all the slides progressing). 

  2. Make sure to add the Creator Studio Slide’s Add-On.

  3. Click on “Add-Ons and choose Creator Studio. You can just click “Open” or choose “Create GIF” or “Create Video”.


  1. Let it run (this can take a minute depending on how many slides you have).

  2. Set the output size (in pixels).


  1. Set the Interval (in seconds). The lower the number, the faster the slides advance. When I make a GIF or Video with a lot of slides I make this less than 1 (ex: .2 is about ¼ or a second). 


  1. Choose your Choose Export Format (GIF or Video) and click “Go”.


  1. It will create this for you (might take a minute).

  2. Then click the Download icon or the Preview icon. 

  3. Once downloaded, add or share this as you need!


Here is an example of 86 Slides created as a GIF:


This brings your Slide decks to life as a playable Video or GIF!


If you want these steps as a Document click HERE!


Tuesday, July 7, 2020

Record Video to Slides

Google Slides is my favorite and in my opinion, the most useful tool in the G Suite. You can make presentations, newsletters, interactive activities, choose your own adventure books, and so much more (check out some of my uses in this Slide Deck: Unlock the Superpowers of Google Slides). You can add a video to any Google Slide, but you must first have that video in your Drive or on YouTube. There is another way to get a video created using your webcam easily. Just add the Record to Slides Chrome extension and adding a video is as easy as a push of a button! Give it a try!


Add Video to Slides:
  1. Head to the Chrome Webstore and add the Record to Slides Chrome extension.
  2. Open a Google Slide.
  3. Click on the camera icon that has been added to Slides to the left of the “Present” icon.

  1. Accept permissions if it is the first time using the extension. Then click the record button at the bottom left.

  1. Record using your webcam then stop the recording by clicking the same button you started recording with. Your video will preview to the right (the camera still shows to the left). Click on the preview on the right and then click “OK”.


  1. The video will be inserted into the Slide. Drag it to where you want it and resize as you wish.

  1. You can adjust any settings for this video using the “Format options”.


Share the Drive Folder:
A folder is created in your Drive named “Record to Slides Resources”. In order for others to see the videos, you add to a slide you must share each video. There is an easy way to do this. Make the folder a shared folder by following these directions: Share Folders in Drive.


If you want these directions in a document click HERE!

Monday, May 4, 2020

Create a Table of Contents in Google Slides

Google Slides is my “go-to” tool. I use it for presentations, newsletters, creating images & GIFs, hyper-docs, and many more uses. (You can find some of my other uses here.) Often times these slide decks can get long. There is an easy way to make a table of contents (or a launch page) to get to slides easily and quickly. Sheck out the steps below to do that!


Create a Table of Contents:
  1. Open a slide deck.
  2. Go to one of the first pages where you want to add links to other slides.
  3. Create a text box, shape, or image that will be your icon to click.


  1. Make that text/shape/image a link.

  1. In the dropdown choose a slide from this deck. Ta-da!


When you click on the “trigger” in edit/view mode you will get a link to that slide. When you click on it in Presentation Mode, you will jump to that slide.


Check out my“How-To” video HERE:


This works great for long slide decks like multiple day lesson plans or activities. Also, it is a great way to jump to topics, sections, or specific slides at any time for presenters or students!


If you want these directions in a document click HERE!

Wednesday, May 29, 2019

Add Audio in Google Slides

One of the options that has always been missing from Google Slides is the option to attach audio within a Slide. Now there is a Native-to-Slides way to have audio in your Slides! Can you hear the world rejoicing and cheering for joy? Follow the steps below and start making your presentations heard!


Add Audio to Drive:
  1. In order to add audio to your Google Slides, you first must upload your audio into your Google Drive. Make sure the clip you want to use is either an MP3 or WAV file. These are the only file types supported by Slides. Here are some great tools to record:
  2. There are many free file converters available online if you need to convert your audio files. Here are two that work: 

* I suggest creating a folder with all your audio and making the folder shared as “Anyone with the link can view”. Then all your audio for all your Slides is in one easy to manage location and will work with shared slide decks!


Insert Audio in Slides:

  1. Open a Google Slide deck.
  2. On any slide you want audio to play click “Insert” and choose “Audio”.
  3. Search for the audio clip from within your Drive.


  4. Once you select audio an audio icon will be placed on your slide. You can drag and move the player icon anywhere you want. Also, you can replace it with an image (or even a GIF).
  5. You can even remove it completely (in Audio Settings). You will need to set it to start playback “Automatically” in order to remove it while presenting.


  6. The options for the icon/image for the audio is the same as all images in Google Slides.  The size and color can be edited as well as adding Drop Shadow or Reflection.
  7. The audio sound level can be adjusted, as well as setting it to autoplay, loop, or stop on slide change.


Now, sit back and make your Google Slides heard by all!


If you want these steps in a document click HERE!


Friday, June 22, 2018

AutoPlay Audio in Google Slides

One of the parts of Google Slides that was missing was the option to have any sort of audio autoplay when a slide advanced. There were workarounds like embedding YouTube videos into slides and clicking on the video when the slide began, but there has not been a true way to have audio start automatically when a slide begins...until now! Thanks to an awesome Chrome Extension this is now possible (I am still hoping Google will bake this into Slides natively soon). Follow the steps below and start making your presentations heard!


Install Extension:
1. The first thing you will need to do is install the AudioPlayer for Slides Extension.

2.  Click on the extensions and allow access. if you are like me, hide in the Chrome menu.


Use Extension:
1. Open a Google Slide deck.

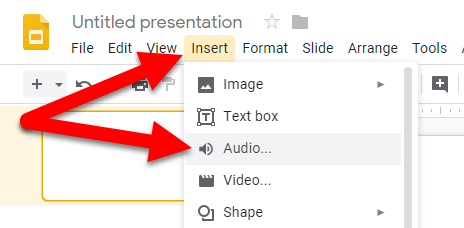
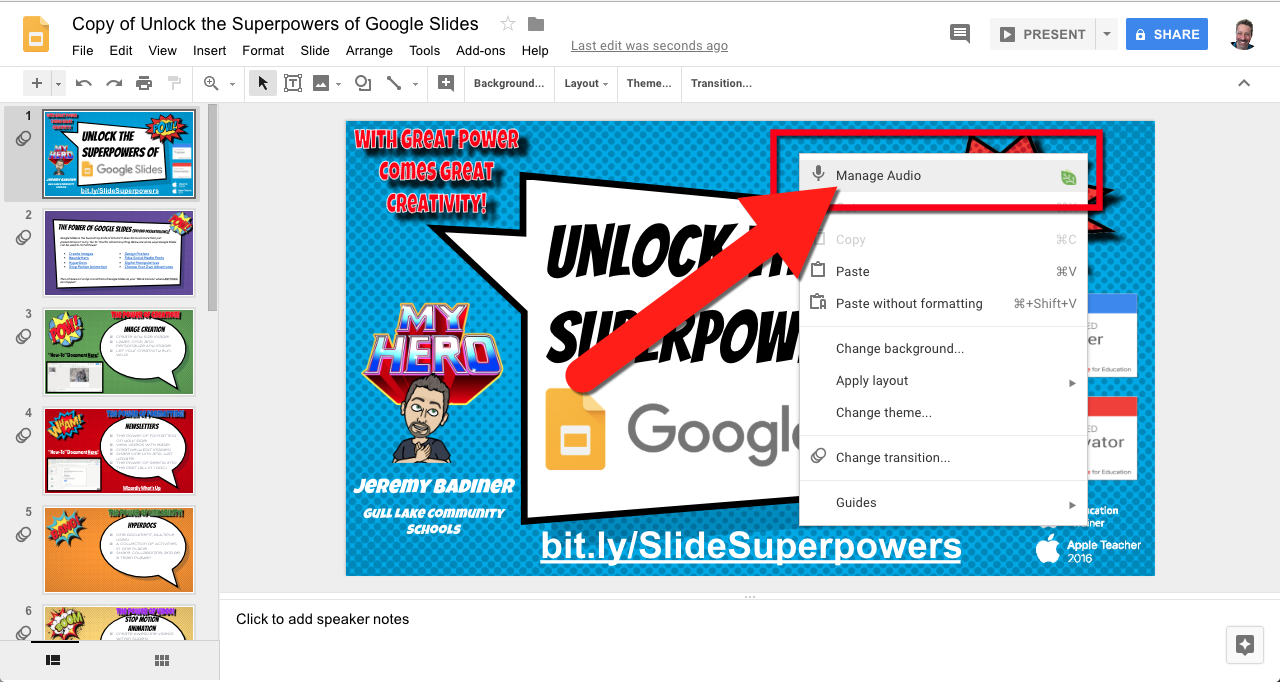
2. On any slide you want audio to play automatically, right-click anywhere on the slide.

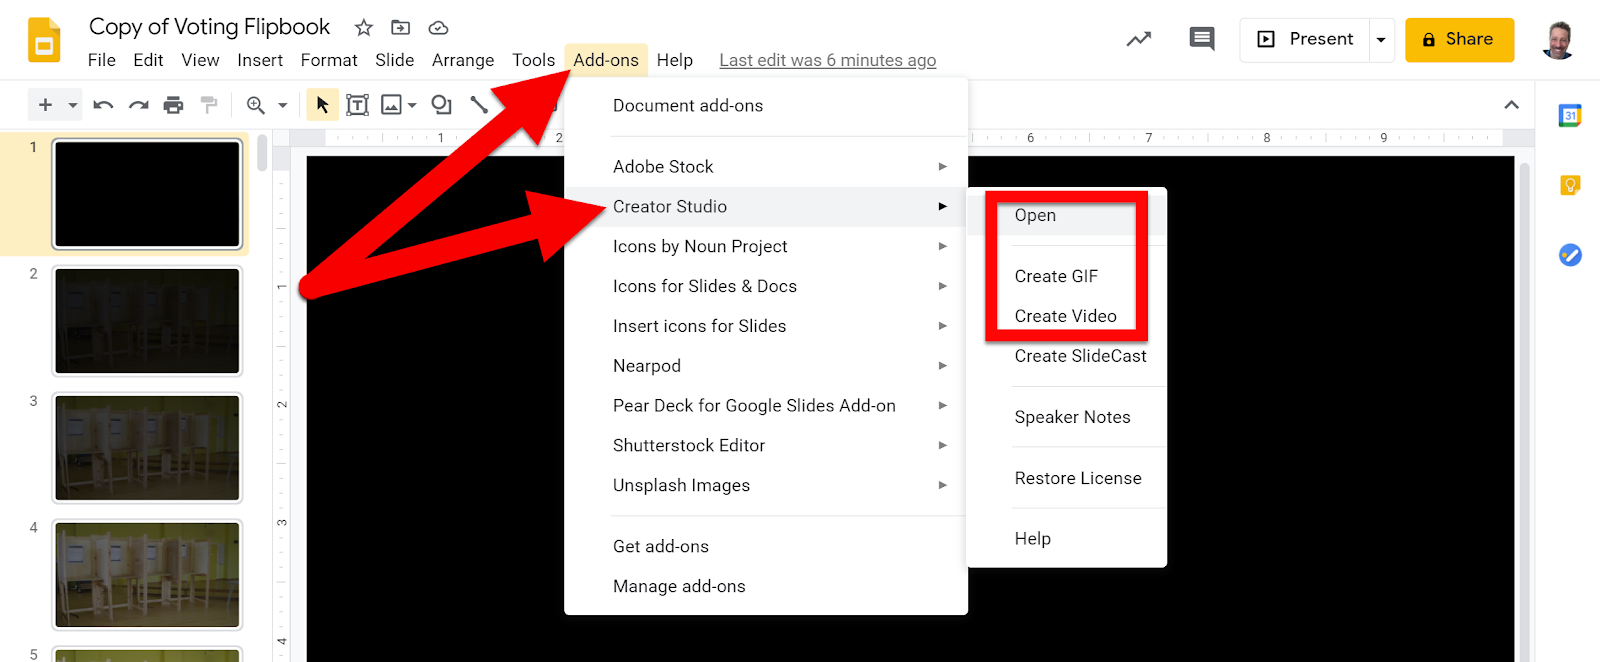
3. The top option is “Manage Audio”. Click that option.


4. Some notes:
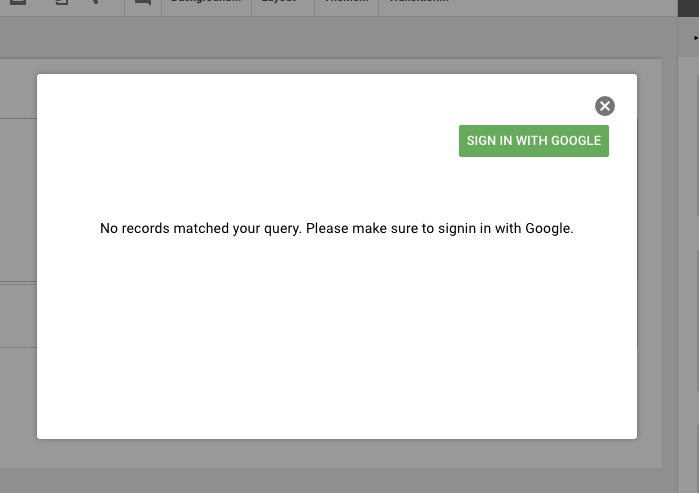
  • The first time you do this you will need to authorize the extension. Go ahead and allow it to access the needed locations.


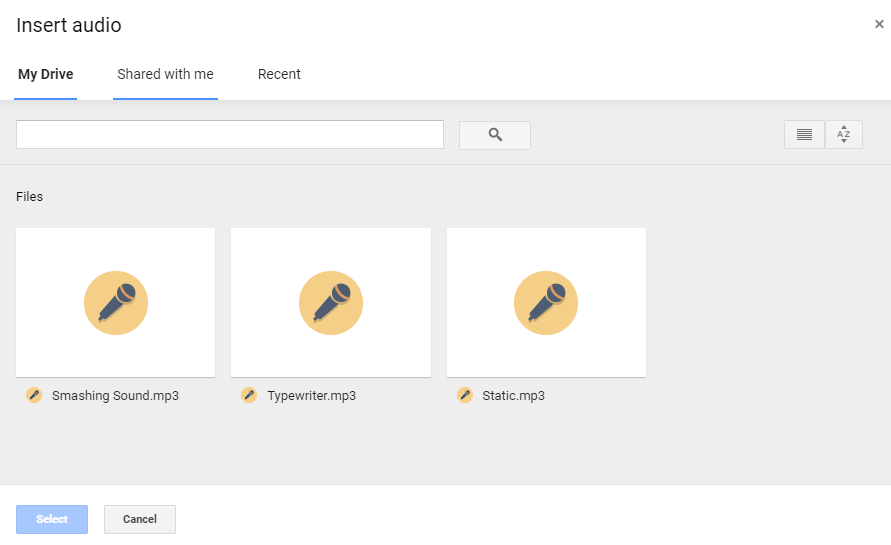
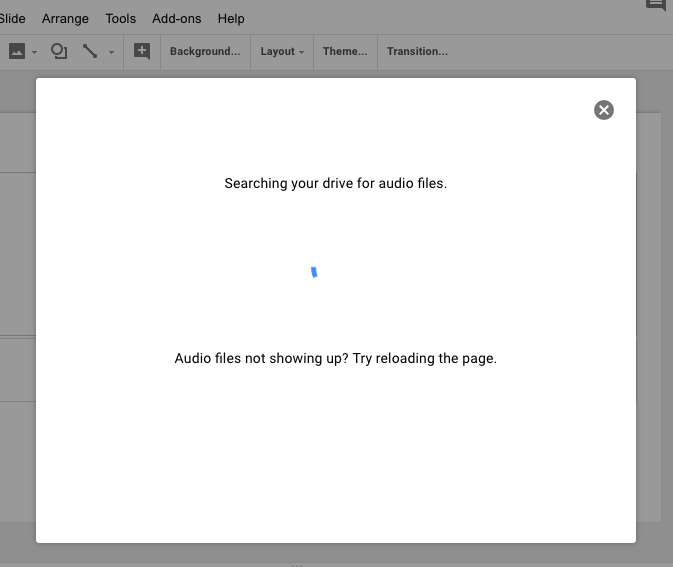
  • It will search your Drive for audio files (depending on how many you have it may take a moment the first time.

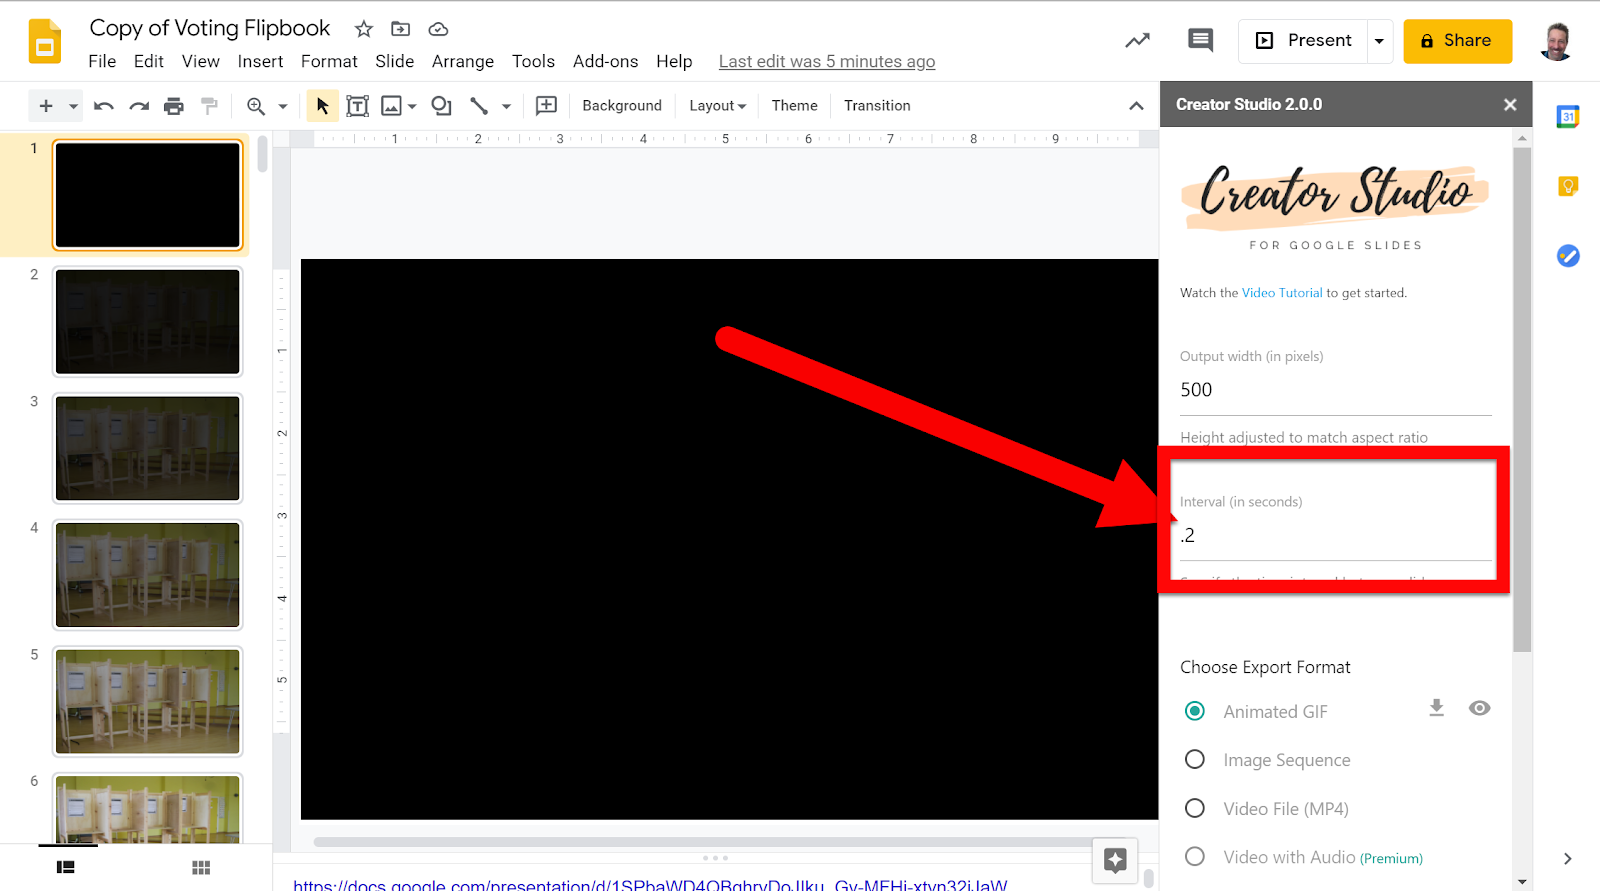
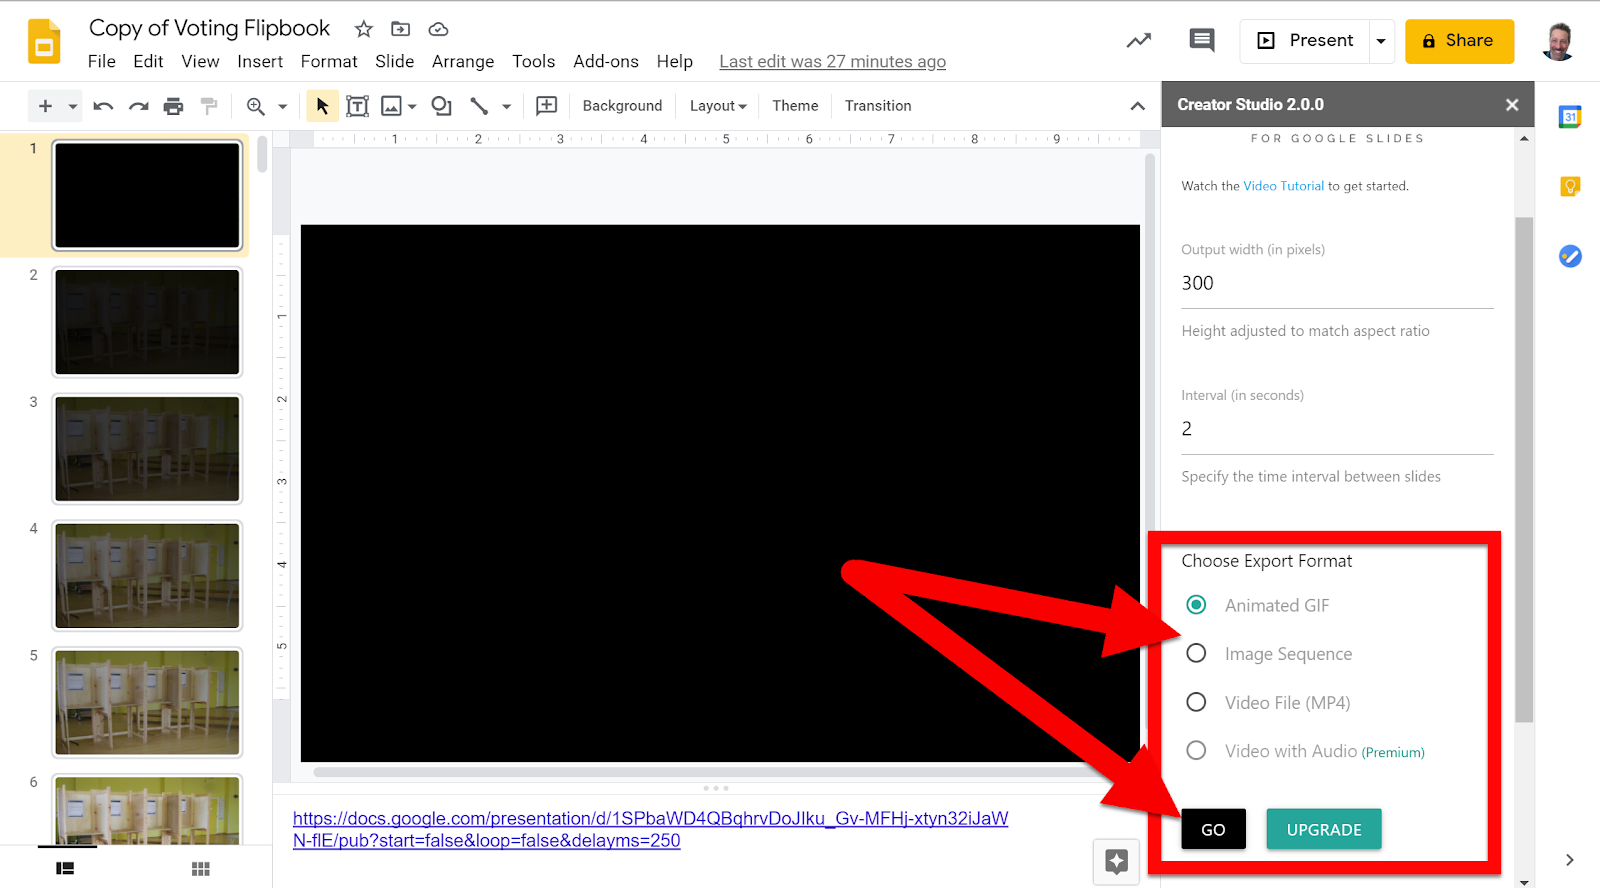
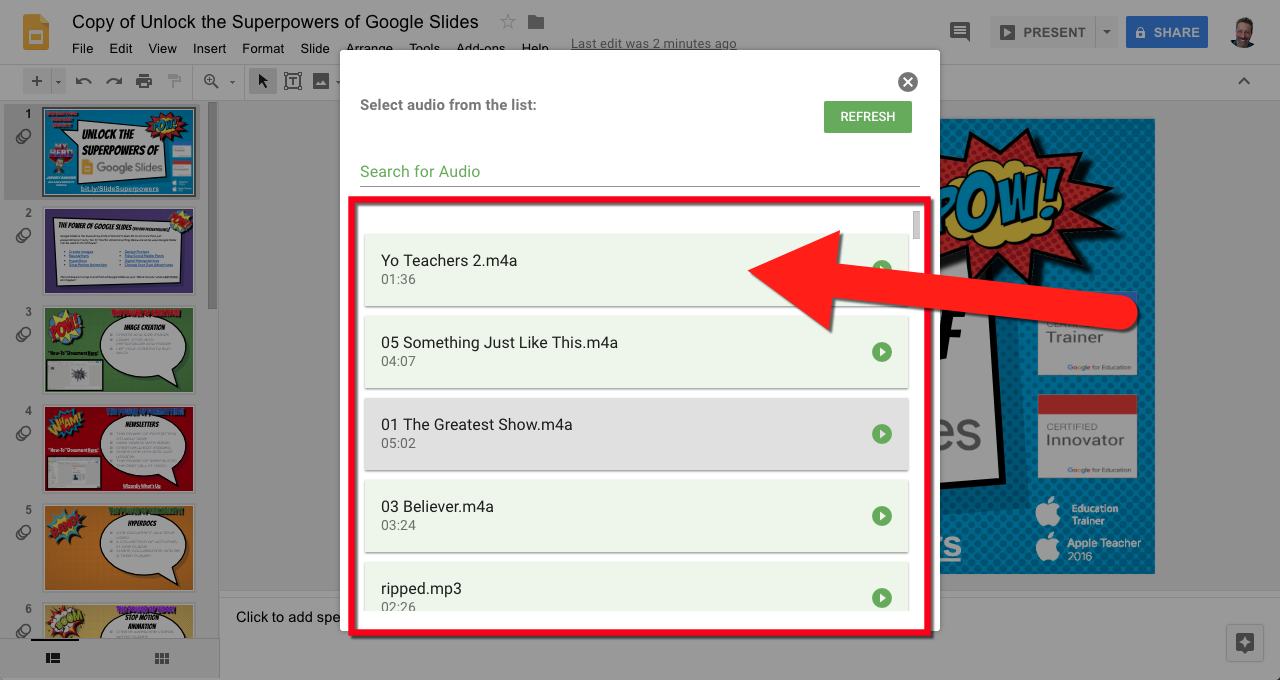
5. Choose the audio from your Drive (yep, it has to be already stored in your Drive) and click on the audio file you want to be added to this slide.


6. Once chosen you will be alerted that the selected audio file will be played on the slide.


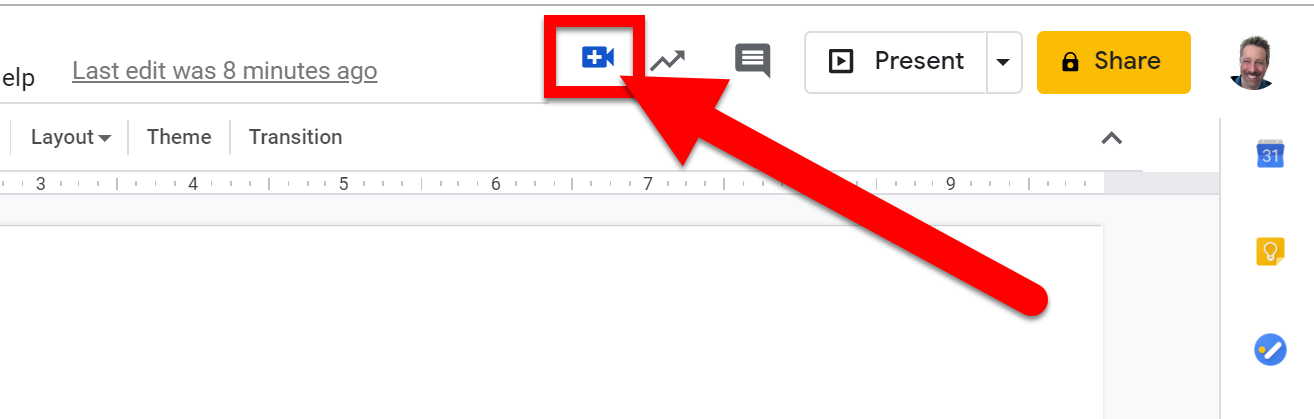
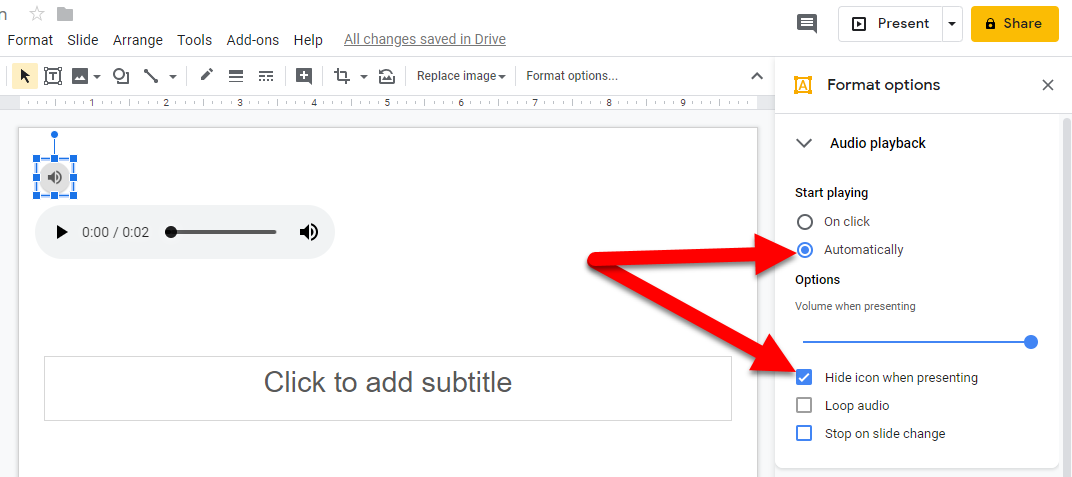
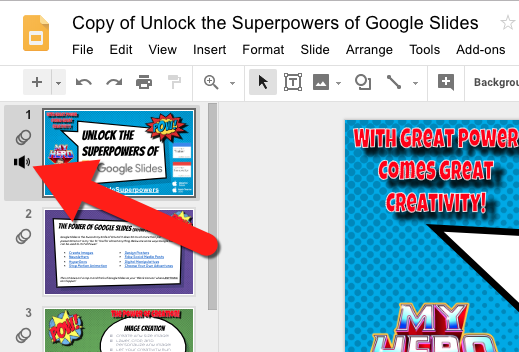
7. You will see that an audio icon has been added to the slide on the far left.


8. You can go to another slide and choose audio to autoplay for that slide as well, and any other slides needing sound.

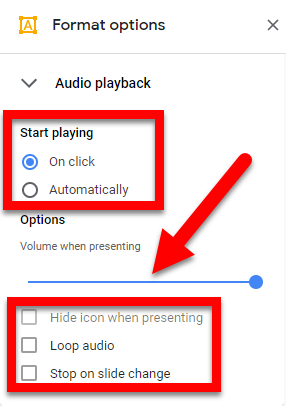
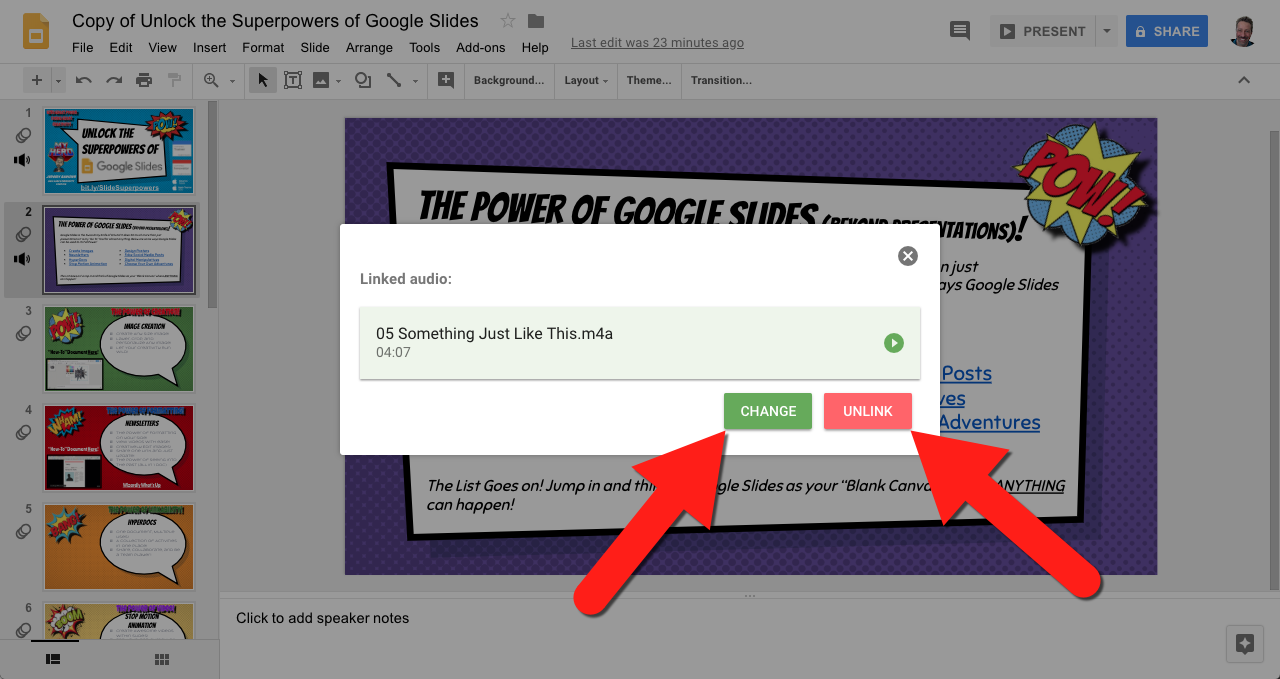
9. If you change your mind, all you have to do is right-click the slide again, and choose “Change (to select a different audio file) or “Unlink(to remove the audio file).


Test it Out:
1. Go into presentation mode.

2. Make sure your volume is turned on.

3. When you advance to any of the slides you added audio to, you will hear the audio you selected start playing.

4. Keep in mind, if you do auto-advance slides (timing) you may want to match it up with the audio you attached.

Now go forth and make your presentations heard!


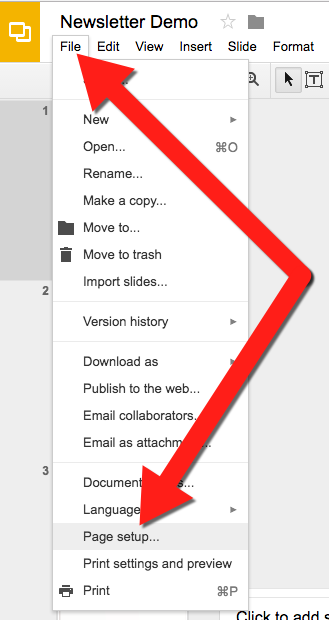
If you want these directions in a document, click Here!


Friday, September 22, 2017

Newsletters Using Google Slides


Communication is important. One of the easiest ways to keep parents informed is to send out weekly newsletters. Although it is easy to create fancy newsletters (especially with all the templates available in MS Office) those of us who live in a Google World have often been left in the cold without all the formatting options (text boxes, image placement, etc.). There is an easy workaround that also includes all the benefits of a Google file (collaboration, ease of online availability), as well as the ability to see all previous editions.


Create a Newsletter:
  1. Create a new Google Slide.
  2. Change the page format:
  • Click “File” then “Page Setup”.


  • Click on and choose “Custom” and then type in 8.5 by 11 and click “OK”.


  1. Create your newsletter format with text boxes, images, and links as you want.


Share Your Newsletter:
  1. Click “File” then “Publish to the web…”.


  1. Click “Publish”. I would suggest leaving all the boxes unchecked so it doesn’t autorun.


  1. Click “Ok” on the popup that asks if you are sure you want to publish.

  1. Copy and share the link or use the embed code to embed on your class website.


Create the next week’s Newsletter:
  1. Click on the top newsletter slide.
  2. Either Control+D to duplicate or click “Slide” then “Duplicate Slide”.
  3. Edit the top slide to be the current week. This will allow parents to see previous newsletters that may have important information for them.


By keeping the most current newsletter at the top, it allows parents to just click the link to see the one they want to see. If they want to see previous all they have to do is move through the slide deck.


If you want these steps in a Document click HERE!