

One of the options that has always been missing from Google Slides is the option to attach audio within a Slide. Now there is a Native-to-Slides way to have audio in your Slides! Can you hear the world rejoicing and cheering for joy? Follow the steps below and start making your presentations heard!
Add Audio to Drive:
- In order to add audio to your Google Slides, you first must upload your audio into your Google Drive. Make sure the clip you want to use is either an MP3 or WAV file. These are the only file types supported by Slides. Here are some great tools to record:
- Any Device: https://online-voice-recorder.com
- Chromebook: https://www.hablacloud.com
- Editable Audio: https://online-voice-recorder.com
- There are many free file converters available online if you need to convert your audio files. Here are two that work:
* I suggest creating a folder with all your audio and making the folder shared as “Anyone with the link can view”. Then all your audio for all your Slides is in one easy to manage location and will work with shared slide decks!
Insert Audio in Slides:
- Open a Google Slide deck.
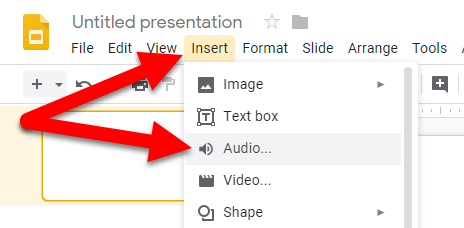
- On any slide you want audio to play click “Insert” and choose “Audio”.
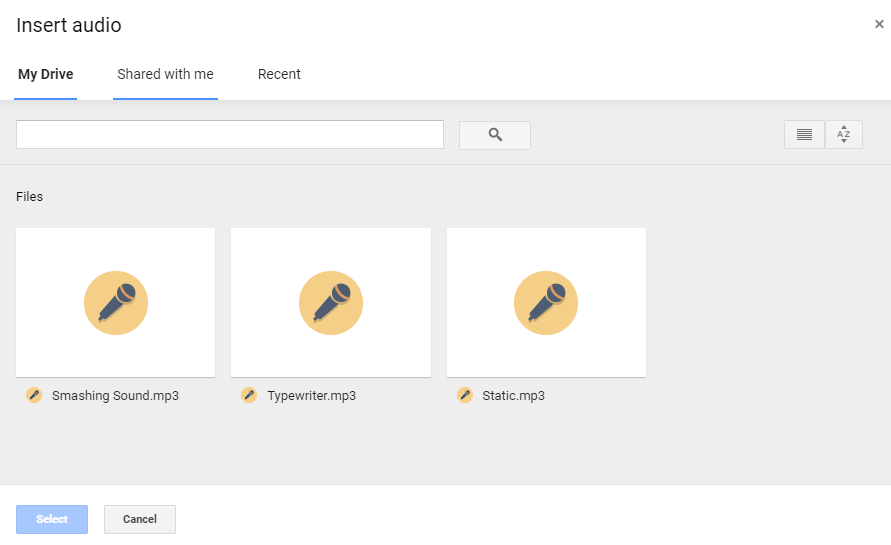
- Search for the audio clip from within your Drive.
- Once you select audio an audio icon will be placed on your slide. You can drag and move the player icon anywhere you want. Also, you can replace it with an image (or even a GIF).
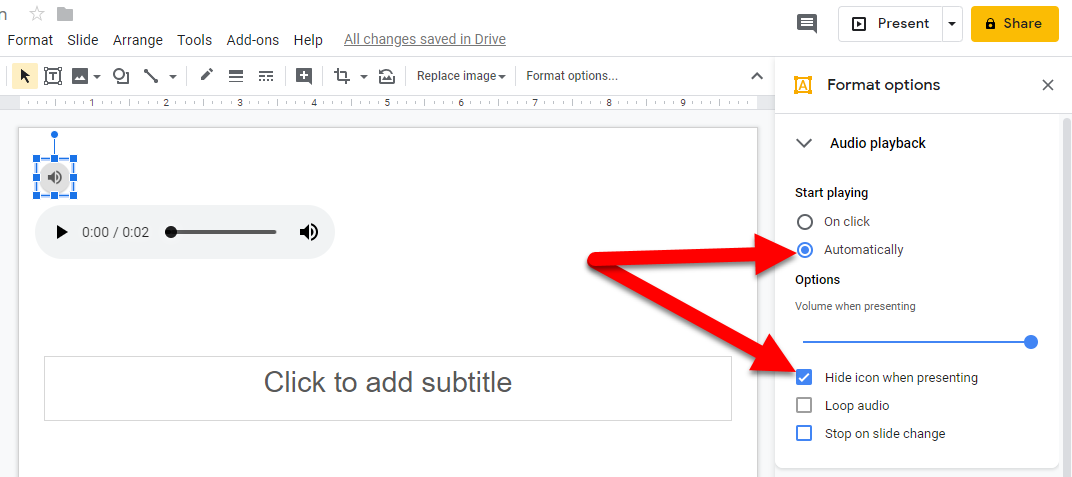
- You can even remove it completely (in Audio Settings). You will need to set it to start playback “Automatically” in order to remove it while presenting.
- The options for the icon/image for the audio is the same as all images in Google Slides. The size and color can be edited as well as adding Drop Shadow or Reflection.
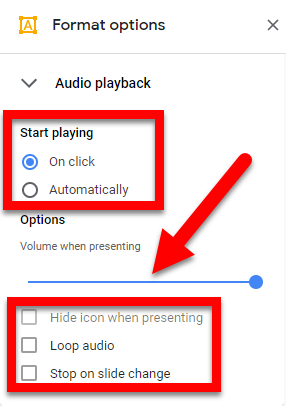
- The audio sound level can be adjusted, as well as setting it to autoplay, loop, or stop on slide change.

Now, sit back and make your Google Slides heard by all!
If you want these steps in a document click HERE!