
The Parts of the Priority Page:
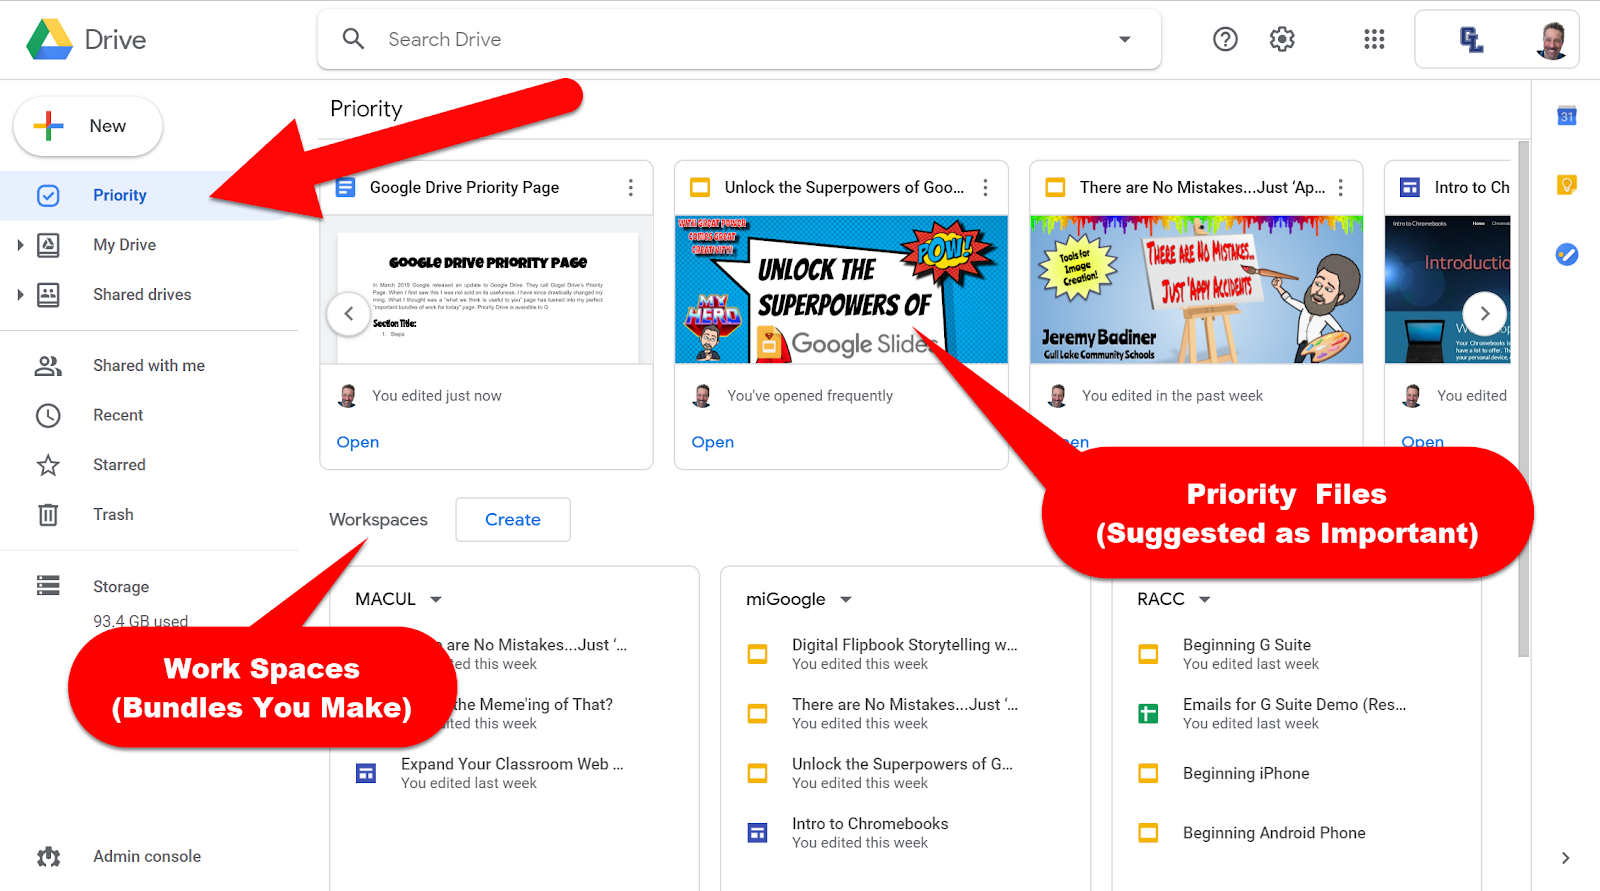
- Priority:
- Here are the documents Google Drive thinks are most relevant to you right now. These are generally the most recent or timely files you have opened. On each document, you can click the “Snowman” to interact with the file like normally within Drive. You can also remove the file from view by selecting “Not a helpful suggestion”.
- Workspaces:
- Here you will be able to create a personalized group of files as a bundle (almost like its own folder) for easier access. You can create as many Workspaces as you wish, add up to 25 files to each Workspace, and when you are finished with the bundle you can “Hide” or “Remove” it.
How to Work with the Priority Page:
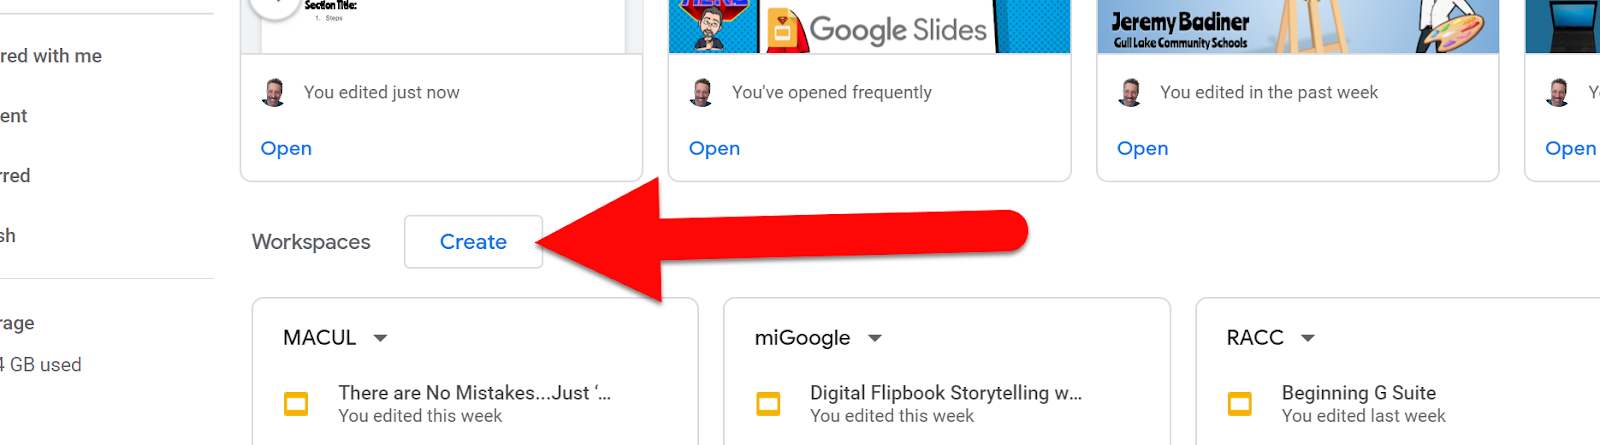
- Create a Workspace:
- Click on “Create” next to the word Workspace on the Priority Page.
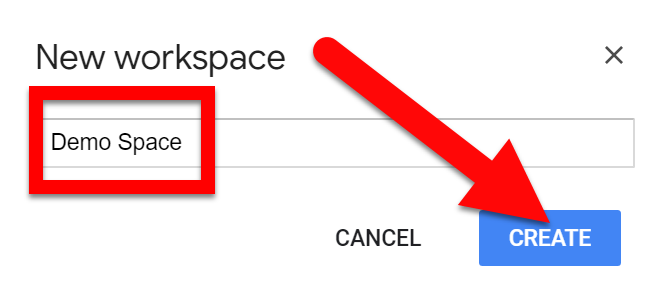
- Name the space and click “Create”.
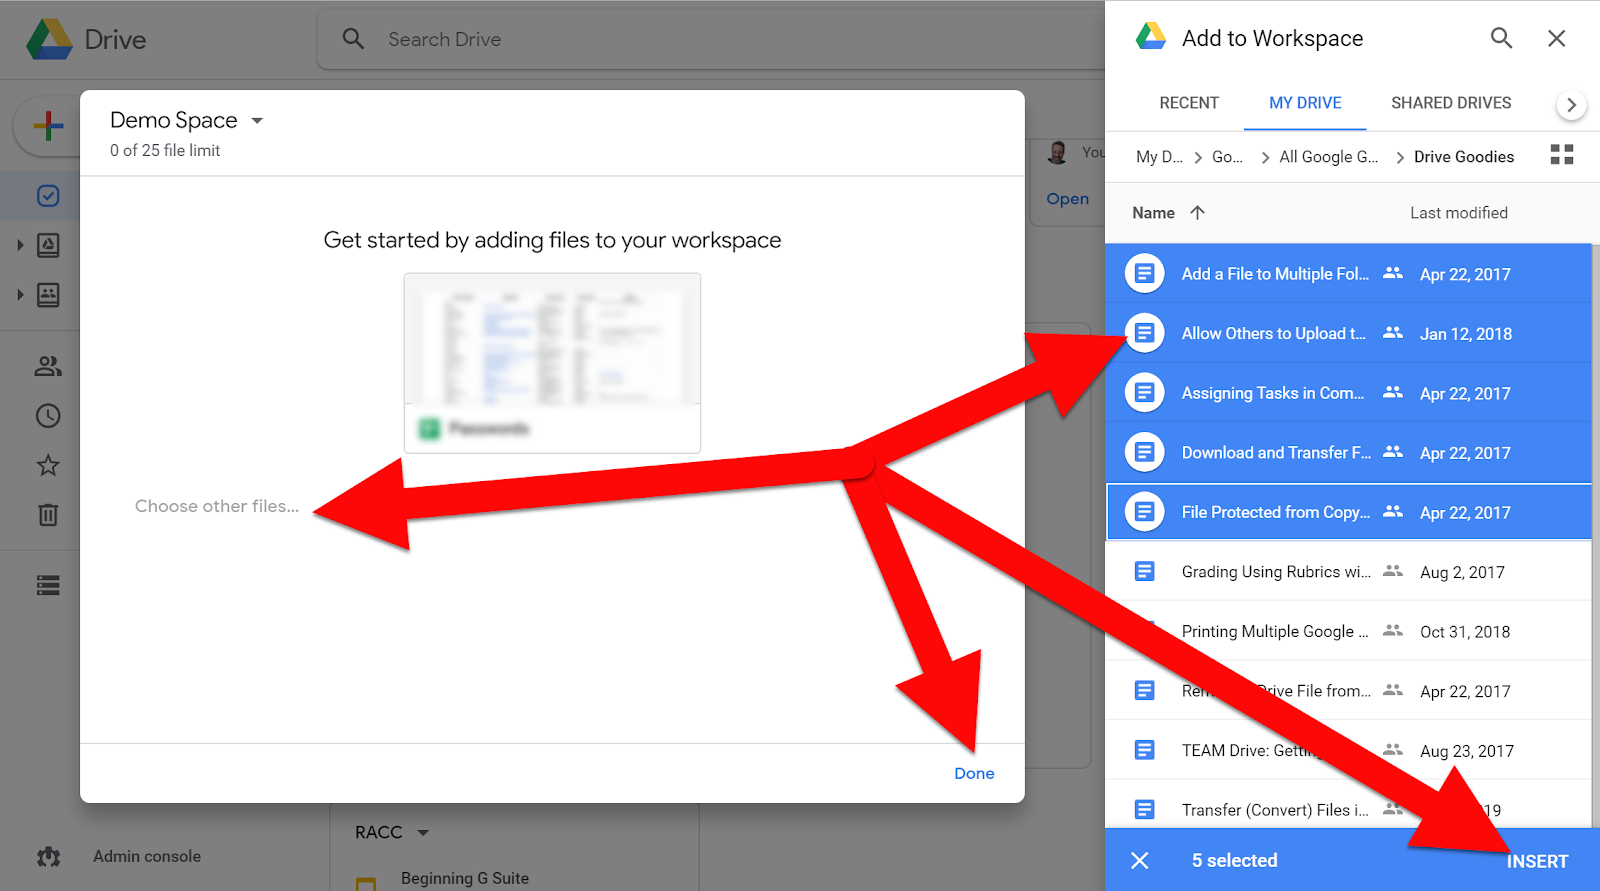
- A new pop-up will ask you to choose files to add some suggestions that might come up and you can click “Choose other files” to get more. Select from your Drive what you want to be added to this Workspace, click “Add Files”, and click “Done”.
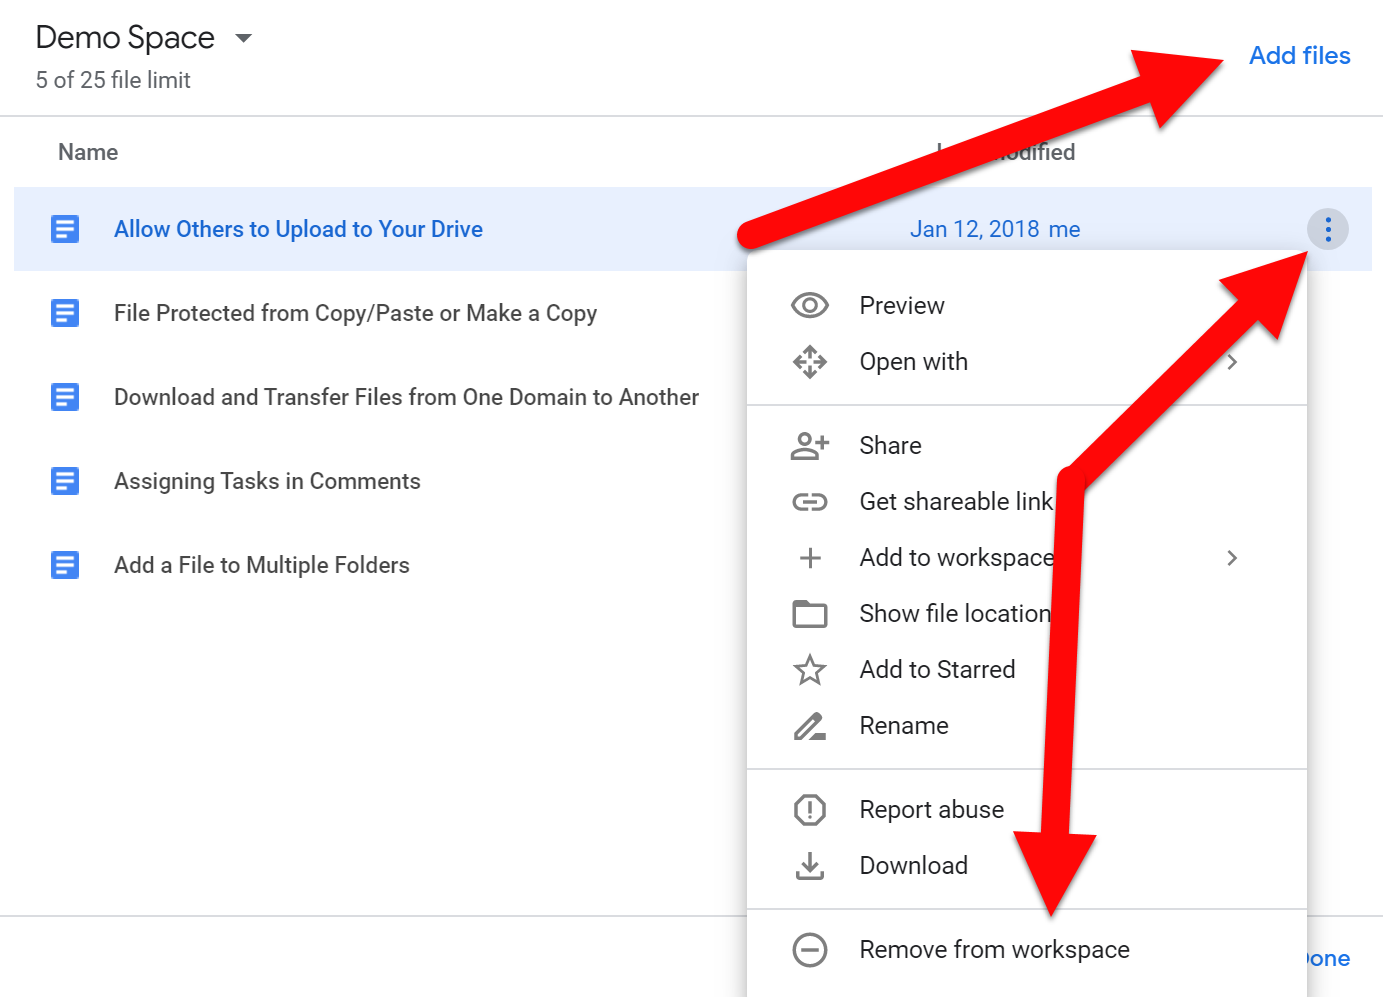
- Your new Workspace is now set! You can add and remove files any time you wish. The “Add” allows you to add new files to this Workspace and if you click the Snowman you will see “Remove from Workspace” on individual files.
- When you are done with this Workspace and want to no longer see it, you can Hide or Remove. Hide just tucks it away for later use while Remove deletes it. No worries, your files are not removed from Drive, just from this visible “Bundle”.

- If you Hide the Workspace, you can find it later in the “Hidden workspaces” section at the bottom. These can be brought back for later use!

Head into your Drive and create a time-saving Workspace to organize your related content!
If you want these directions in a Document click HERE!