

Getting Started:
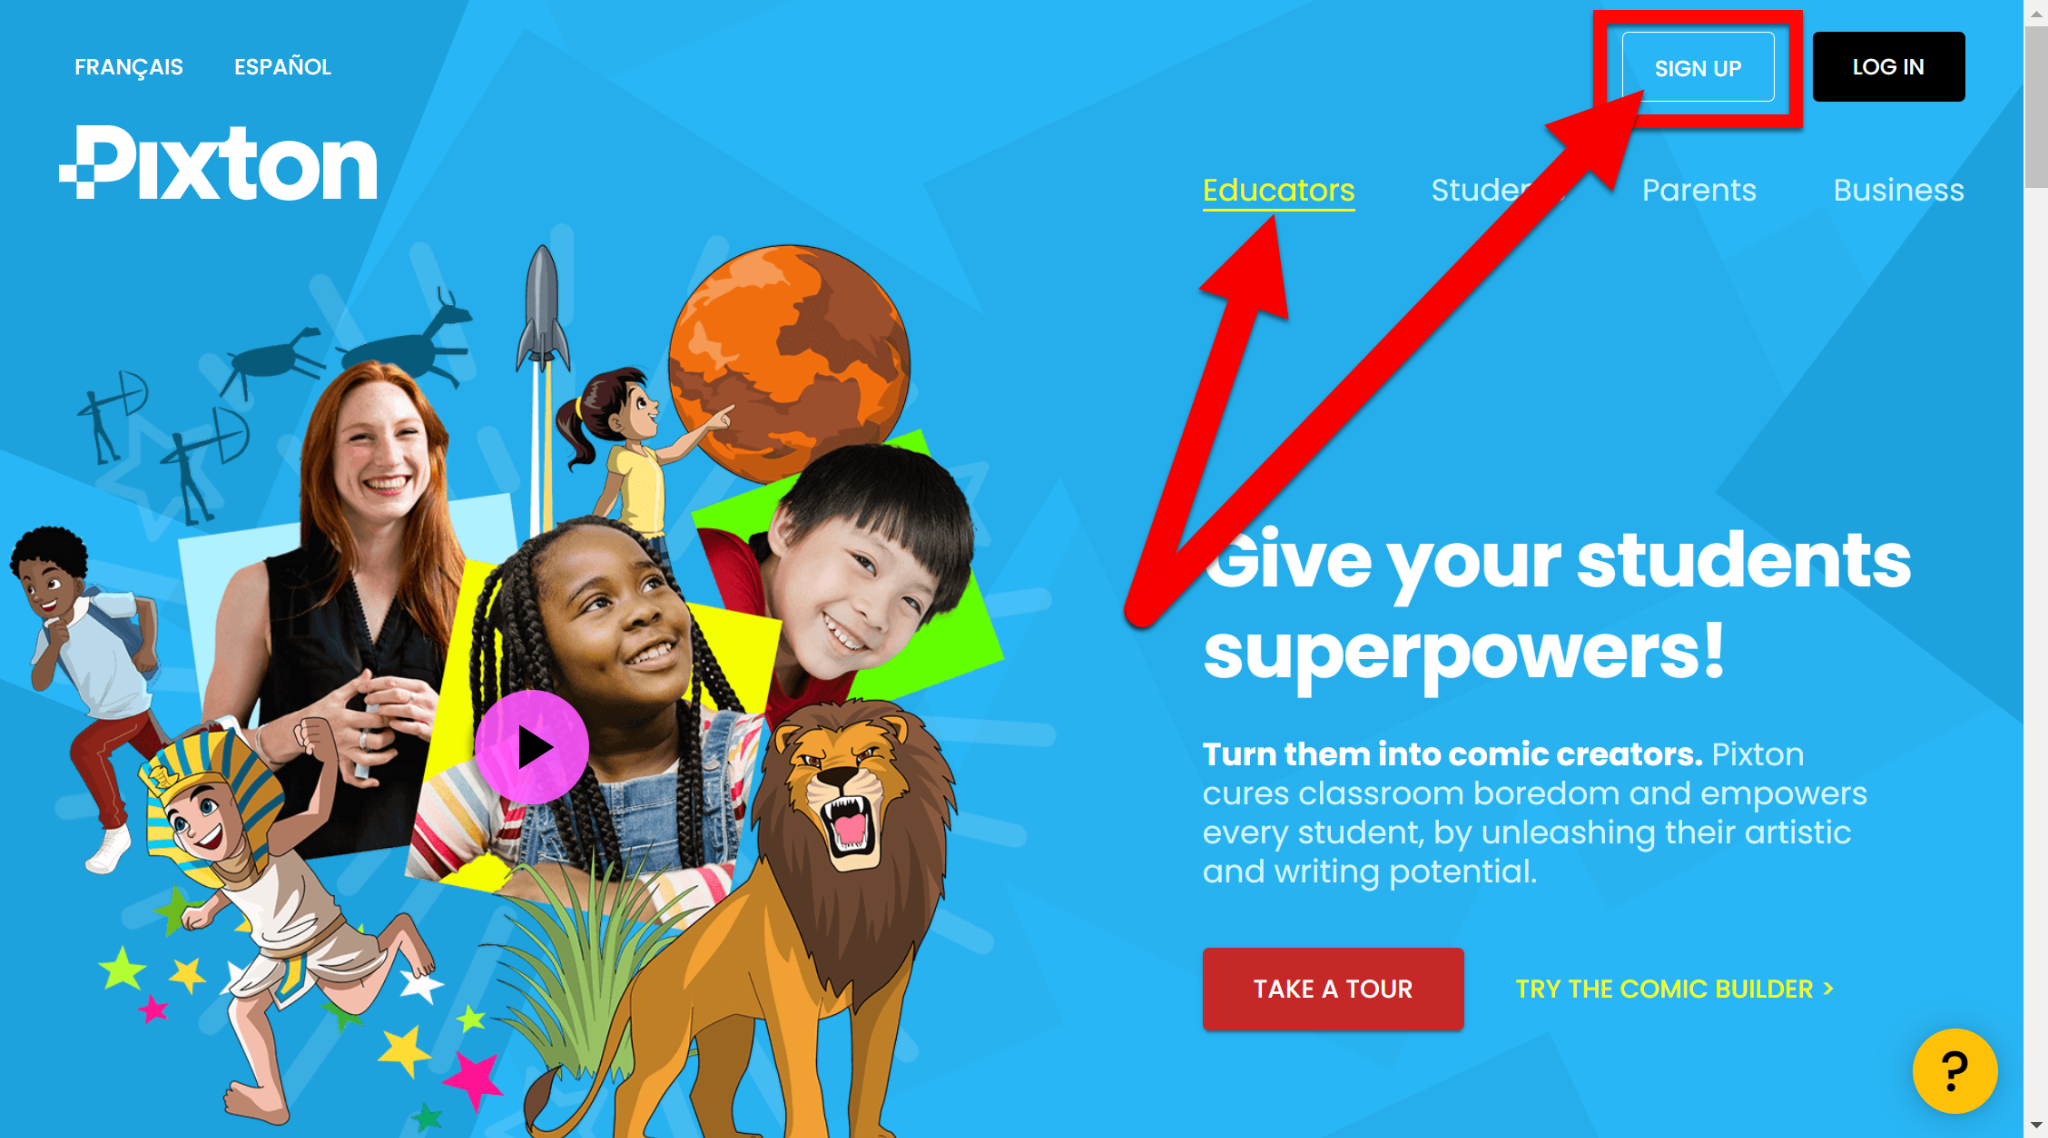
Head over to pixton.com and create a free Education account. Click on “Sign Up”.
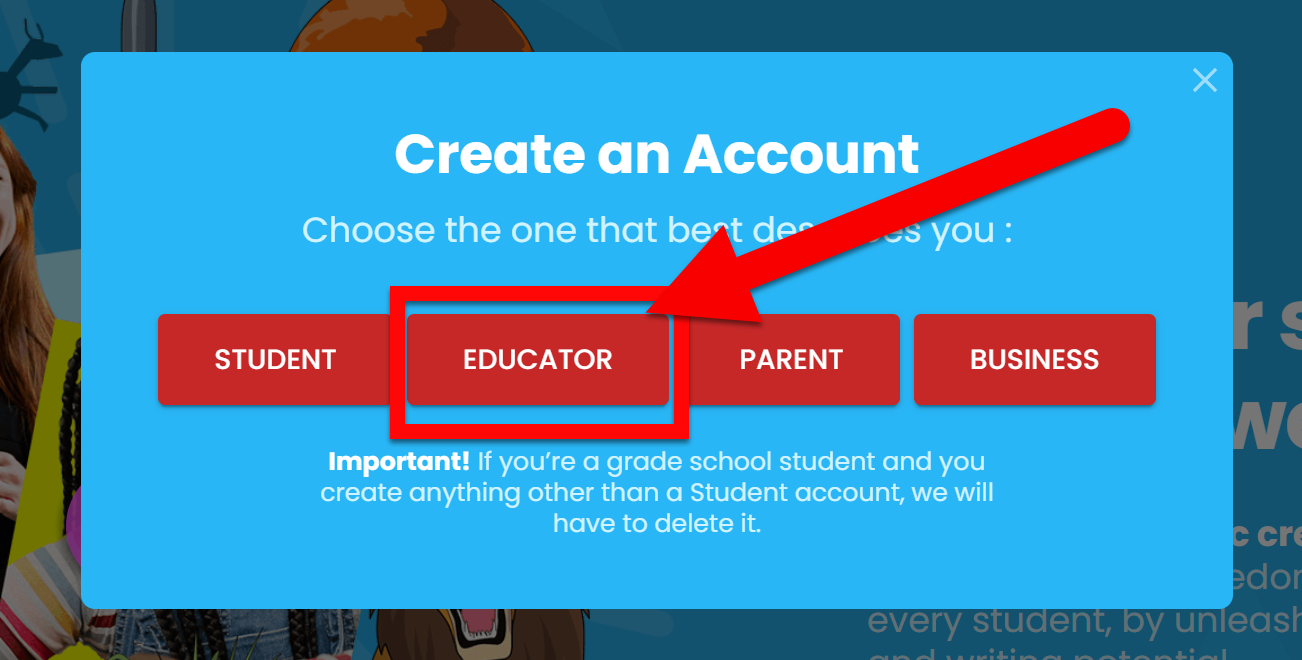
Choose “Educator” from the options and sign in with Google.
Choose what to do first:
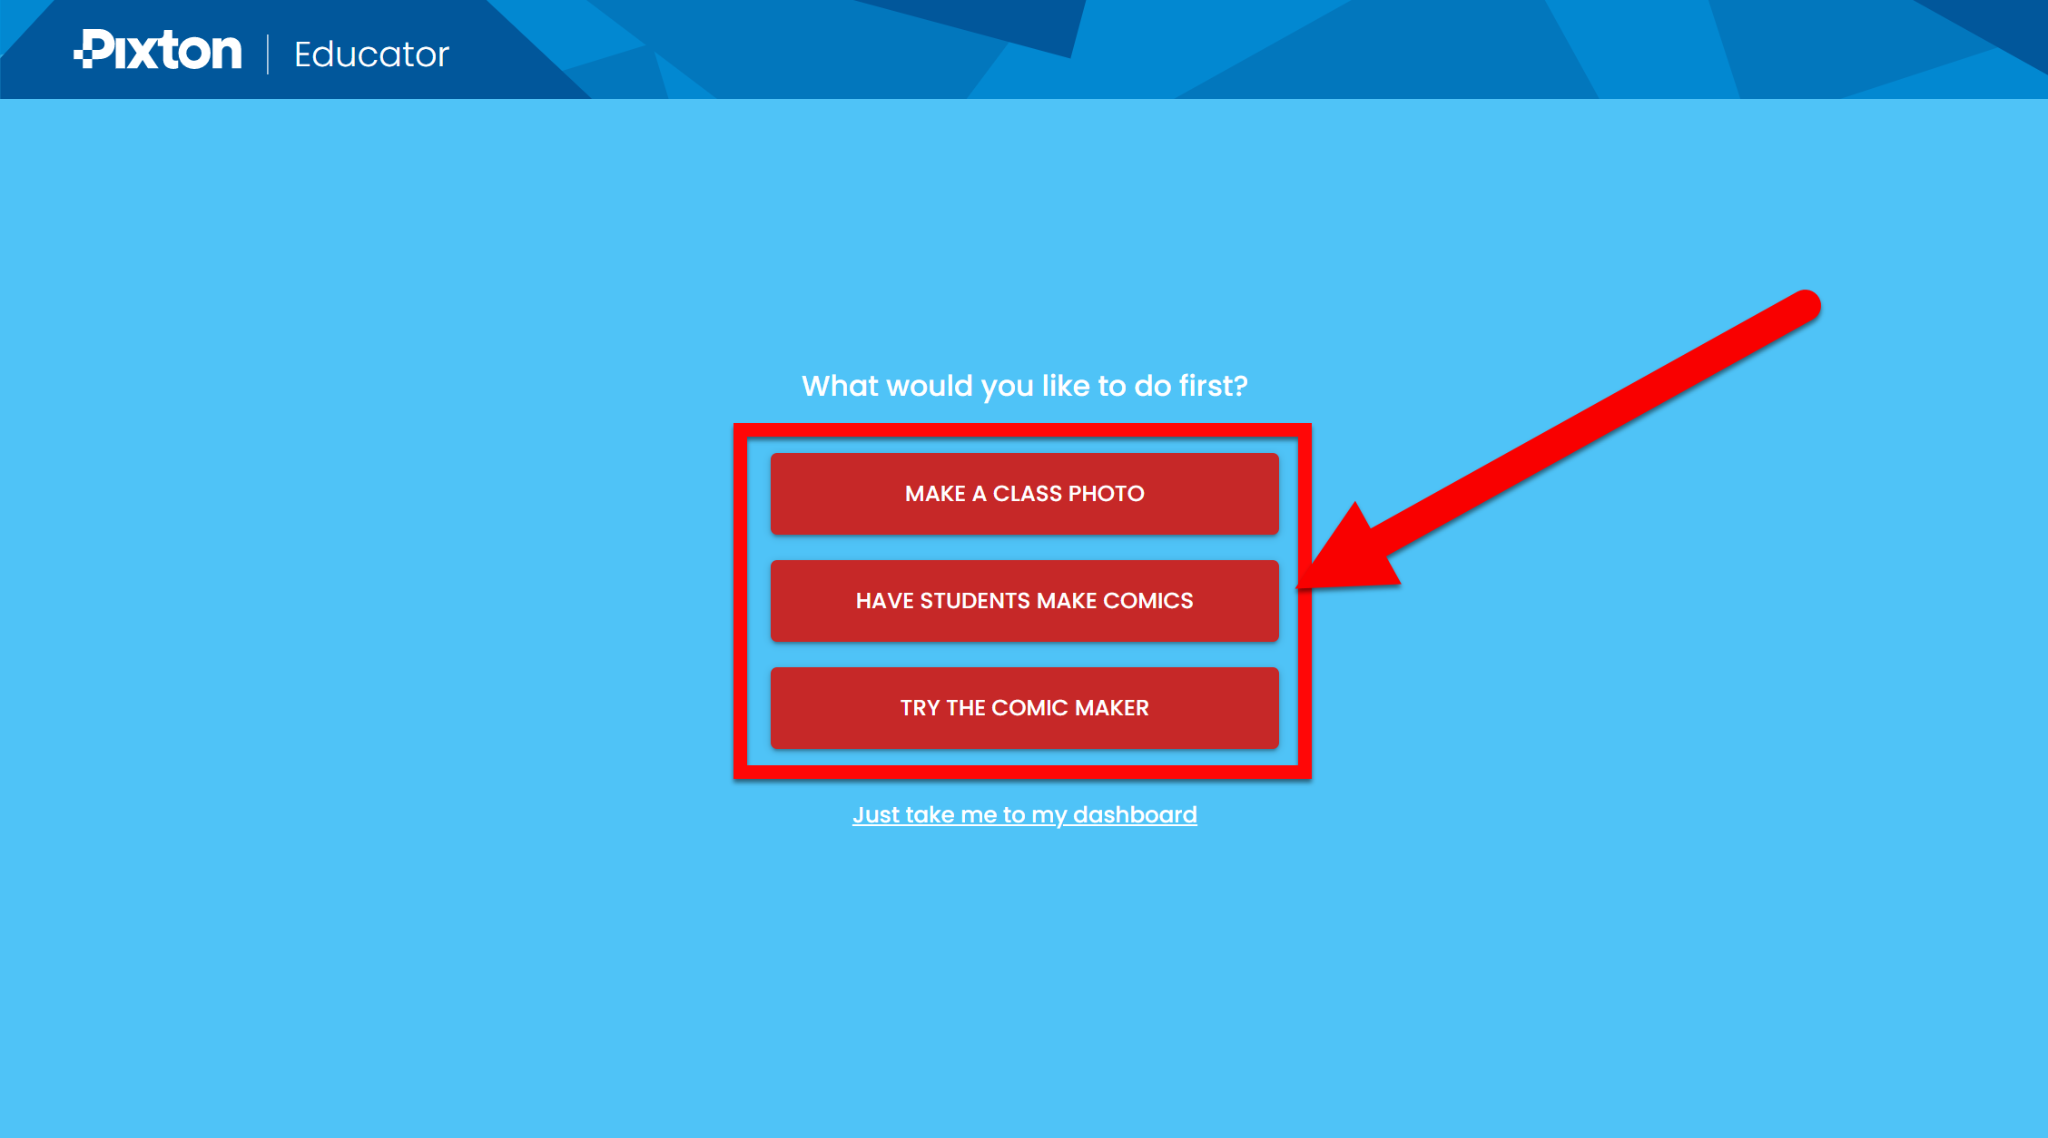
Make a Class Photo: Create your avatar and have students’ avatars auto-added to the “class photo.
Have Students Make Comics: create your class and invite students.
Try the Comic Maker: Jump right in and create a comic
Creating a Comic:
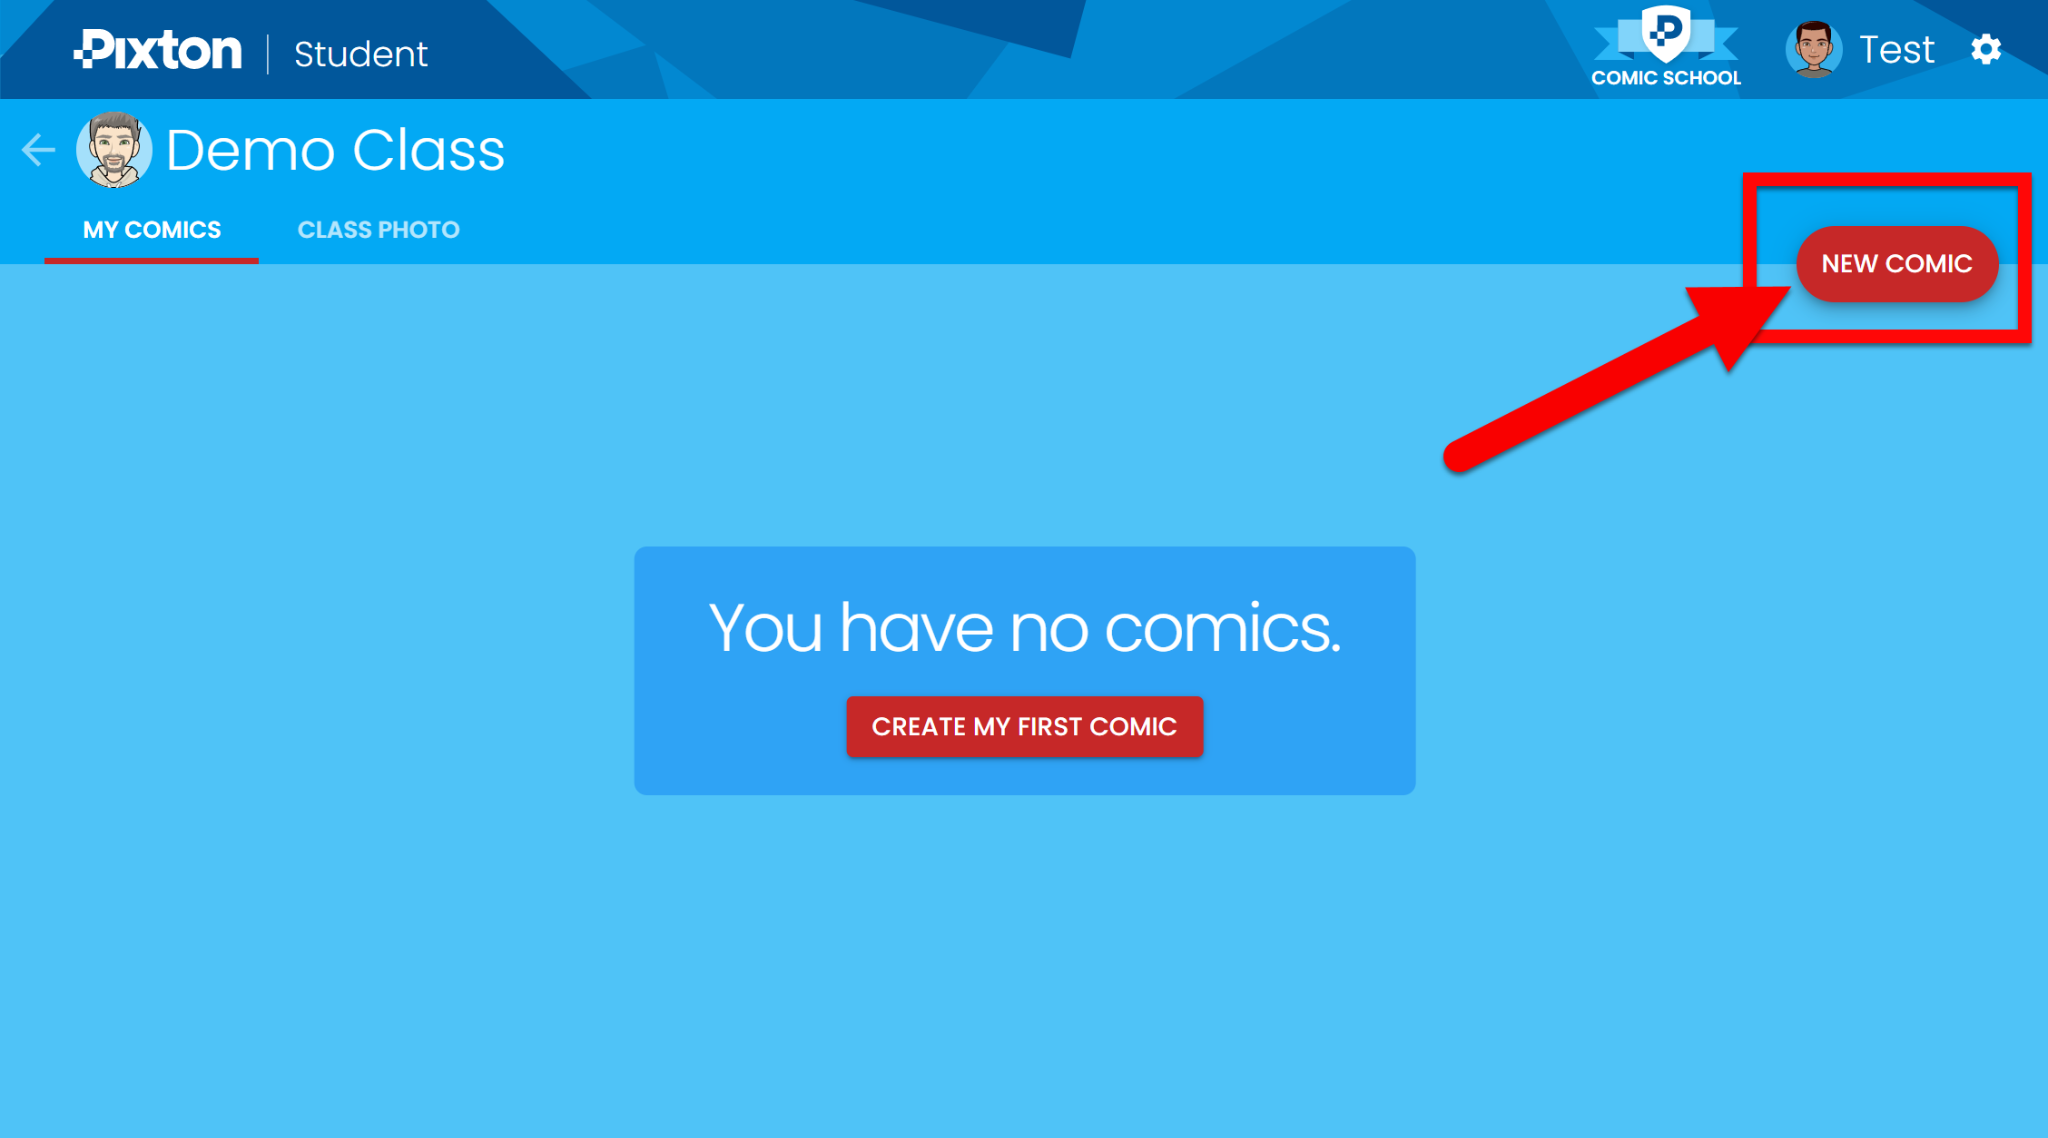
In your dashboard click on the “My Comics” tab.
Click on “New Comic”.
Explore the items you can add (items with the lock symbol are for the paid version):
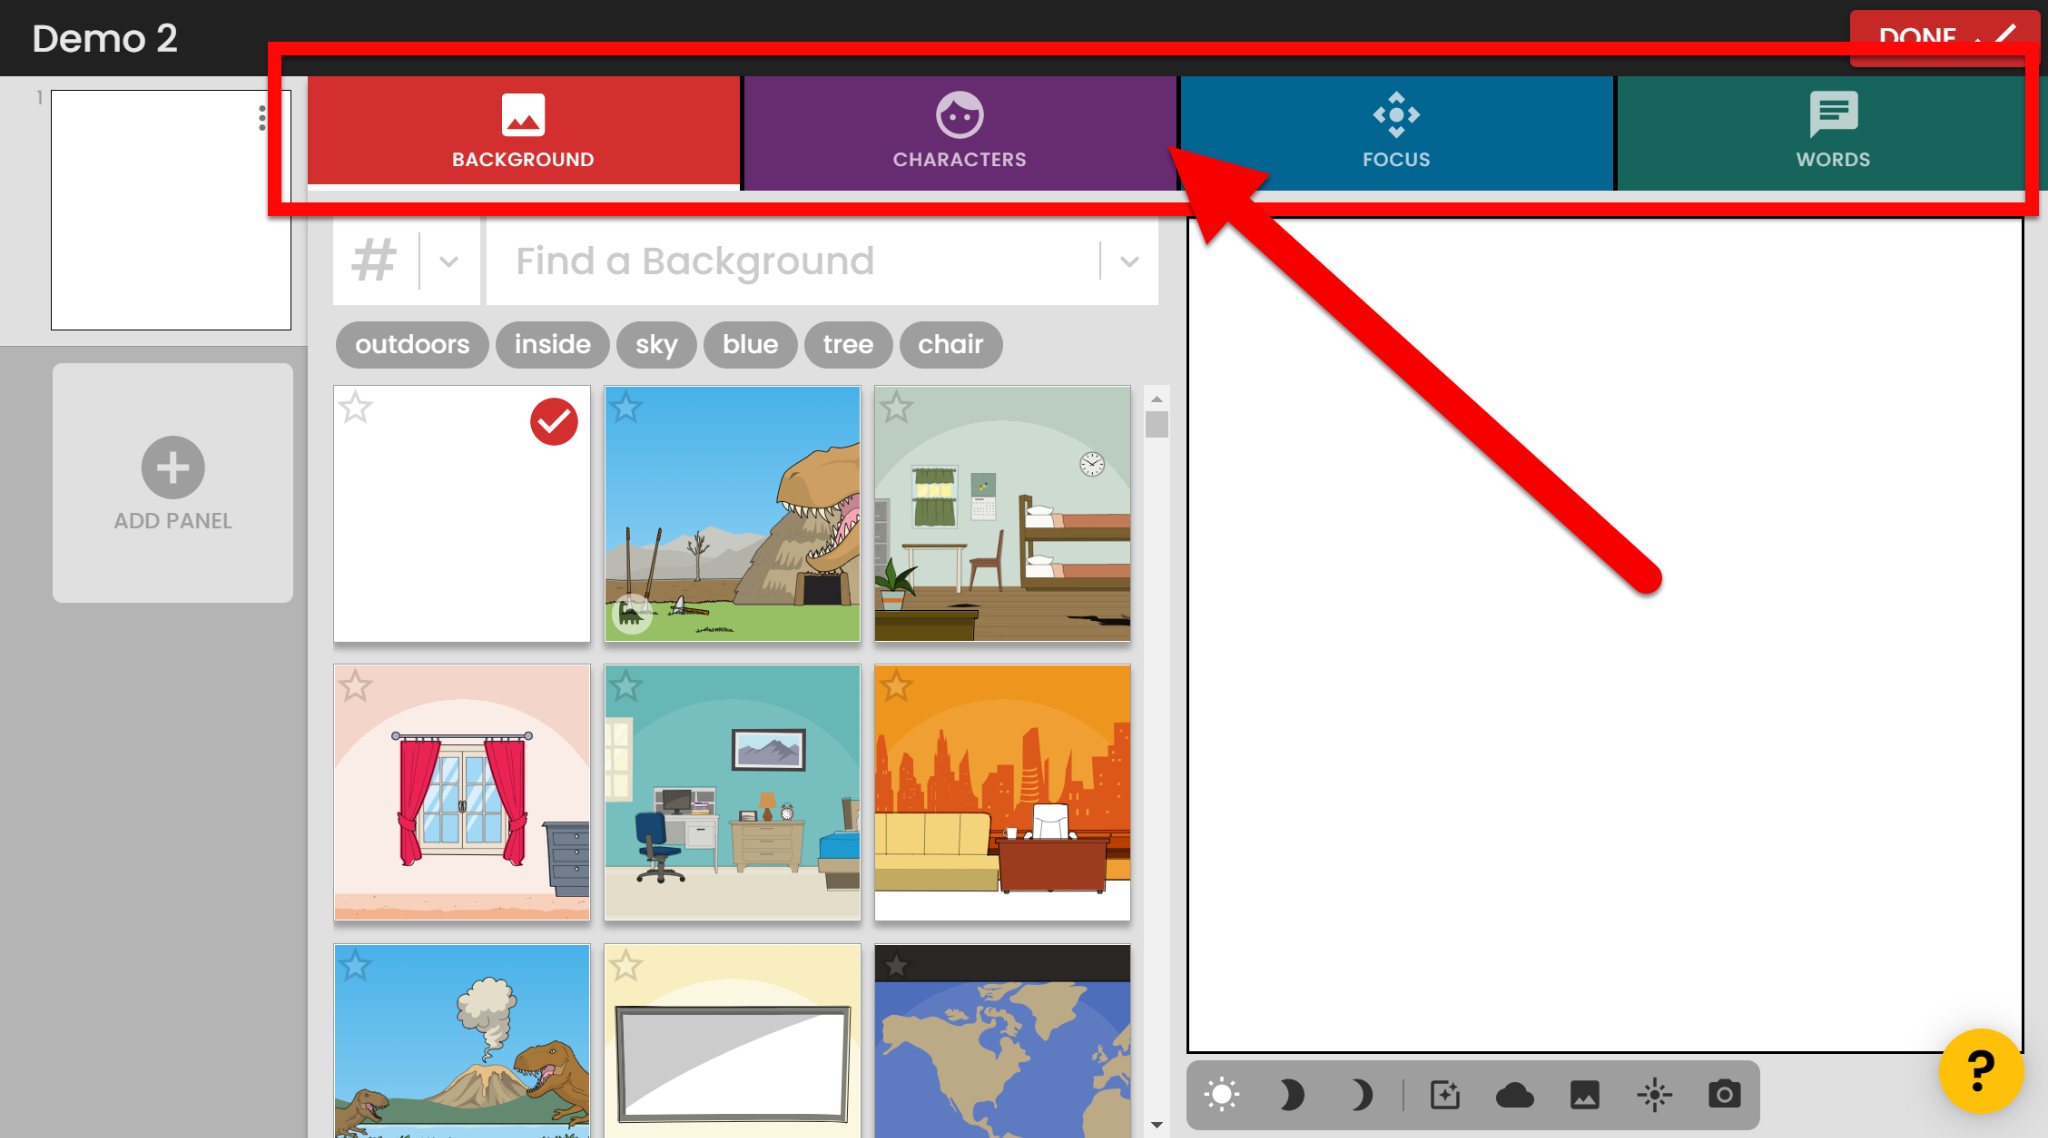
Background
Characters
Focus
Words
These video links will help you get going.
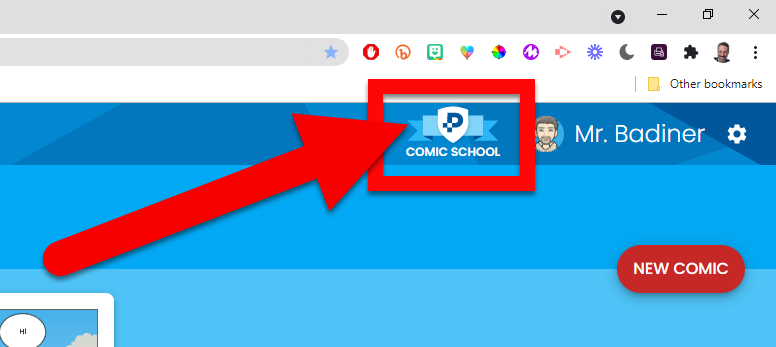
For more help explore the Comic School.
Setting Up a Classroom:
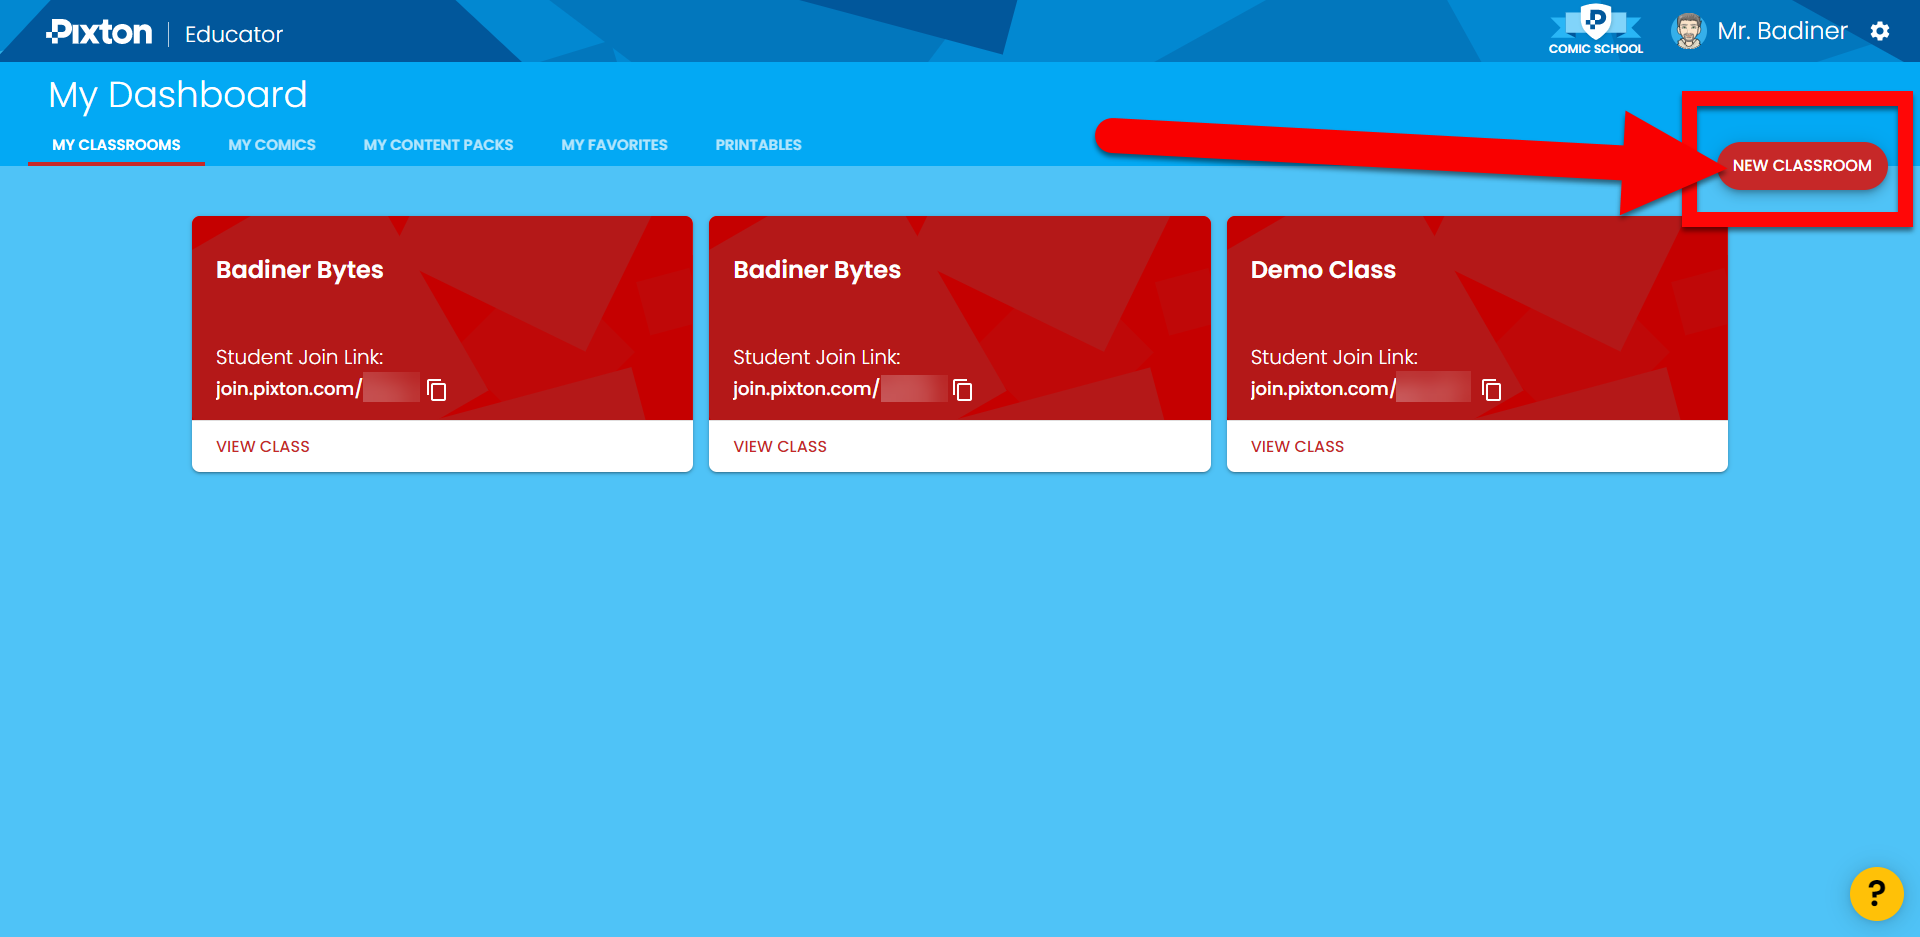
Head to the My Classrooms” tab and click “New Classroom”.
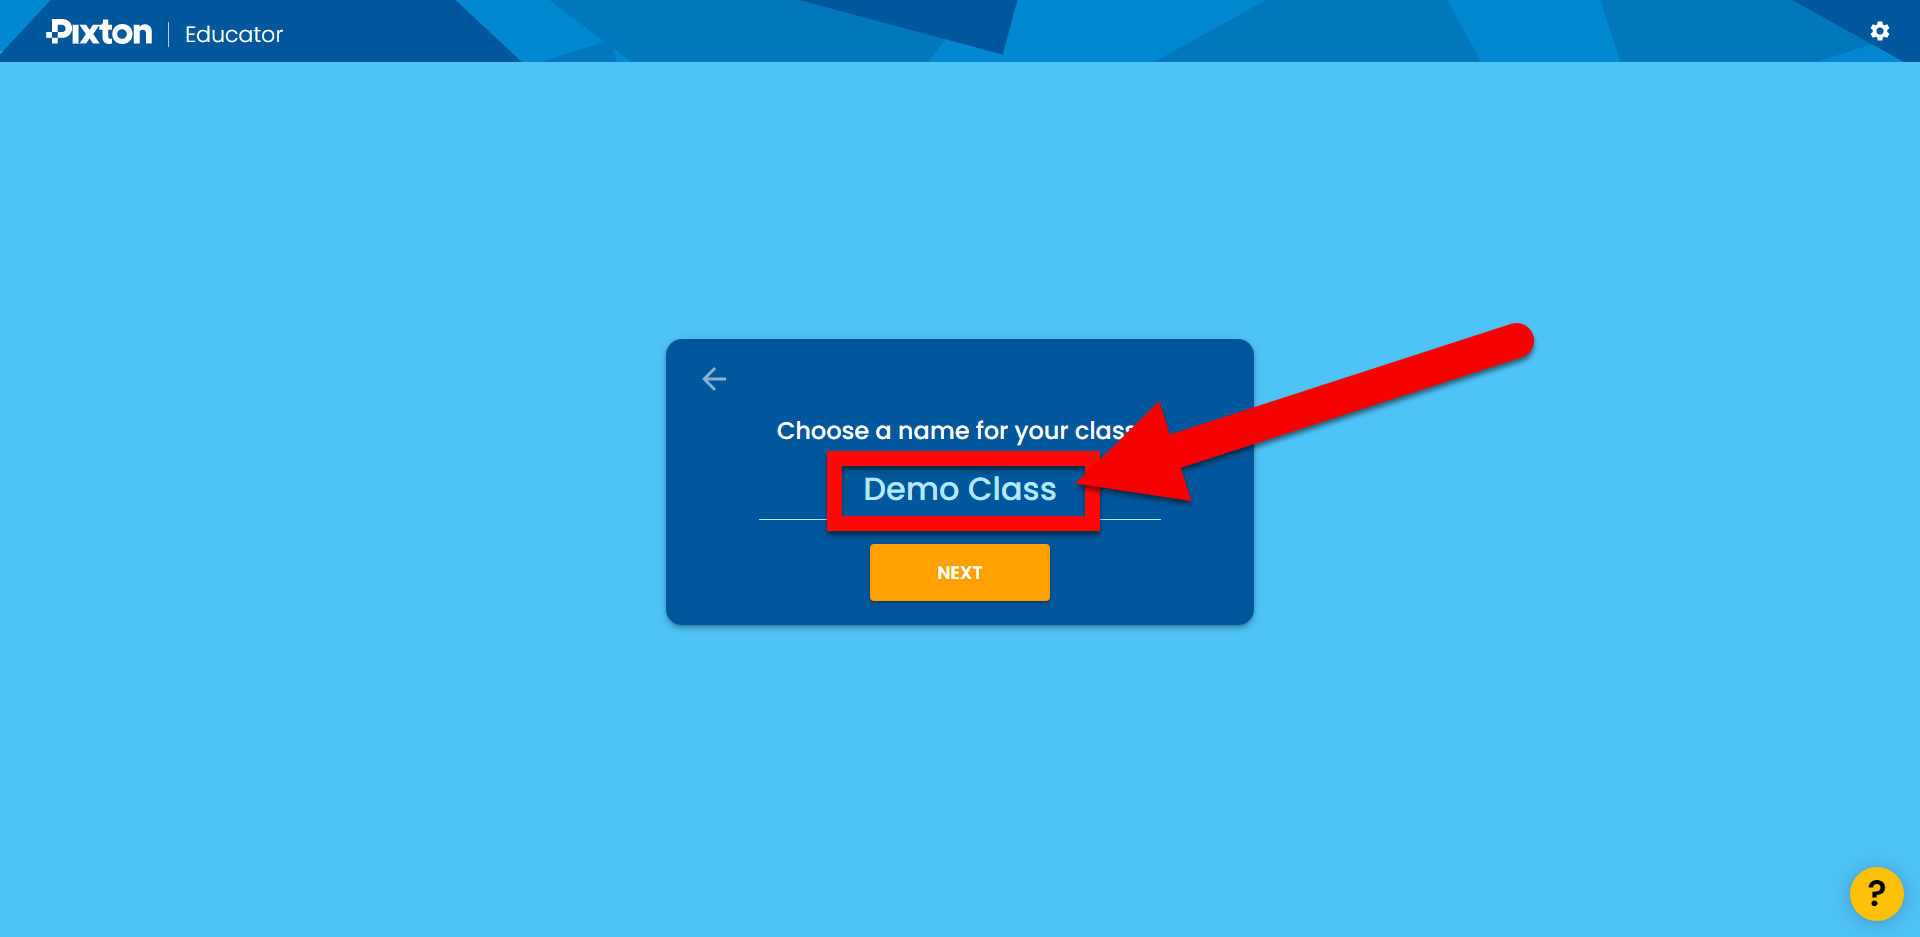
Name this classroom and click “Next”.
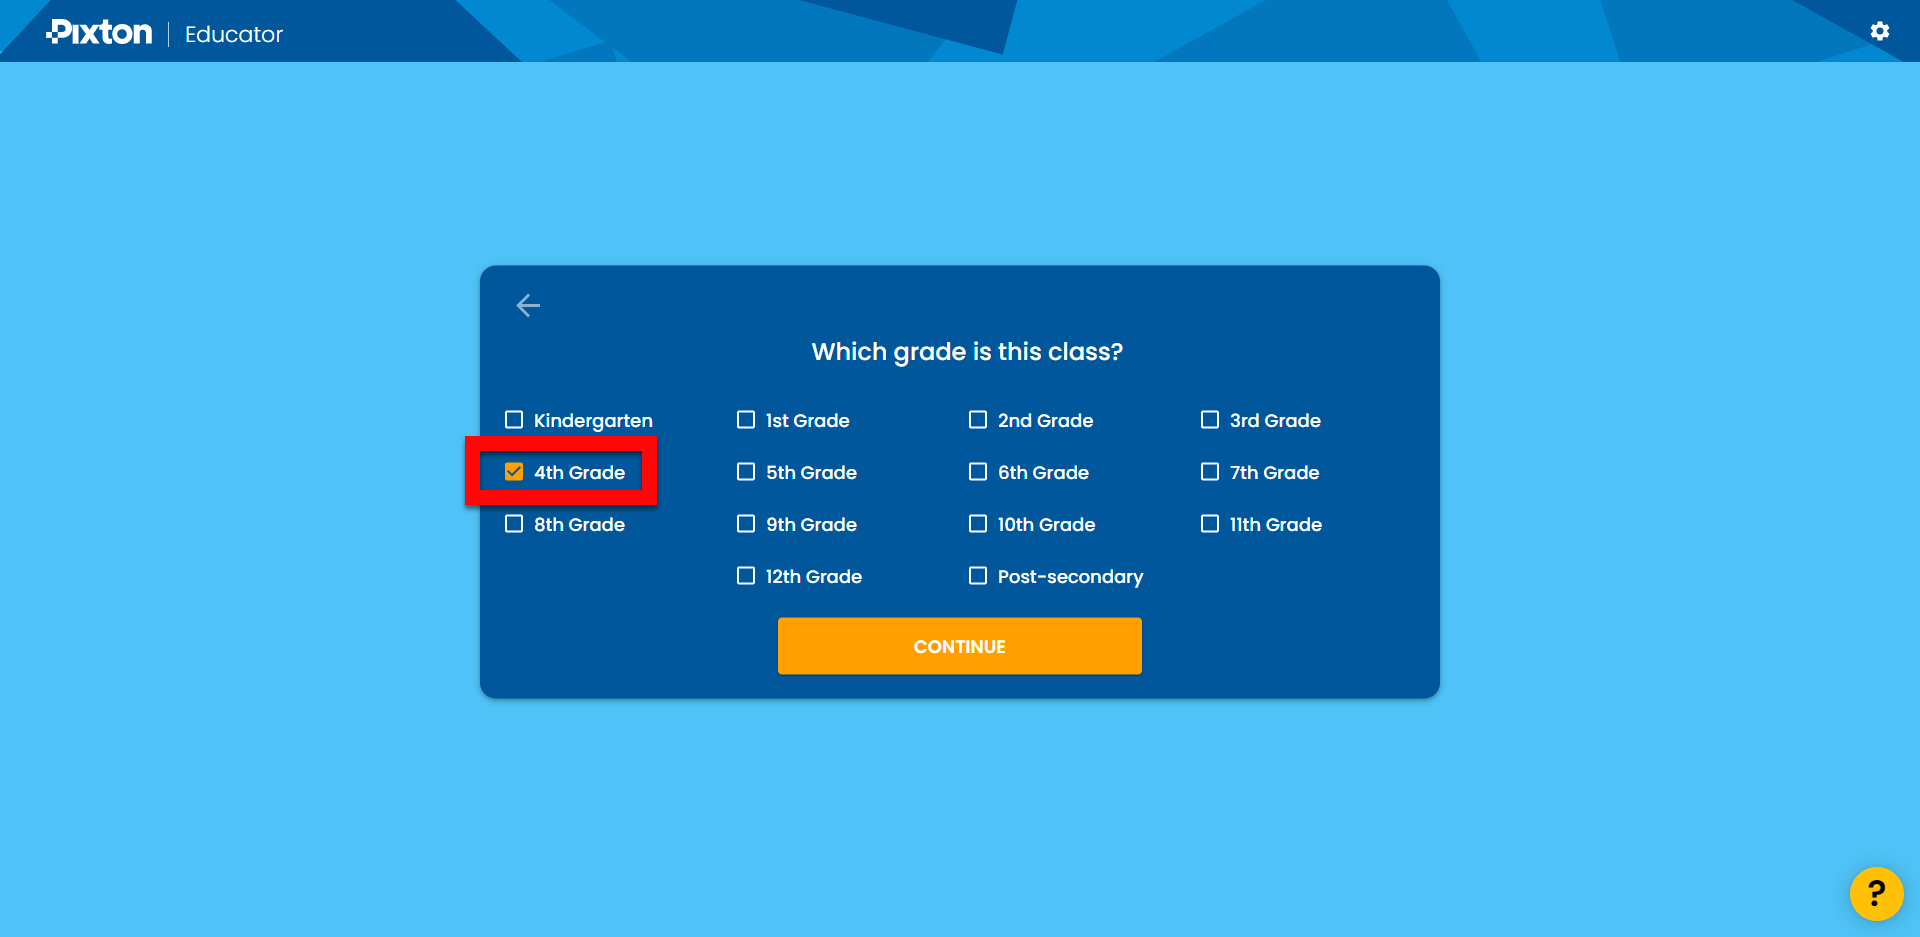
Choose the Grade Level of this class and click “Continue” (6th grade and up will also enter the subject).
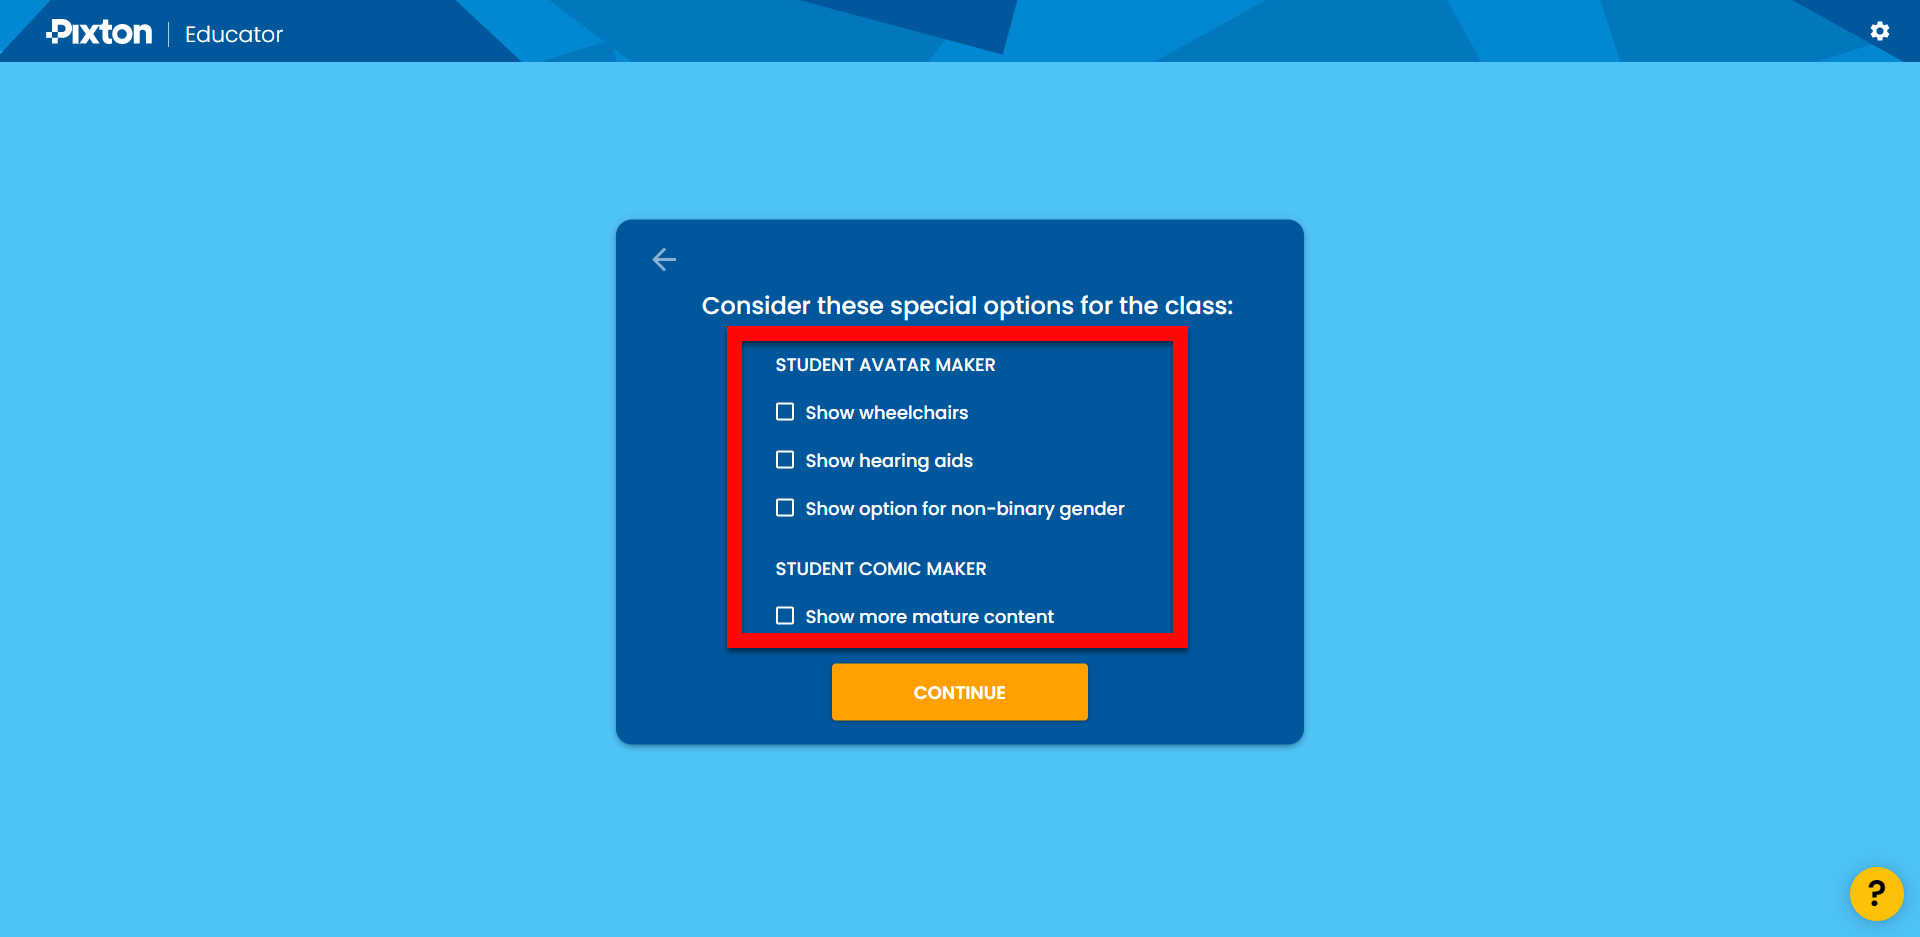
Add any special options for this class and click “Continue”.
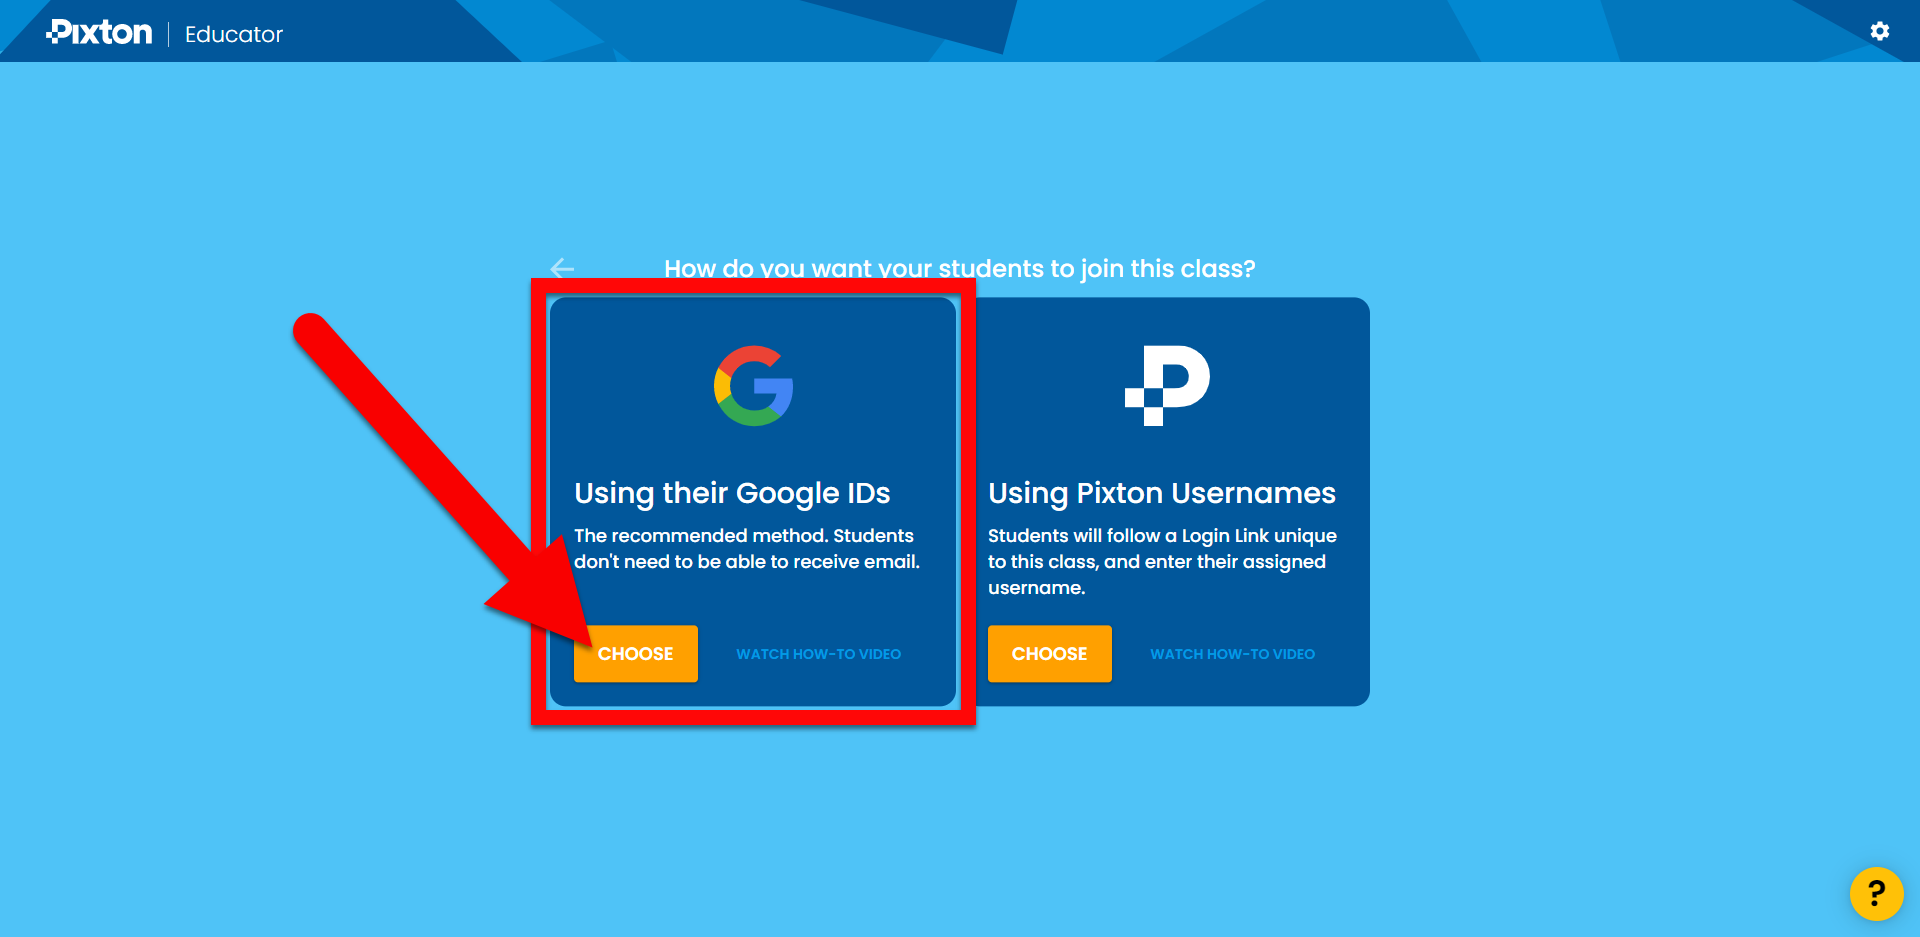
Choose “Using their Google IDs” for sign in.
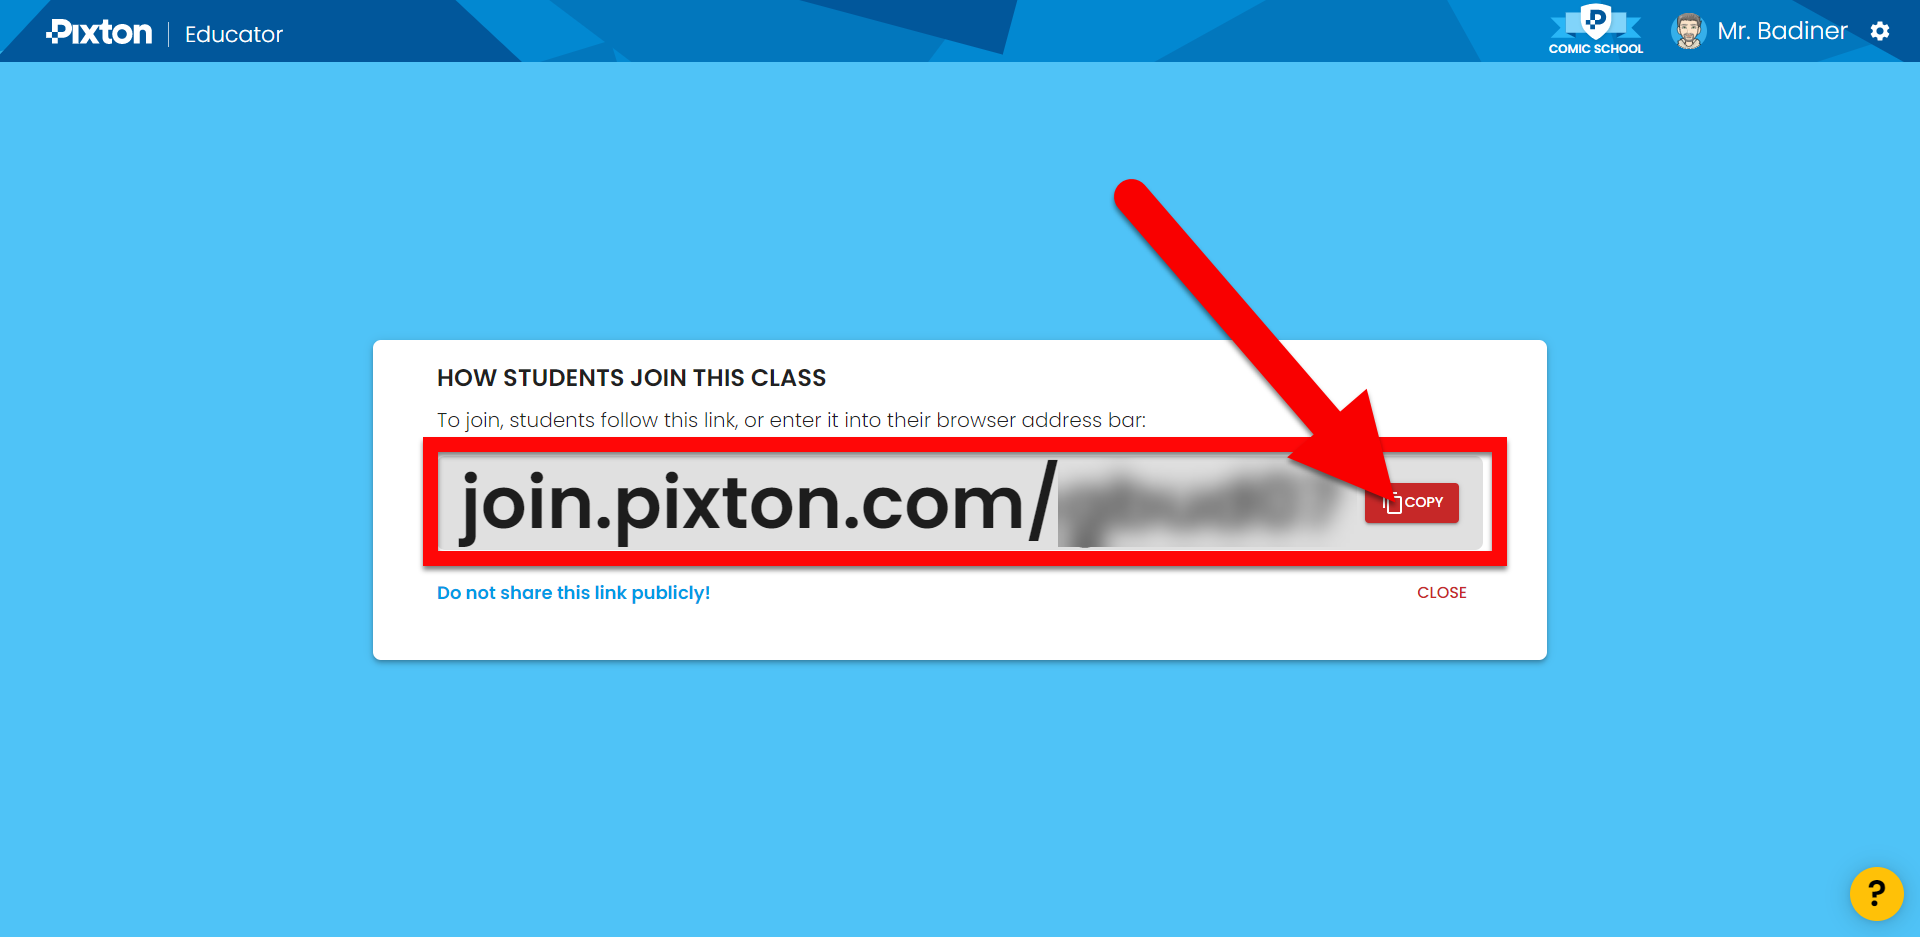
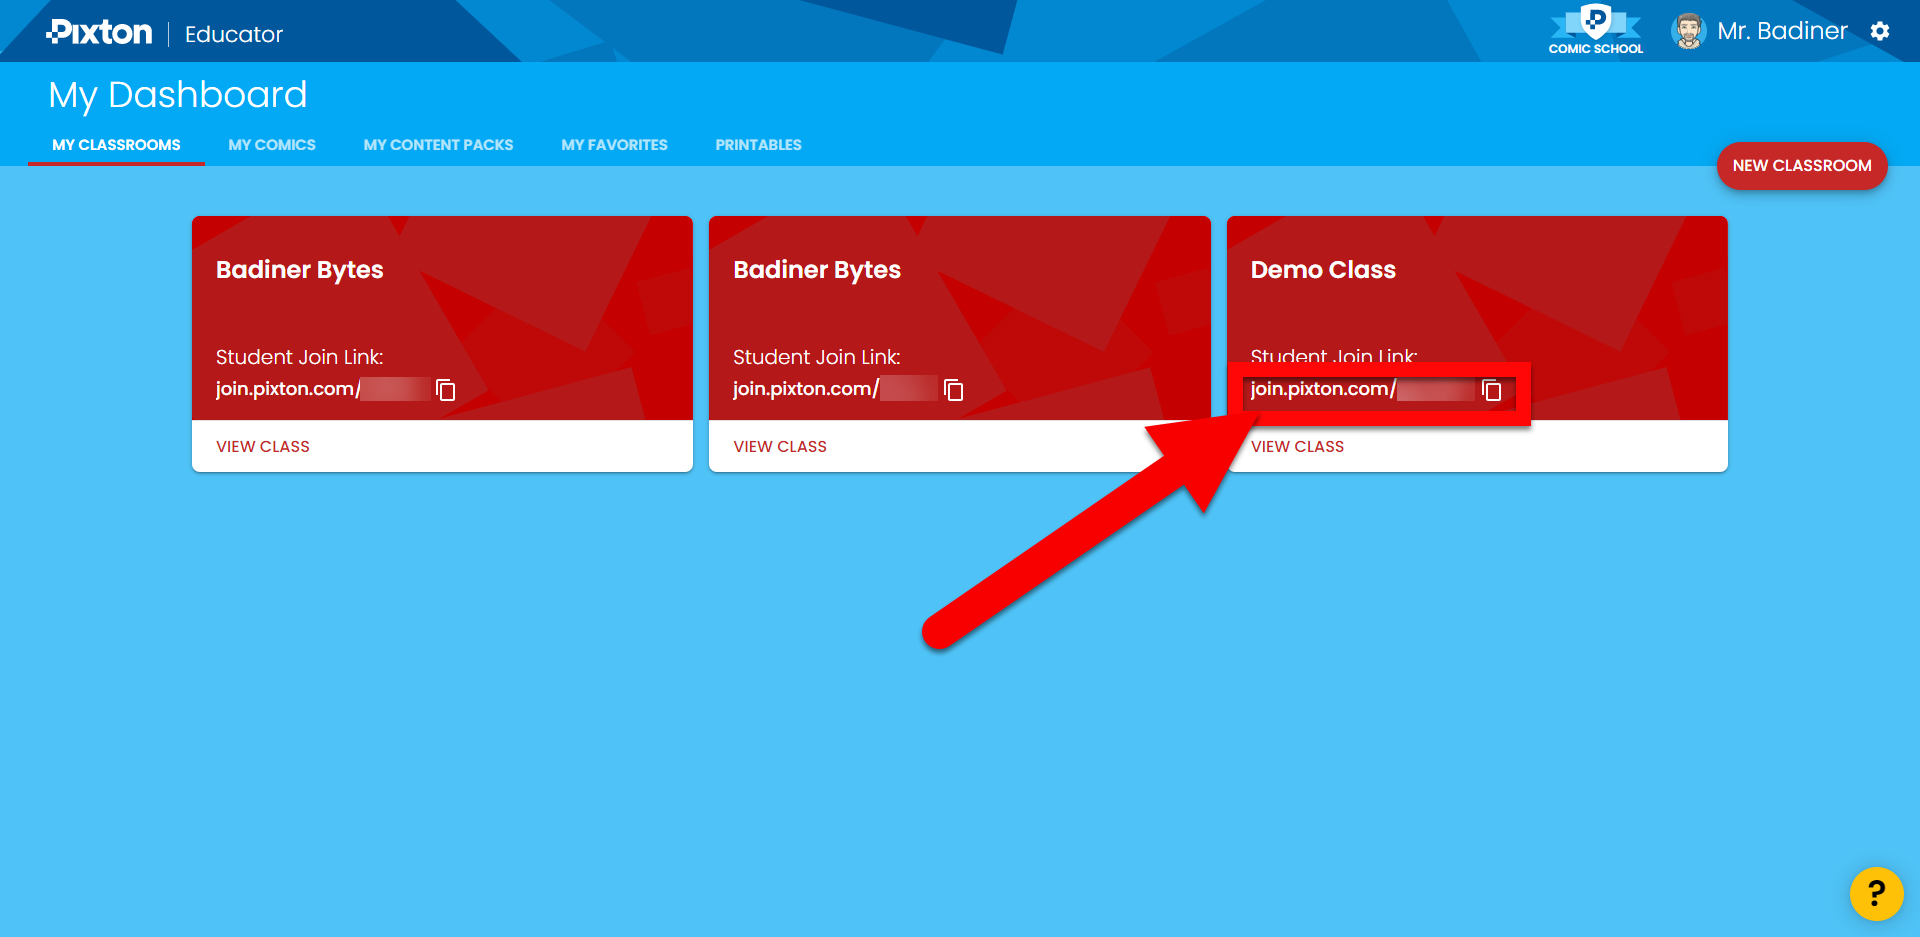
Copy the link and send this to your students so they can join. (Make sure to not share this outside your class so others do not join your classroom.)
Viewing Your Classroom and Student Work:
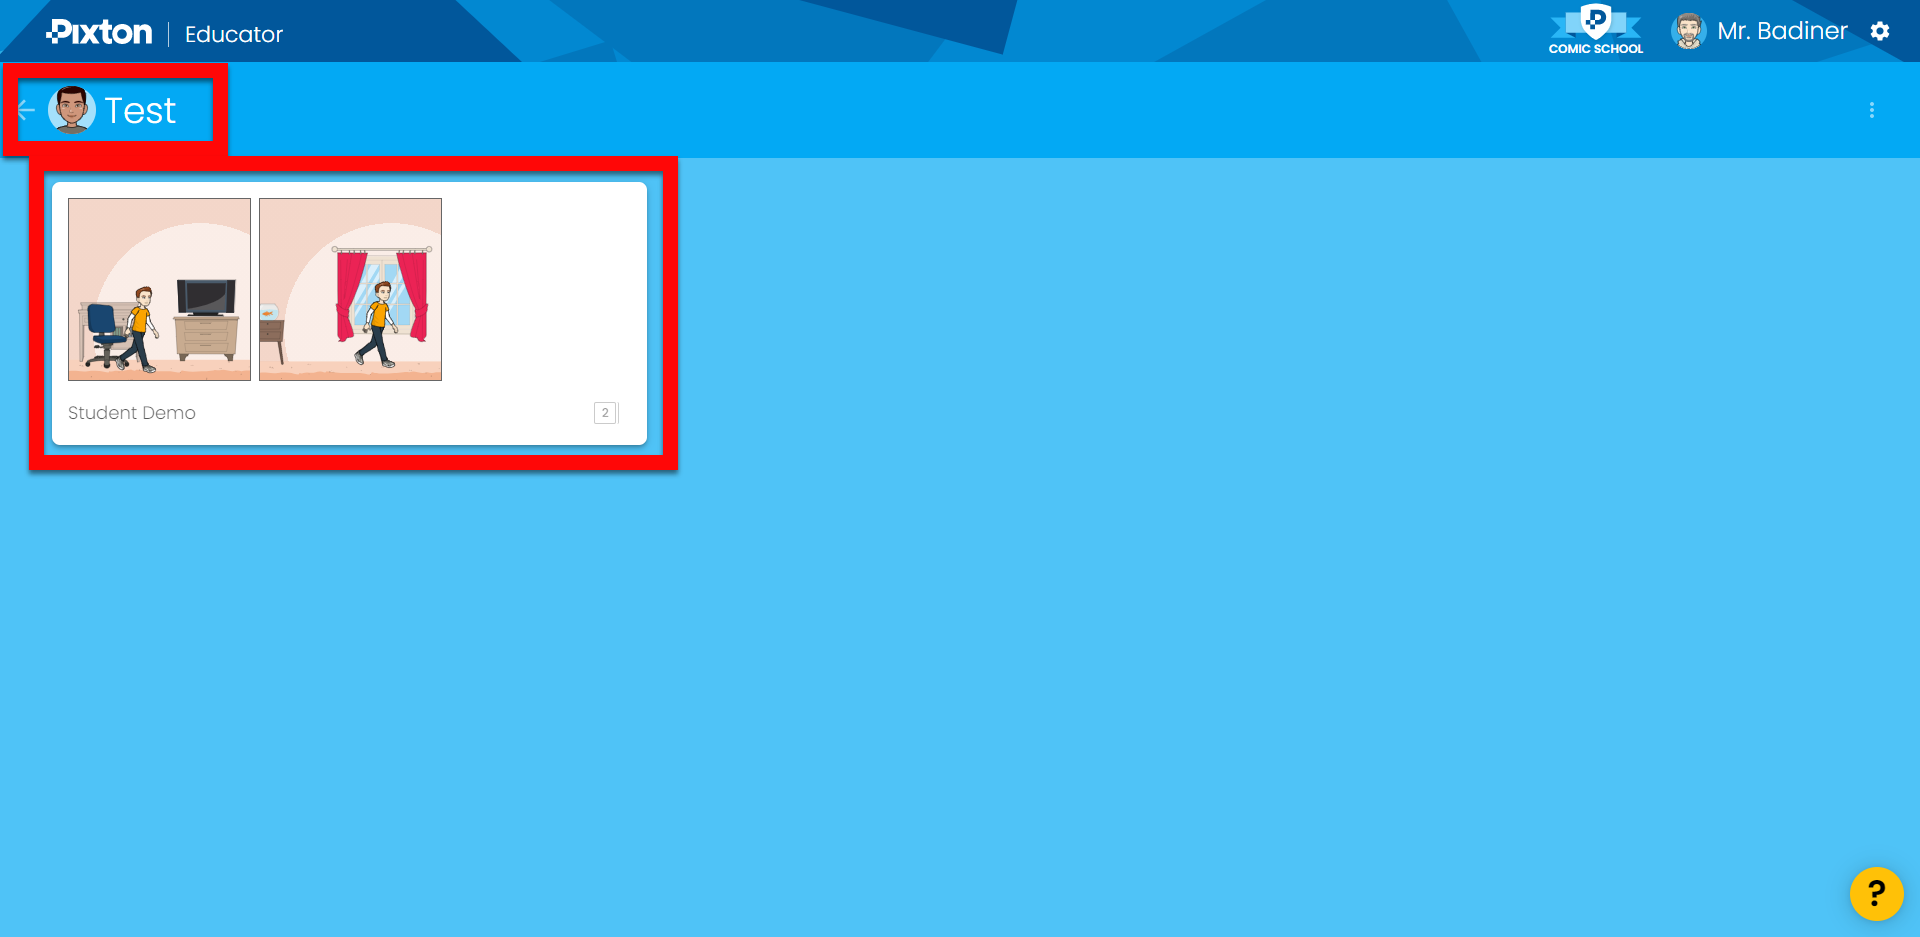
Head to the My Classrooms tab and click “View Class” under your created classroom.
You will see your students who have joined here.
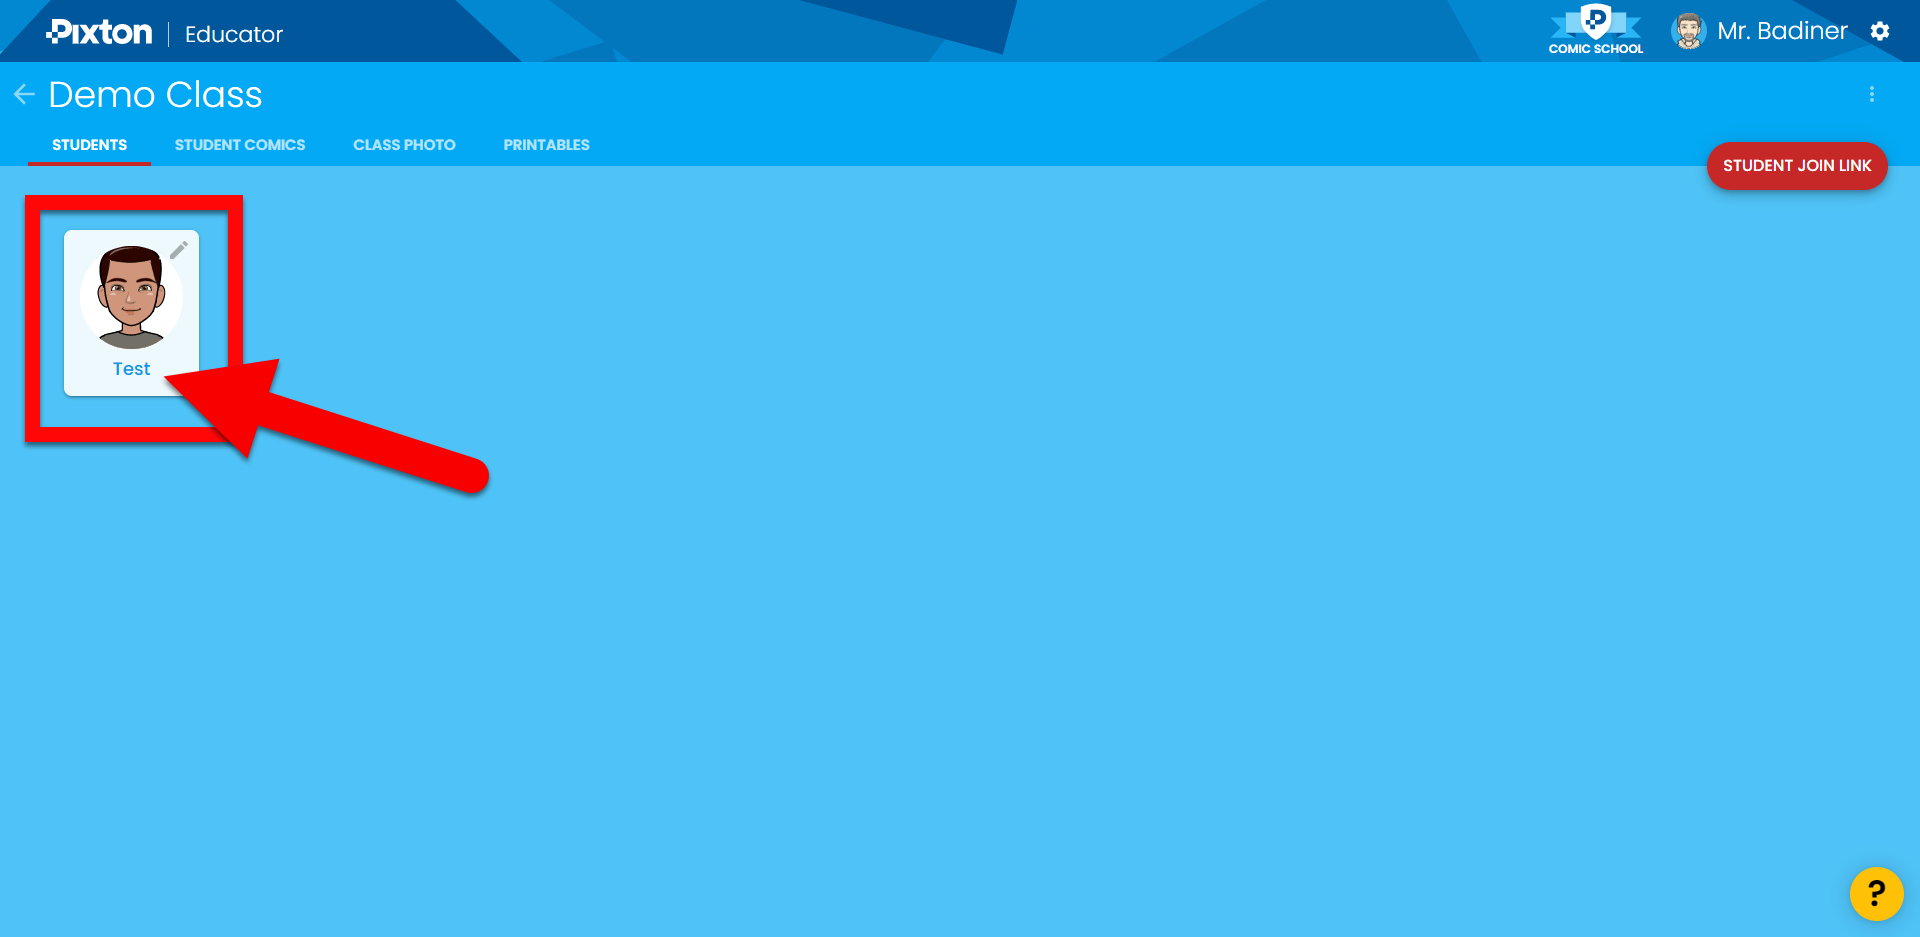
By clicking on a student you will see all the comics they have created.
Student Account Setup:
Have your students use the class share link you created to join. This is always found on the bottom of the Class Tile.
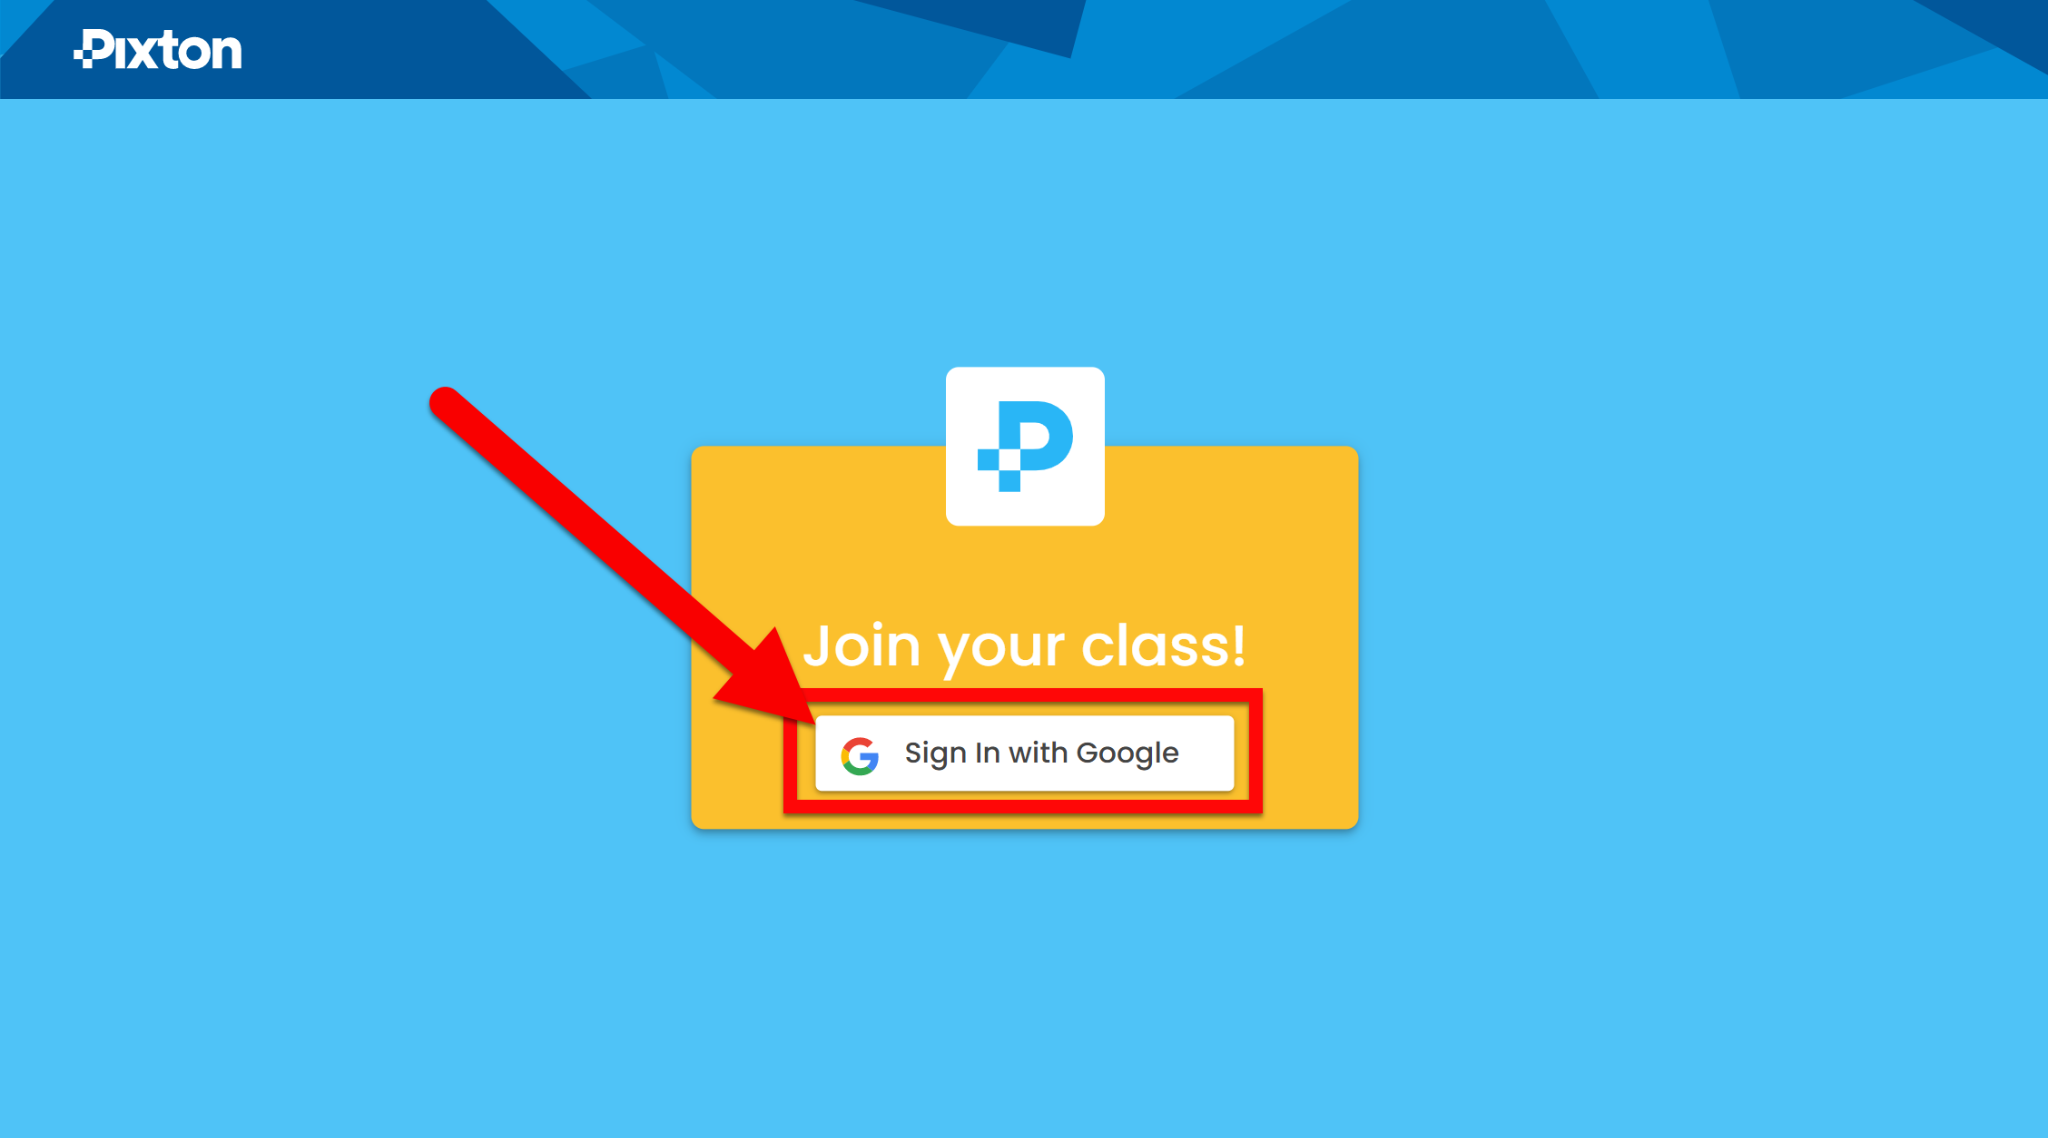
When they click it they will “Sign in with Google”.
They will then click “Make My Avatar”. Follow the steps to make their avatar look as they wish.
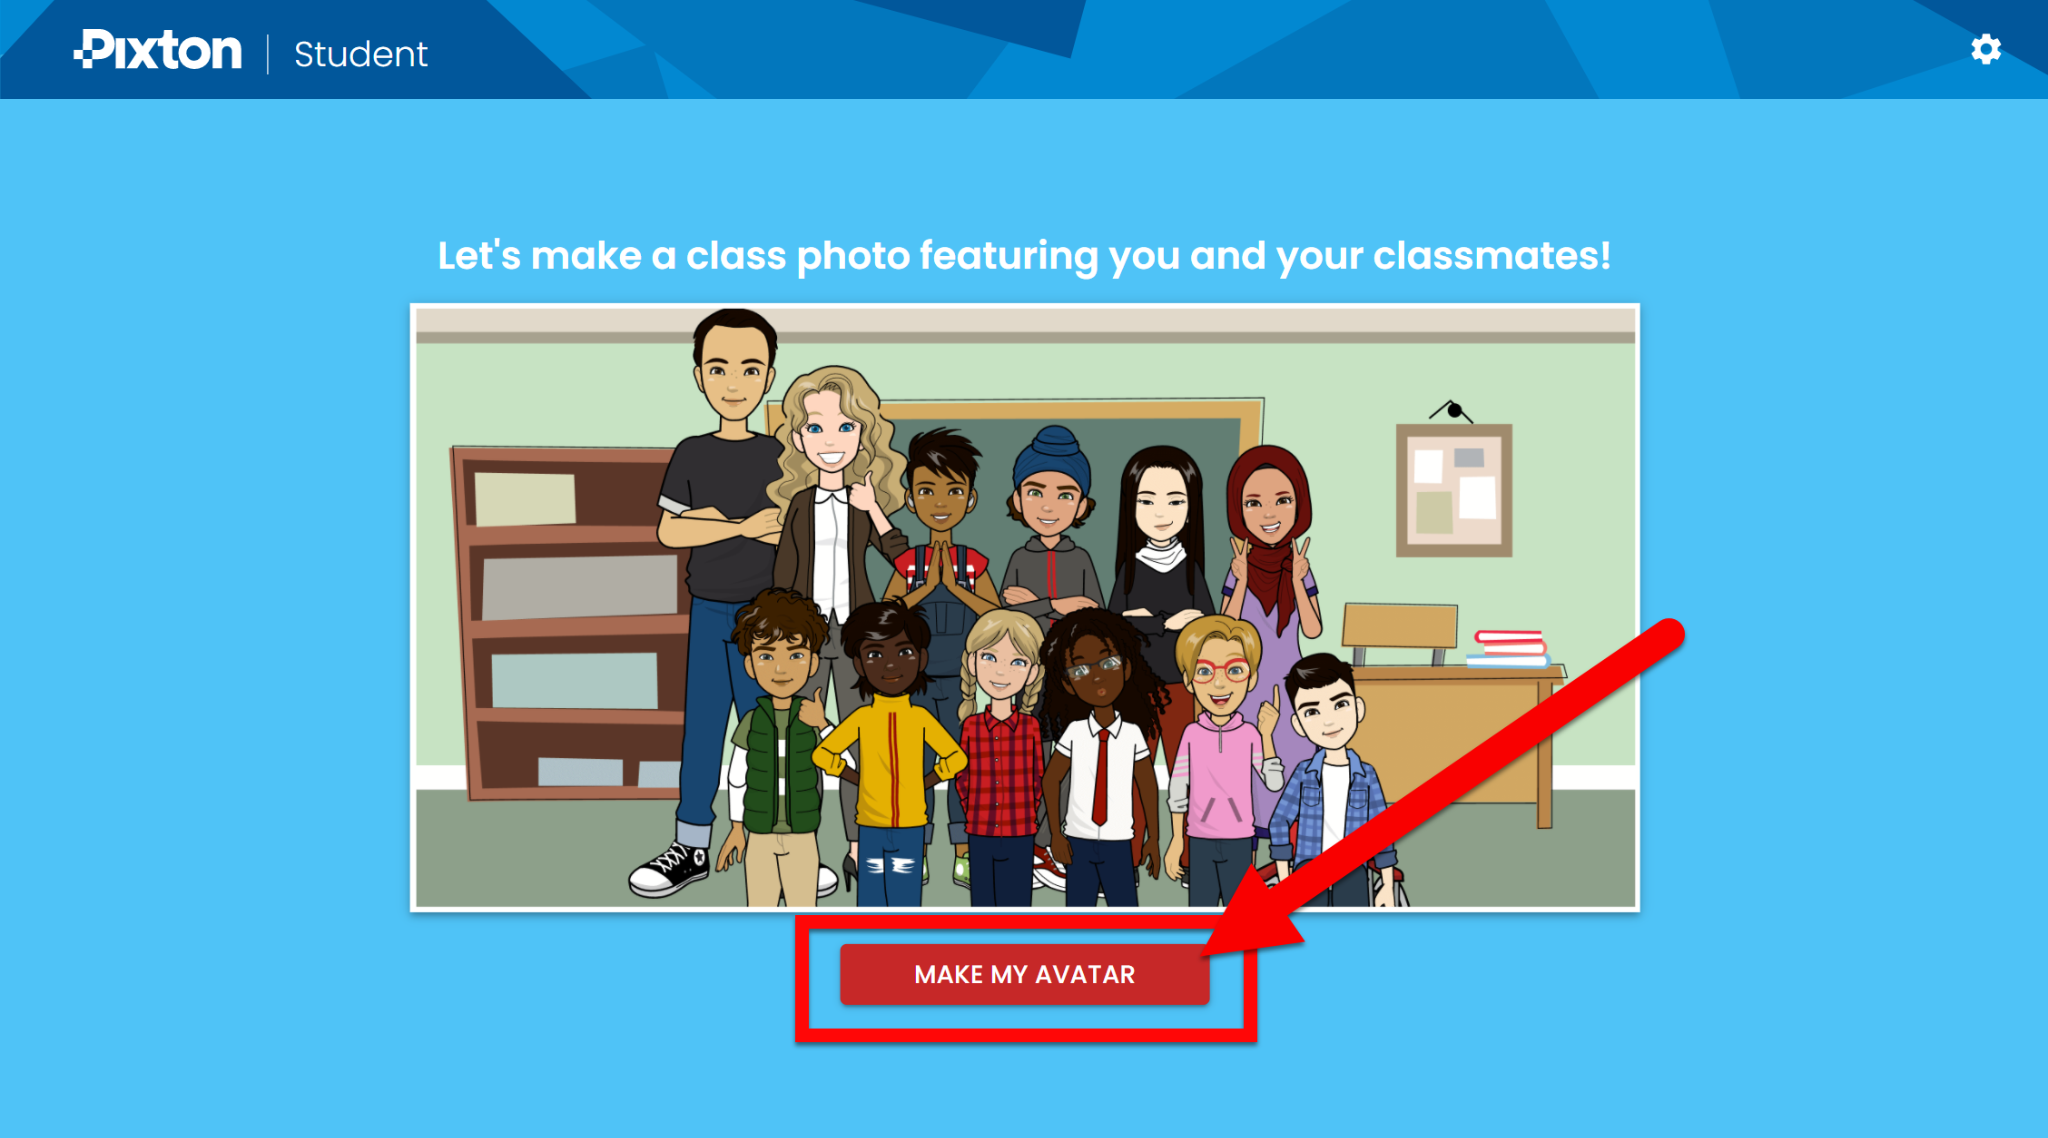
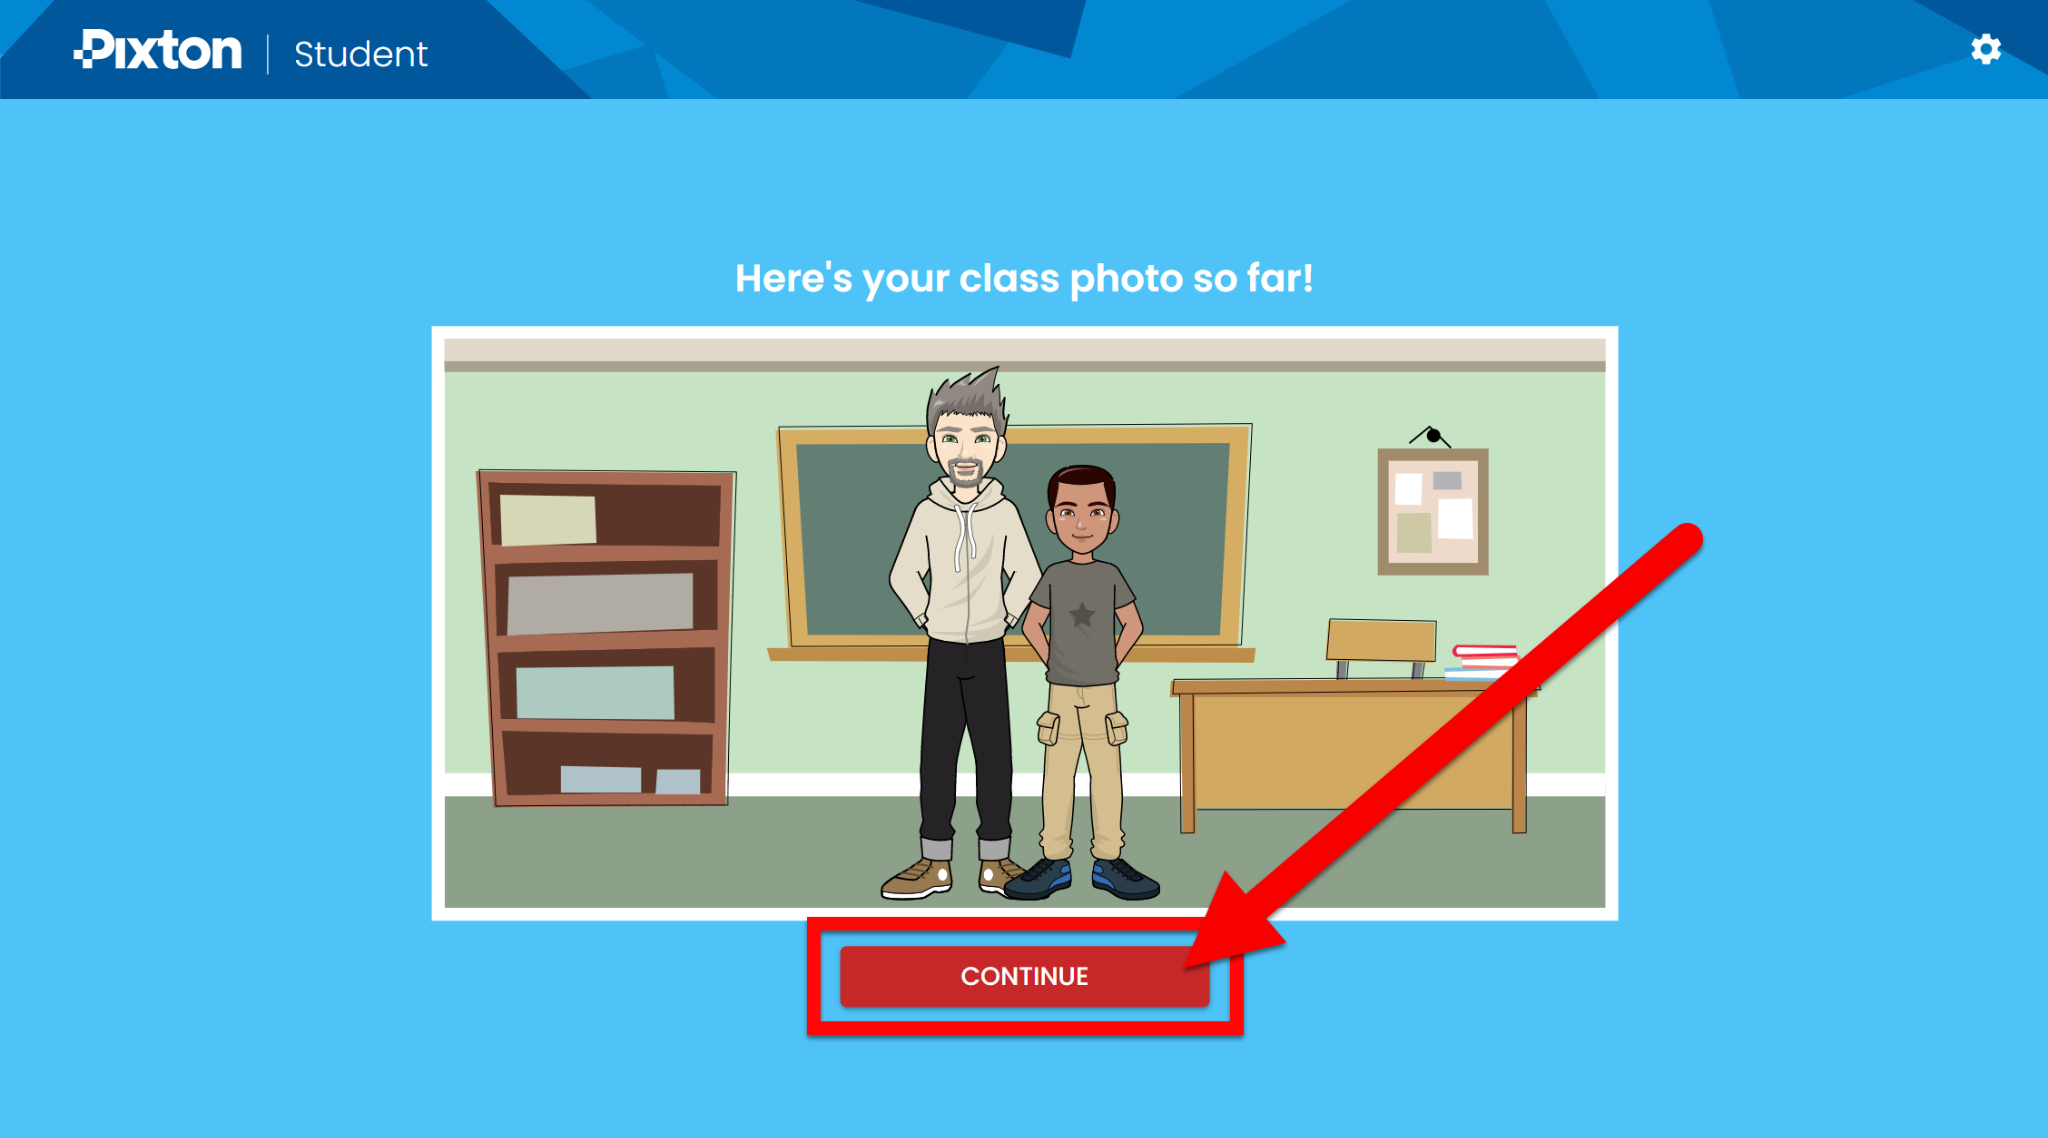
When they are done their Avatar will be added to the class photo. Click “Continue”.
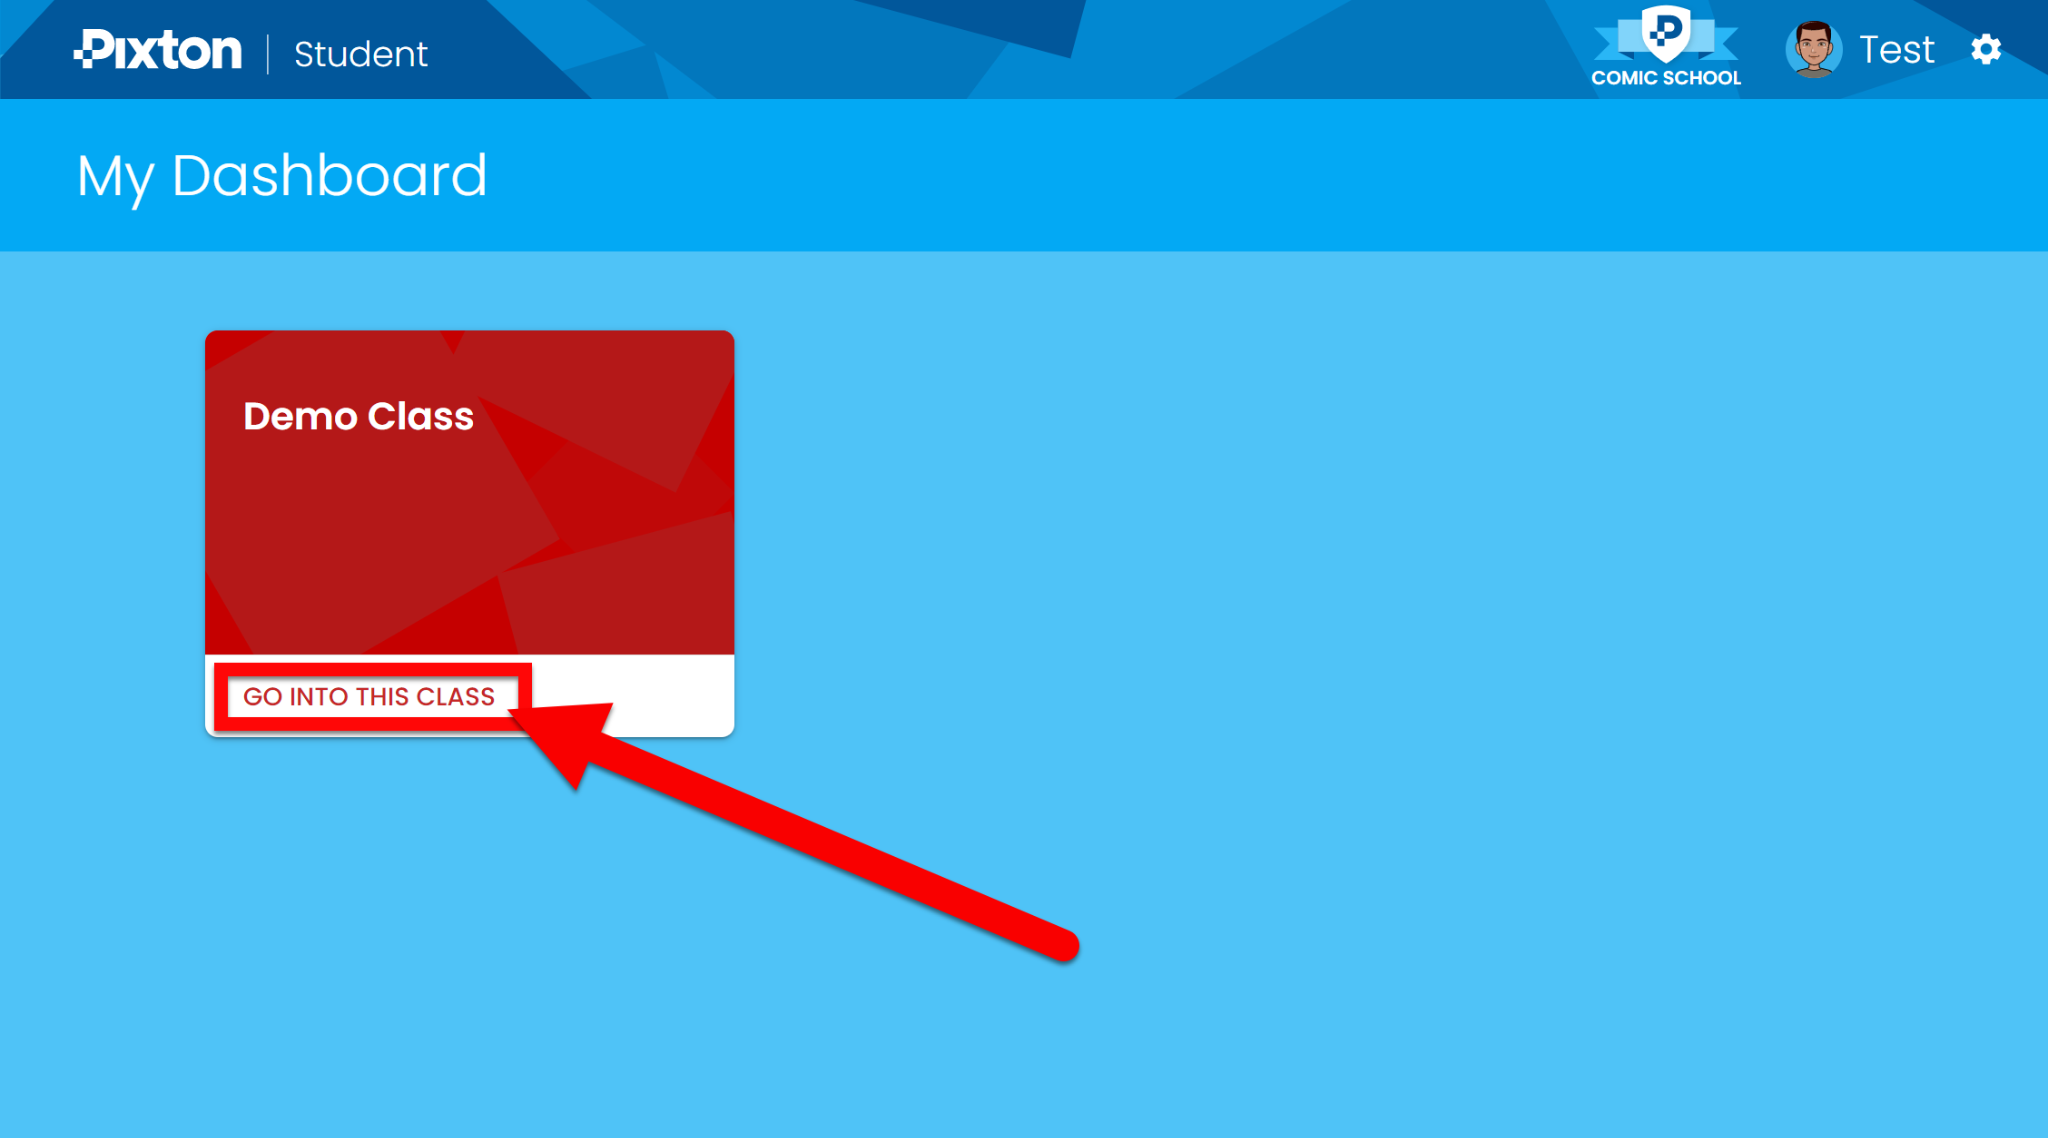
Anytime they are in the “My Dashboard” they can click “Go to this Class” and they will view the class.
They will then be able to create a comic by clicking “New Comic”.
This will be shared in the teacher’s Classroom Tab.