Showing posts with label Google Keep. Show all posts

Saturday, April 8, 2017

Organize Google Keep Notes with Images, Colors, and Labels


I have to admit it...I am a Google Keep addict! If you are not using Google Keep go here to get started. I use it for everything: notes, lists, saving text or web links, reminders (including location), or basically anything I just need to remember. Google Keep is easy to use, sharable, plays on all devices (web and mobile), and is connected to my Google account. I just love it. My only issue was that I had so many Notes they were often difficult to find when I needed them. I started with adding labels and then color coding my notes, and I now add images to the header of every note to find them quickly. Follow the steps below to start making your notes easier to find!


Add Labels:
  1. Log into your Google account and go to keep.google.com.
  2. Create a note or open one that you already have.
  3. Click the 3 dots icon on the bottom right of your note.
  4. Choose “Add Label” if it is a new Note or “Change Label” is it already has a label.
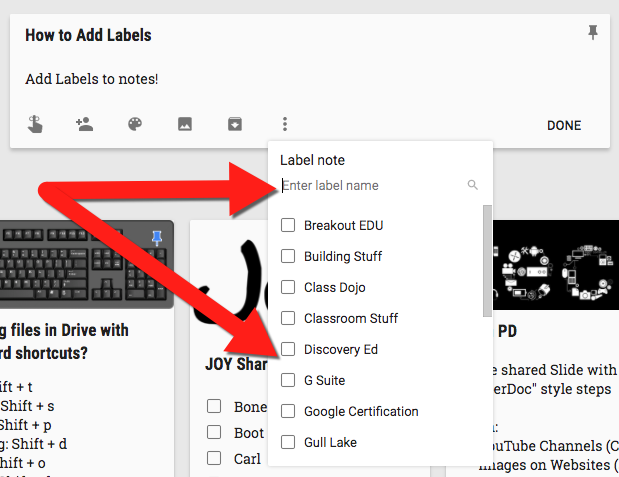


  1. Choose a label or create a new one (you can have multiple labels on any note).
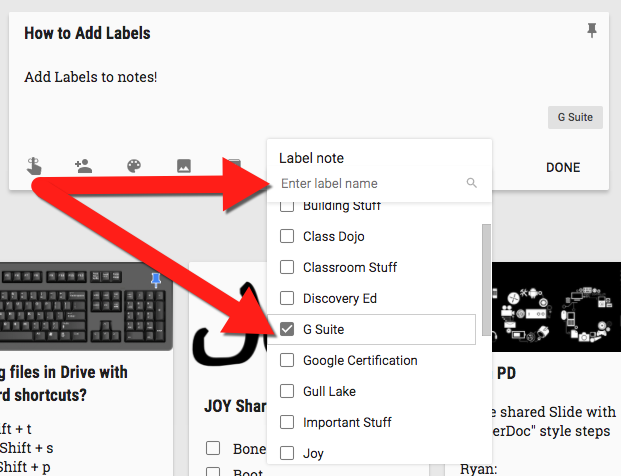


  1. Click off the Note and a label has now been added. All created labels can be clicked to search quickly from on the left side of the screen.


  • Tip: I add any label that might apply to a Note to make finding it very easy.


Add Colors:
  1. Log into your Google account and go to keep.google.com.
  2. Create a note or open one that you already have.
  3. Hover on the palette icon on the bottom of your note and choose the color you want your Note to be.
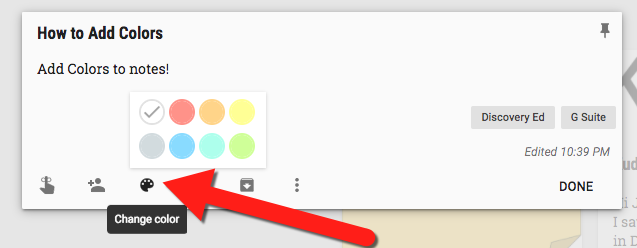


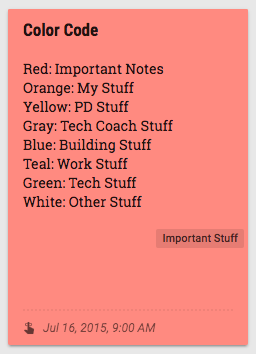
  • Tip: I create a master Note for colors to remind me what the colors mean.


Add Images:
  1. Log into your Google account and go to keep.google.com.
  2. Create a note or open one that you already have.
  3. Click the image icon on the bottom of your note.
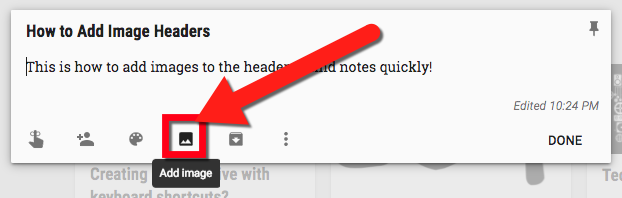


  1. Choose the image you want as your header from your device.
  2. Click “Done”.
  3. Now dig into your notes and you will see that image as a “quick identifier” for that note.
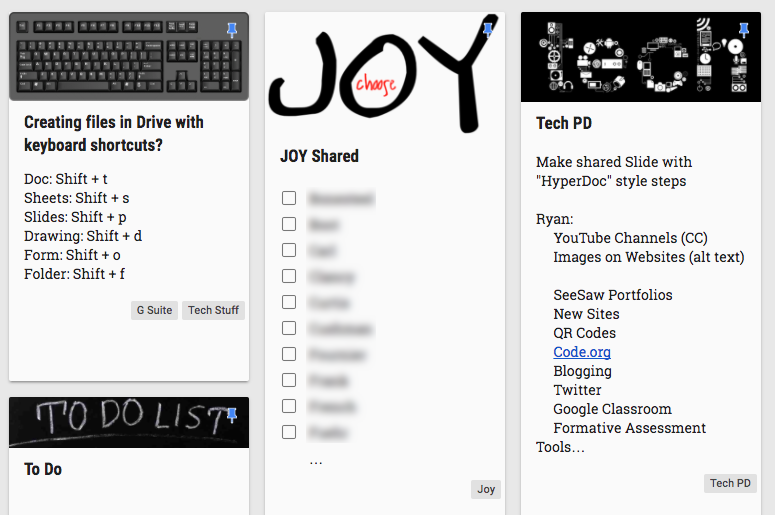


  • Tip: I suggest you use the same images for common notes. For example, anything that relates to my district specific notes (District lists, accounts, iPad info, etc..) I use the same image. Anything that is a G Suite note I use the same image for as well. In addition, I choose a color for the note to help be find them easily as well.
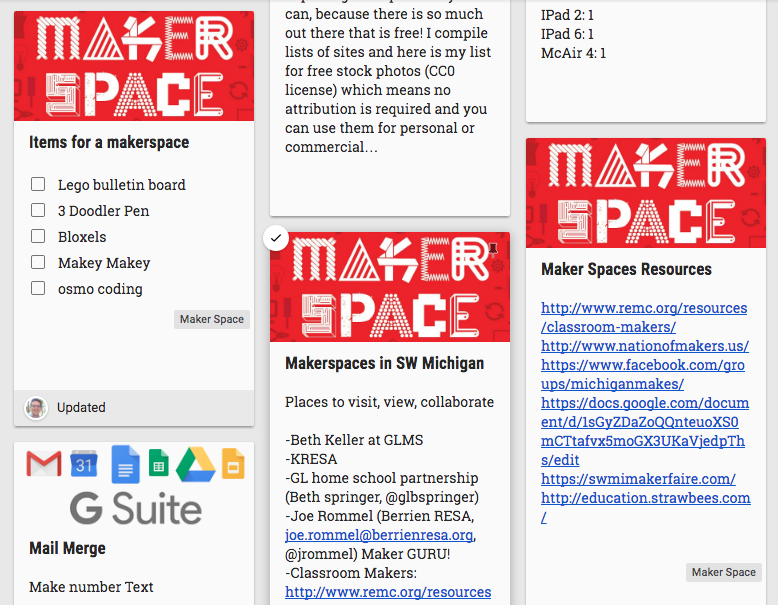


Now get organizing to find those important notes quickly! Once you get in the habit of adding labels, colors, and images finding the right Note is fast and easy!


For more Google Keep help check out the Help Site.

If you want these steps in a Document click Here!


Wednesday, March 1, 2017

Google Keep and Documents Integration


It is no secret...I am a HUGE Google Keep fan. I use it for all my notes; quick notes, reminders, lists, grocery shopping, to-do checklists, and basically just about anything most people make use of Post-Its. Keep is now a full G Suite tool and with that came more integration. It is now a great tool embedding into Google Documents. Follow the steps below to see how it can be used in Documents.


Google Keep and Documents Integration


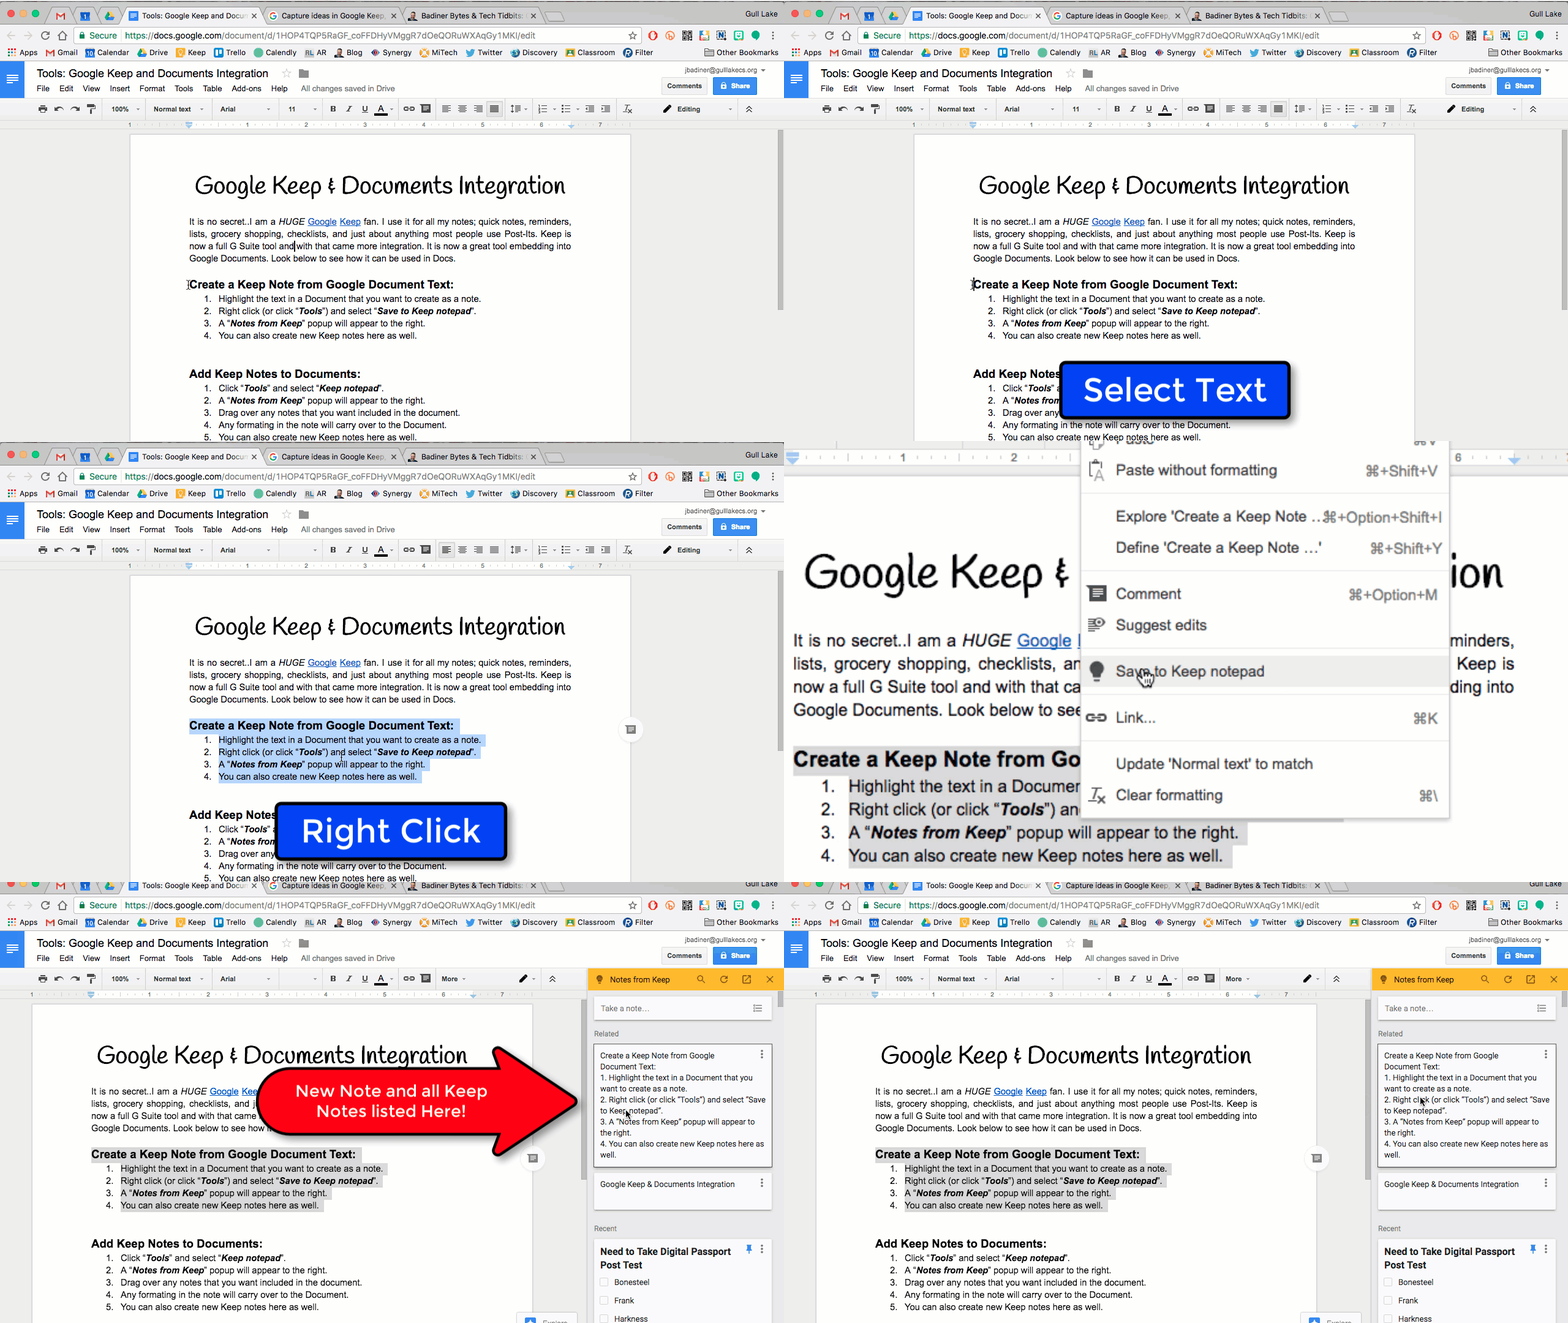
Create a Keep Note from Google Document Text:
  1. Highlight the text in a Document that you want to create as a note.
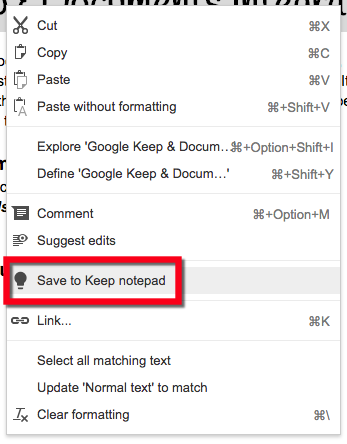
  2. Right click and select “Save to Keep notepad”.


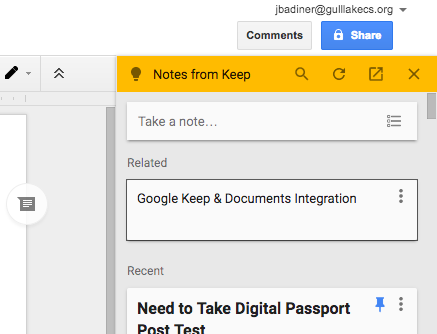
  1. A “Notes from Keep” popup will appear to the right. You can also create new Keep notes here as well.


Add Keep Notes to Documents:
  1. Click “Tools” and select “Keep notepad”.


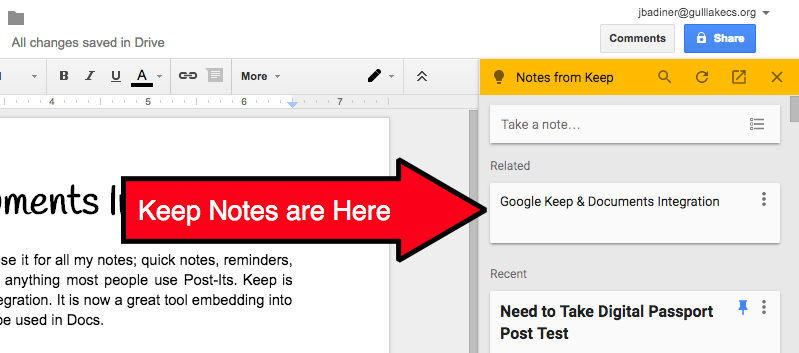
  1. A “Notes from Keep” popup will appear to the right.


  1. Drag over any notes that you want included in the document.
  2. Any formating in the note will carry over to the Document. You can also create new Keep notes here as well.


You can now create and use Google Keep Notes within Documents. Open a Document and get started!


If you want these steps in a Document click Here!
Wednesday, January 6, 2016

Google Keep: More than just a To-Do List

We all have them: To-Do Lists! Whether they are on Post-Its, scraps of paper, digital documents, Evernote type tools, iOS/Android Reminders, or any other app or form we use they are part of our life. There are so many apps out there that it gets tough to decide which one to use. I have been using Google Keep for a couple years now and it is my “go to” list tool. The best part is that it is not device specific. I use it on my Android phone, my Mac/PC computers, and my iPad daily. All devices sync beautifully and best of all, it is tied to my Google accounts. This allows me to have personal and work notes without them ever crossing (sharing access).

Google Keep: More Than Just To-Do Lists

How to access Google Keep:
  • Computer:
  1. Sign into your Google Account.
  2. Go to keep.google.com or add the Chrome App.
  3. Create a note in your browser.


  • Mobile:
  1. Go to the App Store/Google Play and download Google Keep.
  2. Create notes from the app.
  3. Make sure to be in the correct account if you are using multiple accounts on your device.


Here are the ways I use Google Keep:
  • Make to-do lists
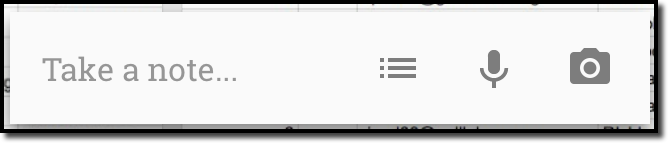
    • Start by creating a note. Just click/tap the “Take a note” on mobile or “Add a note” on the web to get started. You can also just tap/click the type of note in box that you want to create (checklist, audio, or image). I have a running (Today) note. As things come up I add them to it. As I do them, I delete them off. Easy, and in one place.


  • Create reminders
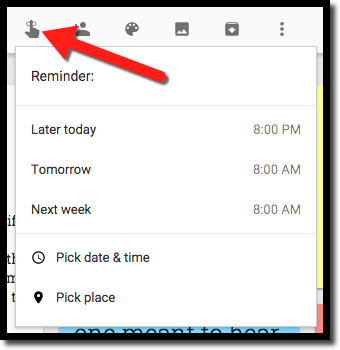
    • You can have Keep send you mobile reminders as well! Just create a note and click on the reminder icon and set a date and time. You will get a notification to view the note when it is due.


  • Type notes
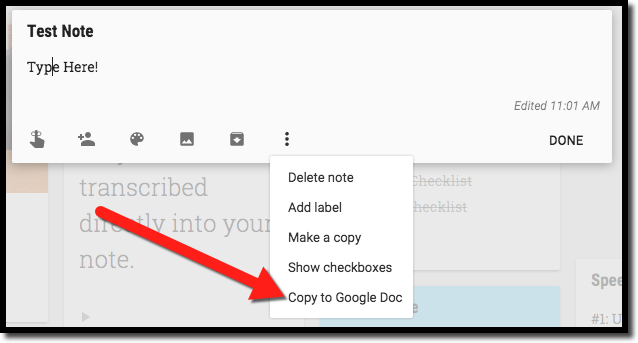
    • Take notes and save them in Keep to come back to then later. These can also be added to a Google Document at any time. By clicking on “Copy to Google Drive” you will create a new Google Document containing the text in the note right on your Drive!


  • Create checklists
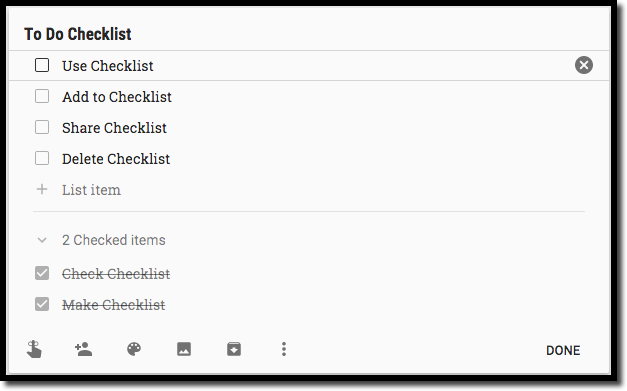
    • Checklists are my favorite. Once on the list all items can be click-and-drag into any order. Using this tool you get a list of items/tasks to get done. When you complete them just tap/click on the box. It gets marked completed and sent to the bottom to be deleted later. It is a great feeling seeing all those completed items at the bottom!


  • Create a grocery list
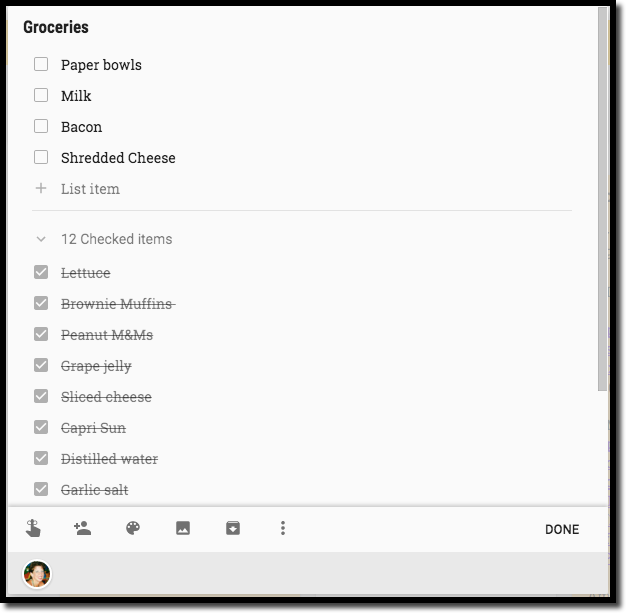
    • This is the same as the checklist. The best part is as you put items into your cart and check them off, they go to the bottom of the list under completed. The next week’s list can be made by simply unchecking the items. This puts them back into the list to buy. It is like a recycling grocery list!


  • Record voice notes
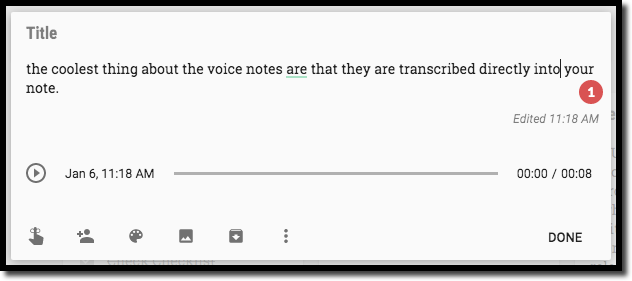
    • So, you don’t want to spend time typing or just want to record audio and save it? Keep will do that for you! Just tap/click the microphone and record audio to playback/share later (mobile devices only)! The best part, Keep will transpose your voice into text in the note as well as have the audio for playback!


  • Color-code label to sort notes
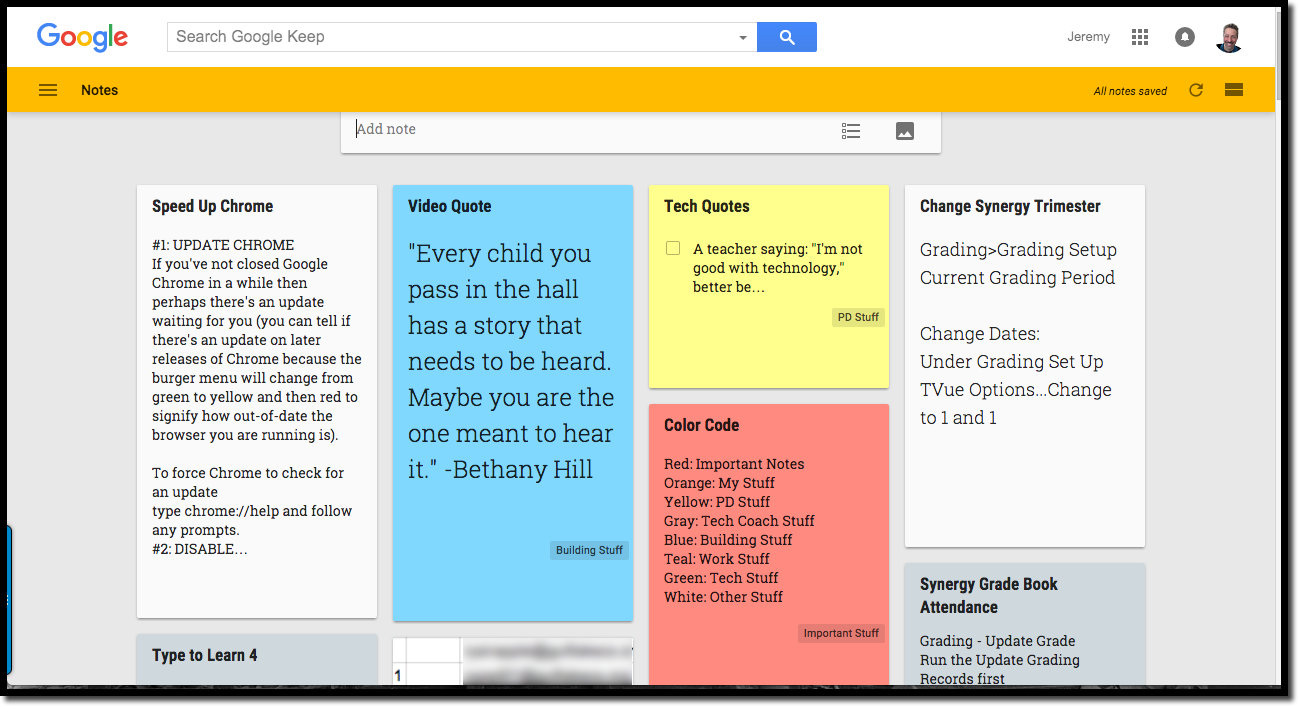
    • Keep yourself organized by labeling or color coding all your notes. Then all you have to do is filter by color or label to find them easily! You can see here that I even have a Keep note for my color codes.


  • Take picture notes
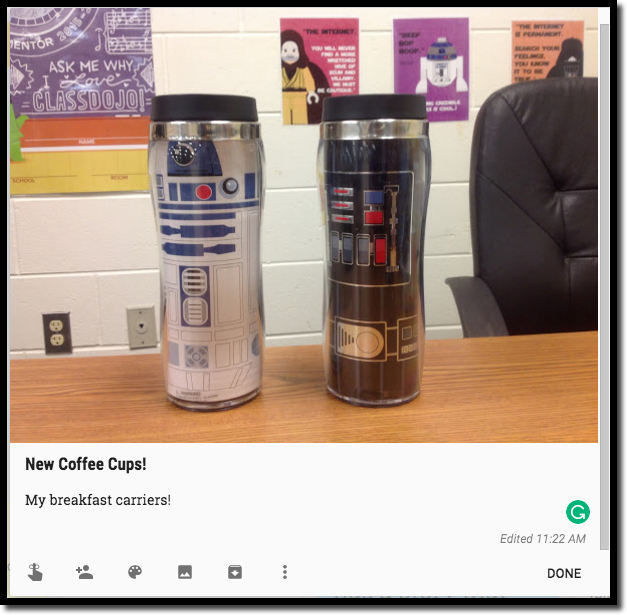
    • We all know that a picture is worth a 1,000 words. Take a picture and add it to a note!


  • Draw notes
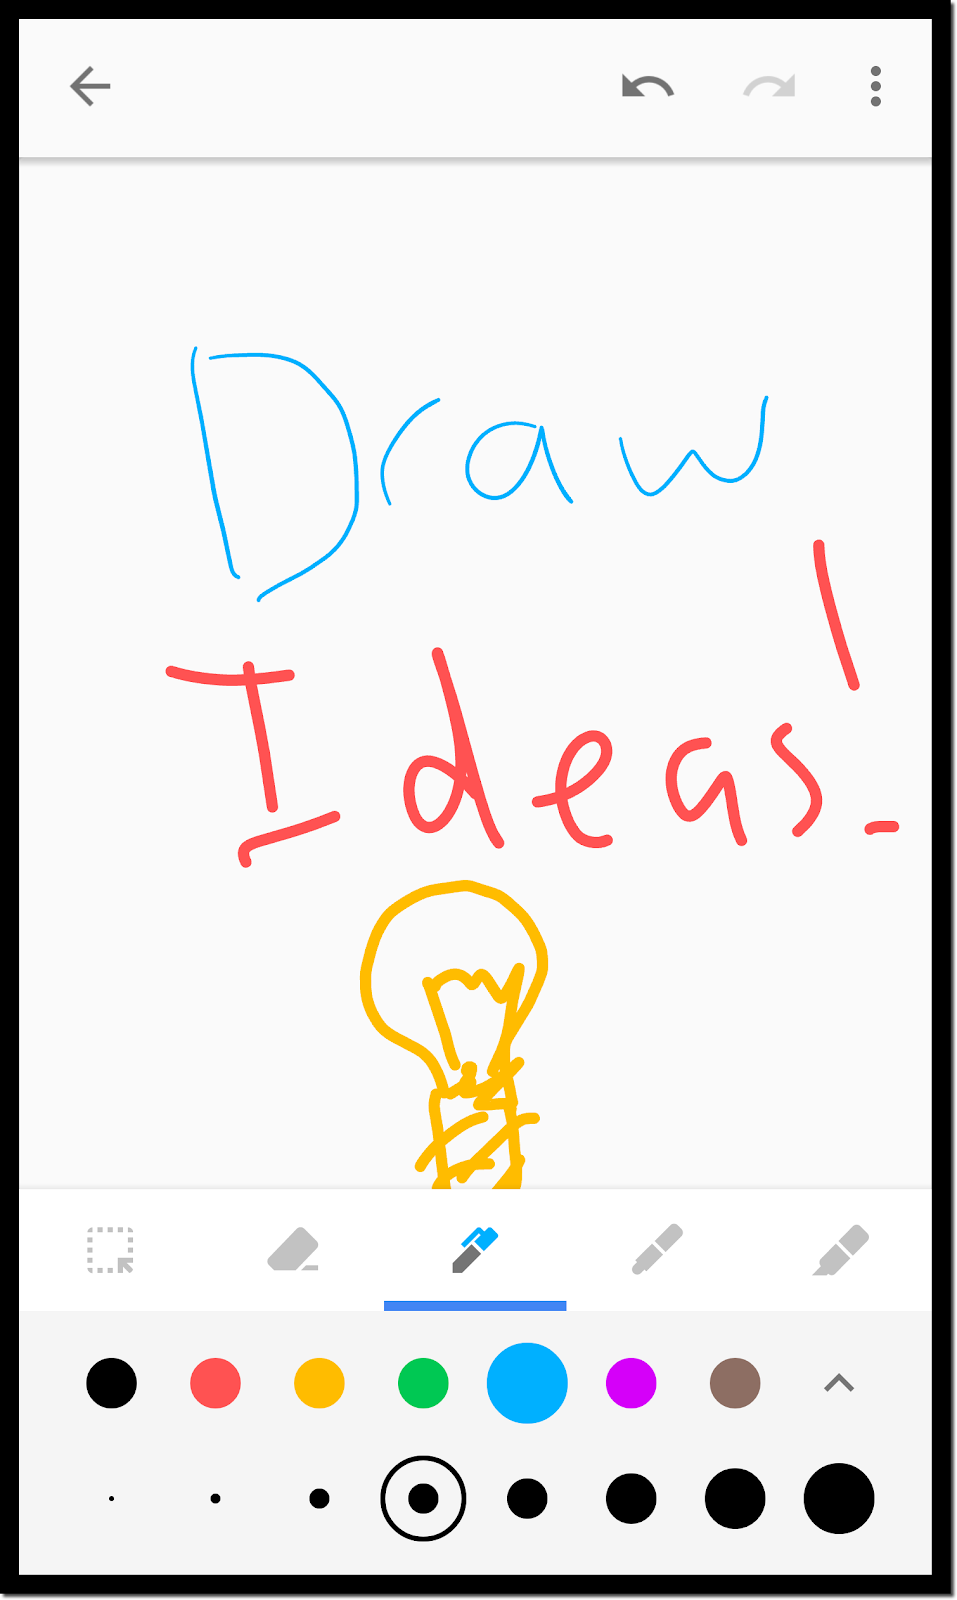
    • New in Keep is the drawing feature (right now only in Android version). Sketch out your ideas and save them!


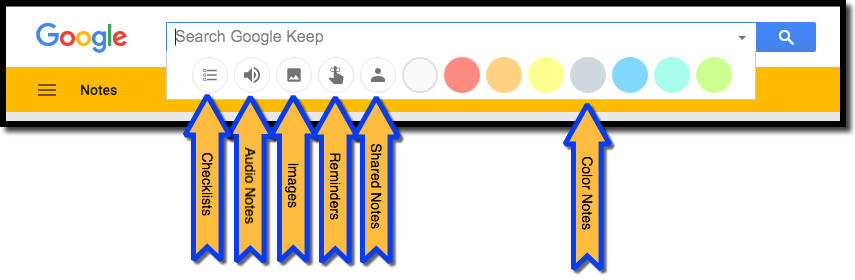
So you start using Keep and need to find a specific note among all your work. Finding a previously made note is easy. Just do a search. You can even filter by note type, color, or label!


The best part: because it is a Google tool you can share any one of the above notes with others who use Keep!


For more basic Google Keep help check out the Help Site.


If you want these directions in a document click Here!