
Access Smart Dropdown Menu in Smart Chips:
Open a Google Document.
Place your cursor where you want the Dropdown Menu located (I use tables for this the most, but it can be done in line with text or anywhere you want).
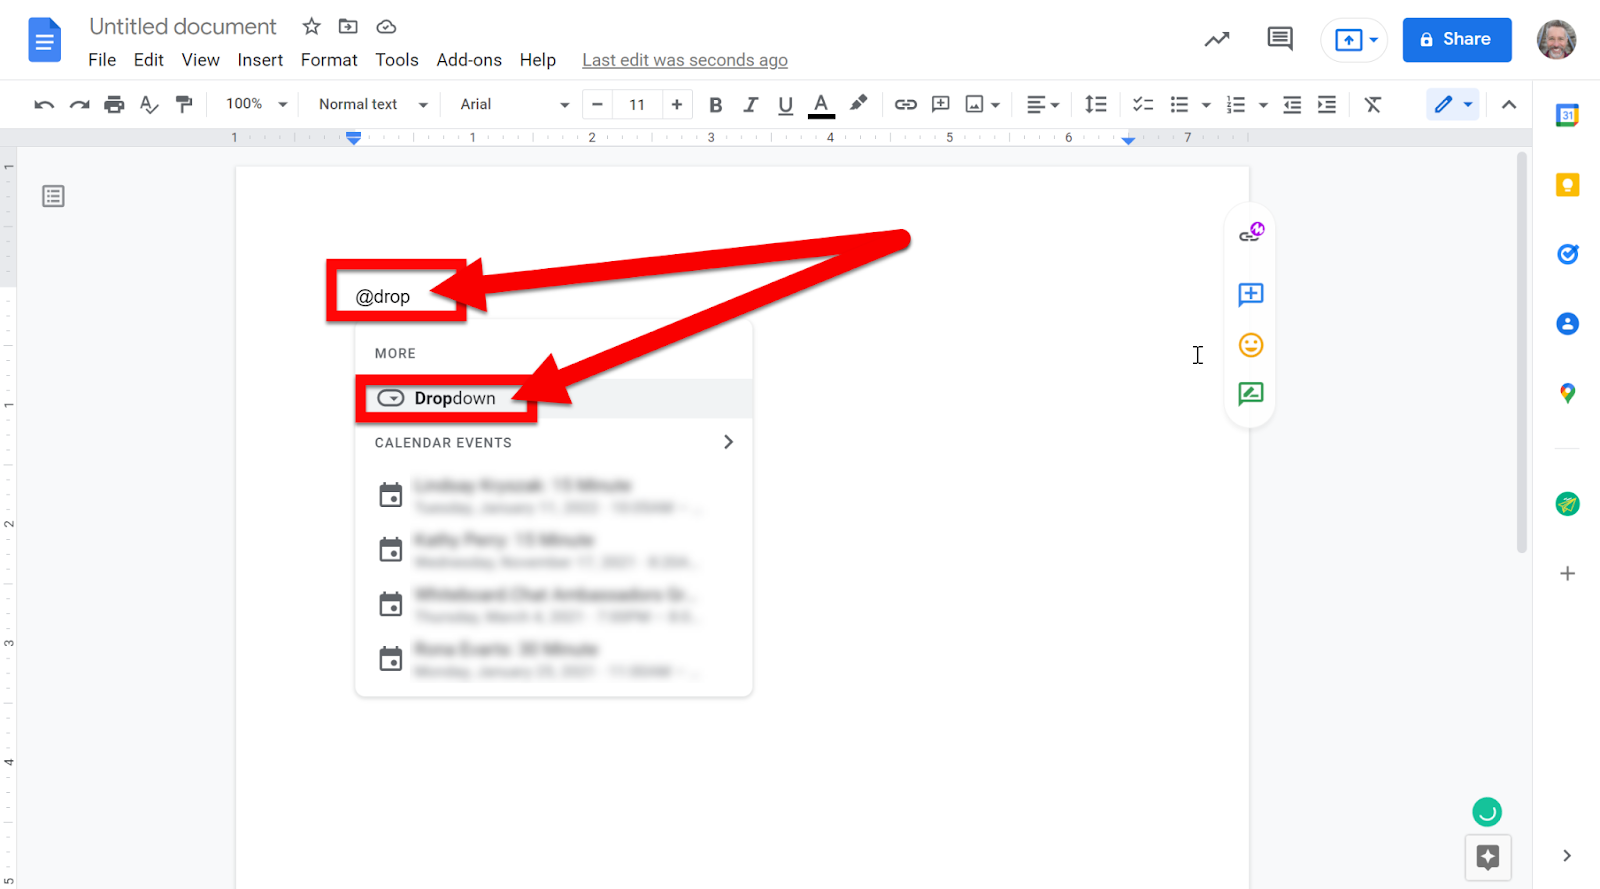
Type the “@” symbol and start typing “Dropdown”. Select “Dropdown” in the popup.
Select “New Dropdown” or choose one of the Presets (or one that you made if you already created one in this Document).
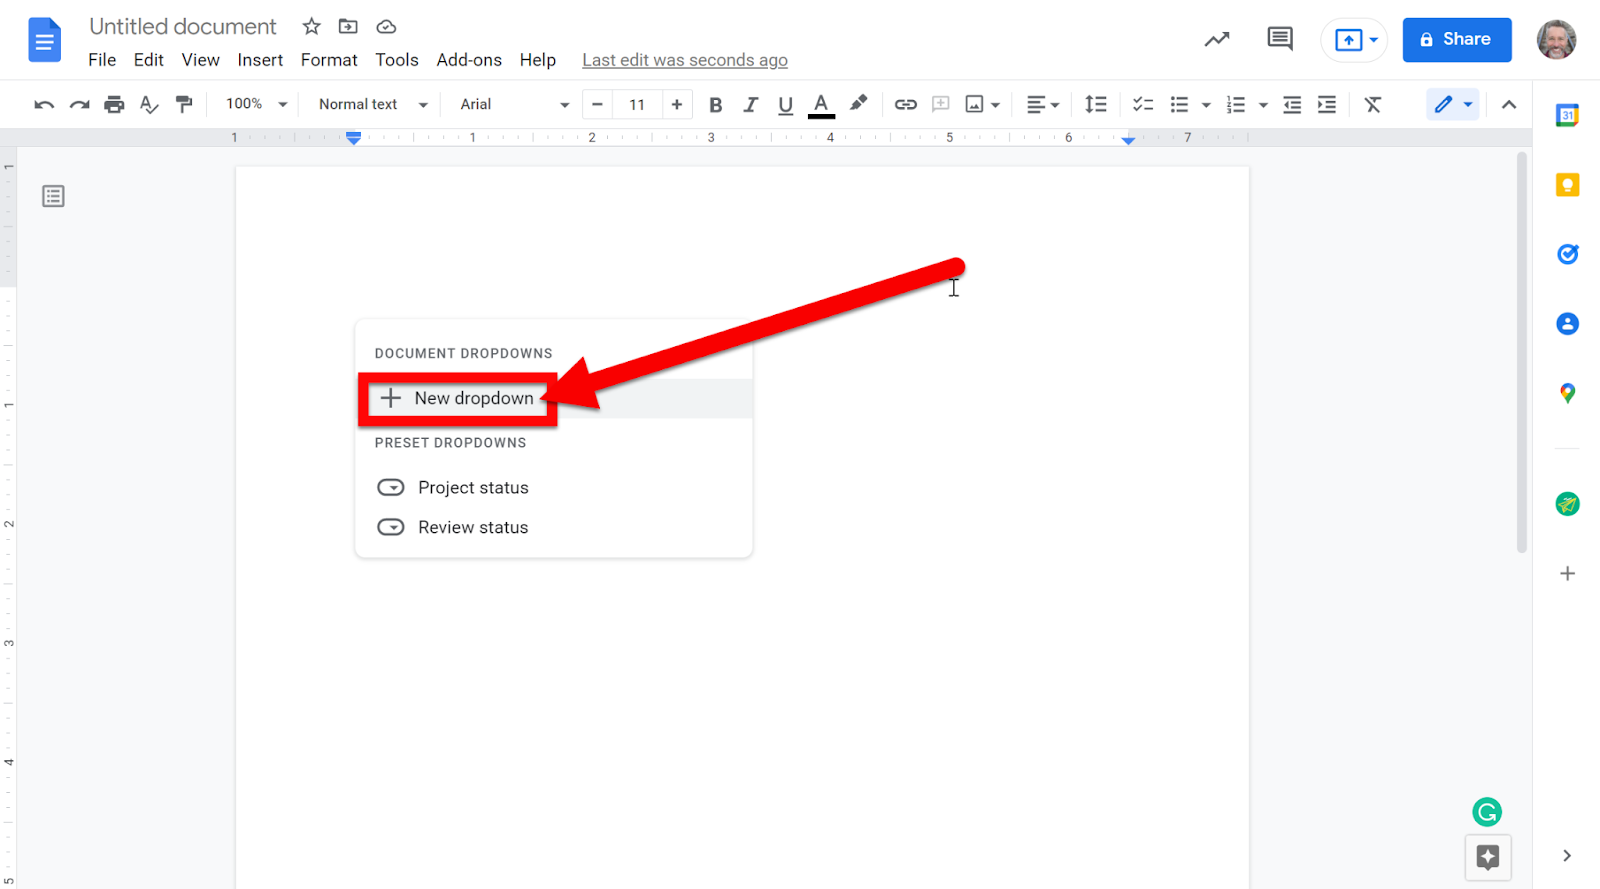
You can select to create a new Dropdown Menu or use a Preset.
Access Smart Dropdown Menu from “Insert”:
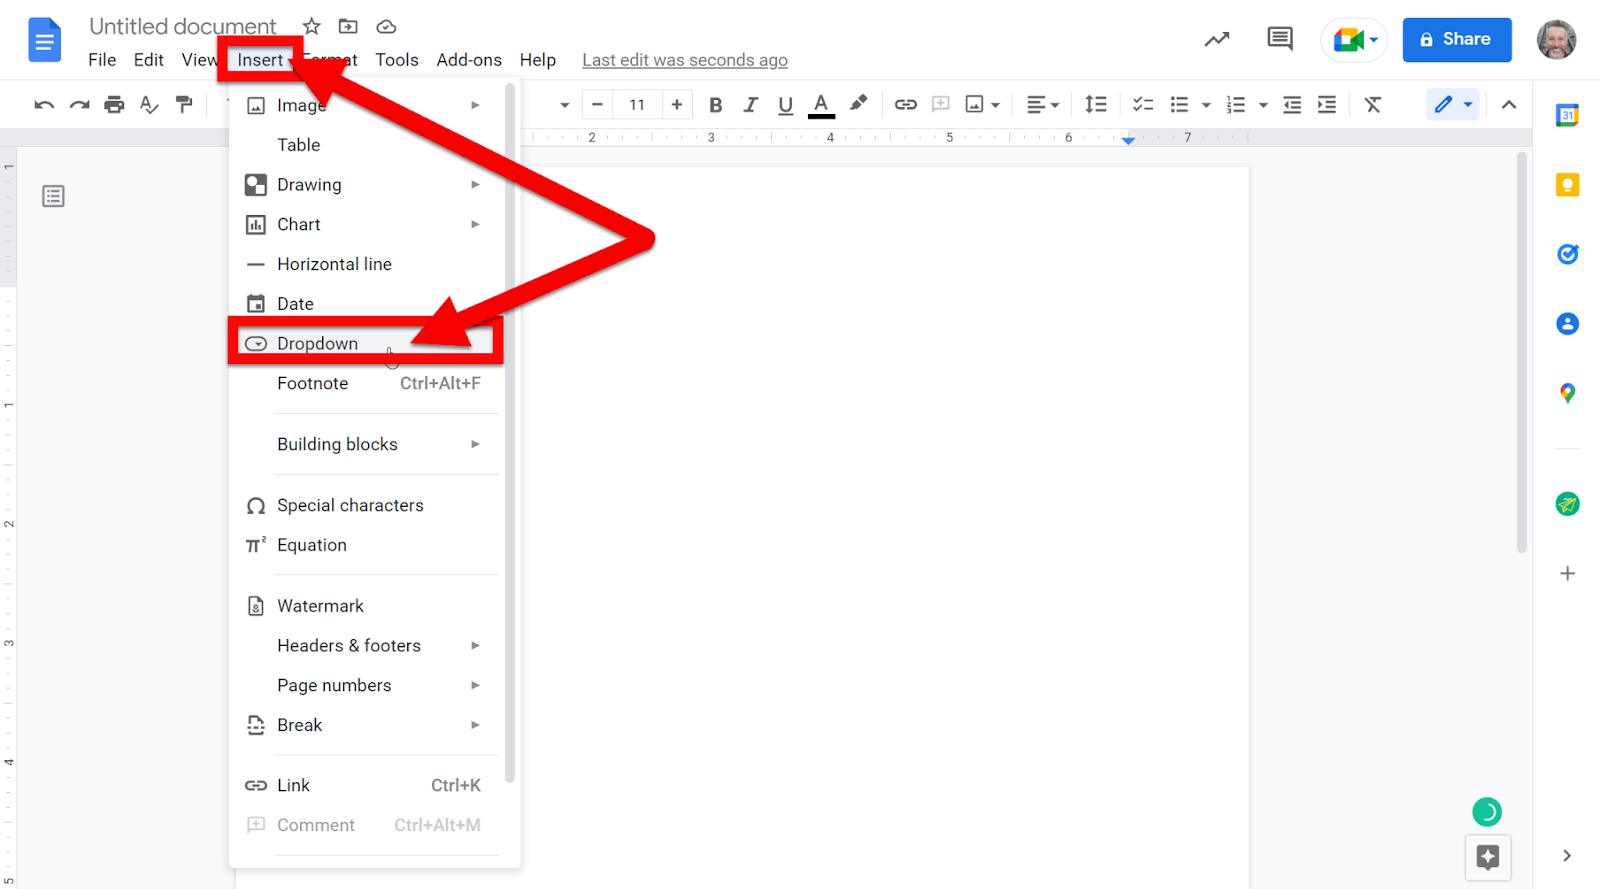
This option is also available in the “Insert” section of Docs, Slides, and Sheets.
Click on “Insert” and choose “Dropdown”.
Customize Dropdown Menu:
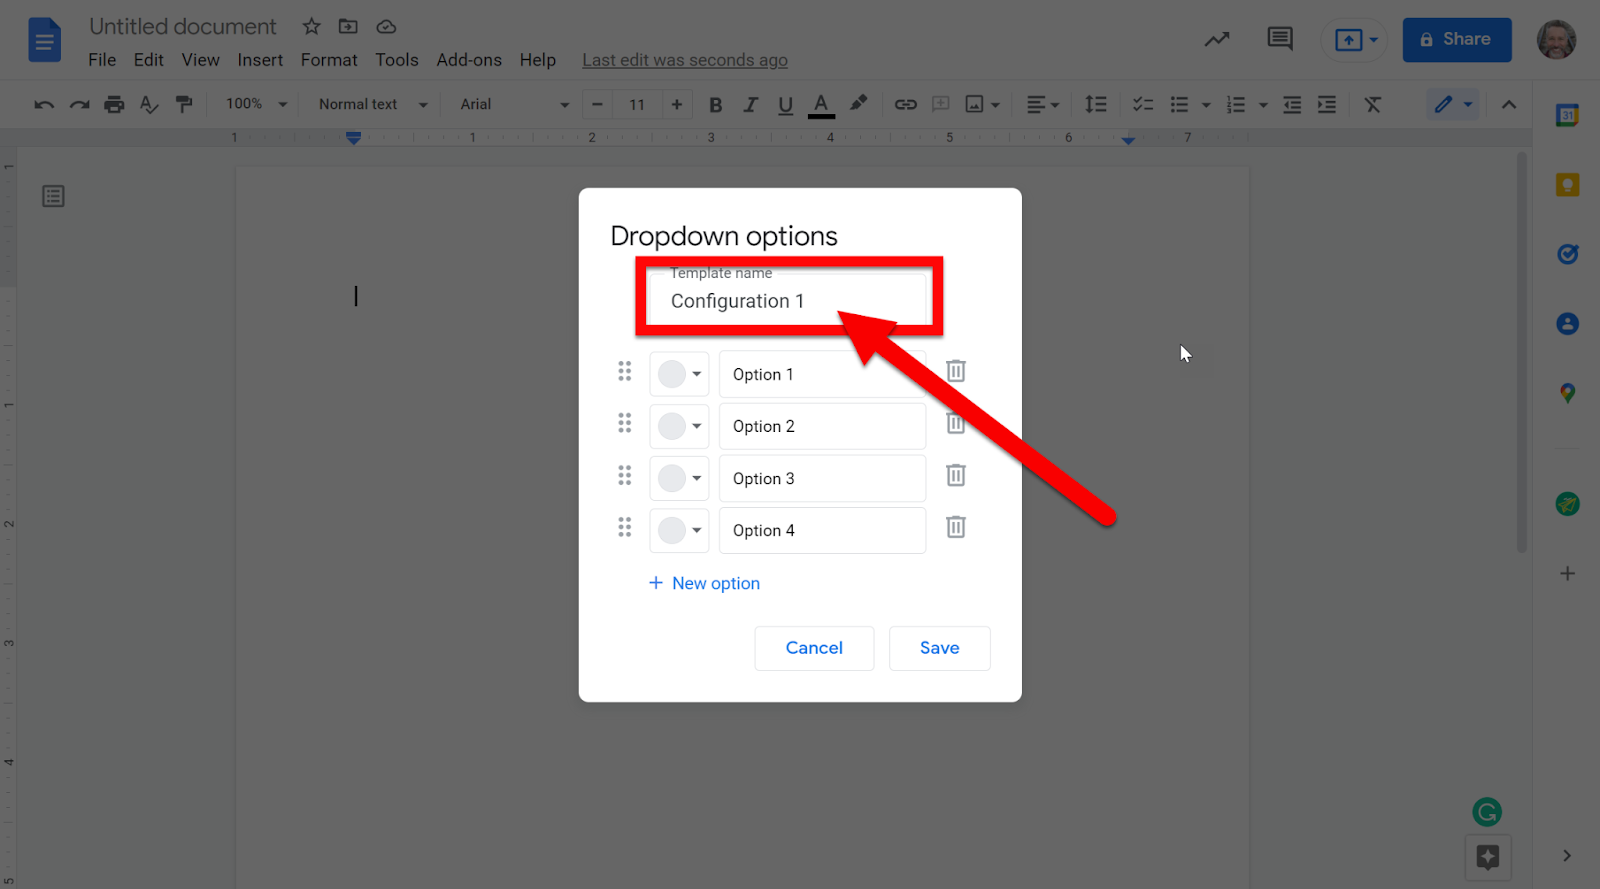
After selecting “New Dropdown” name your list.
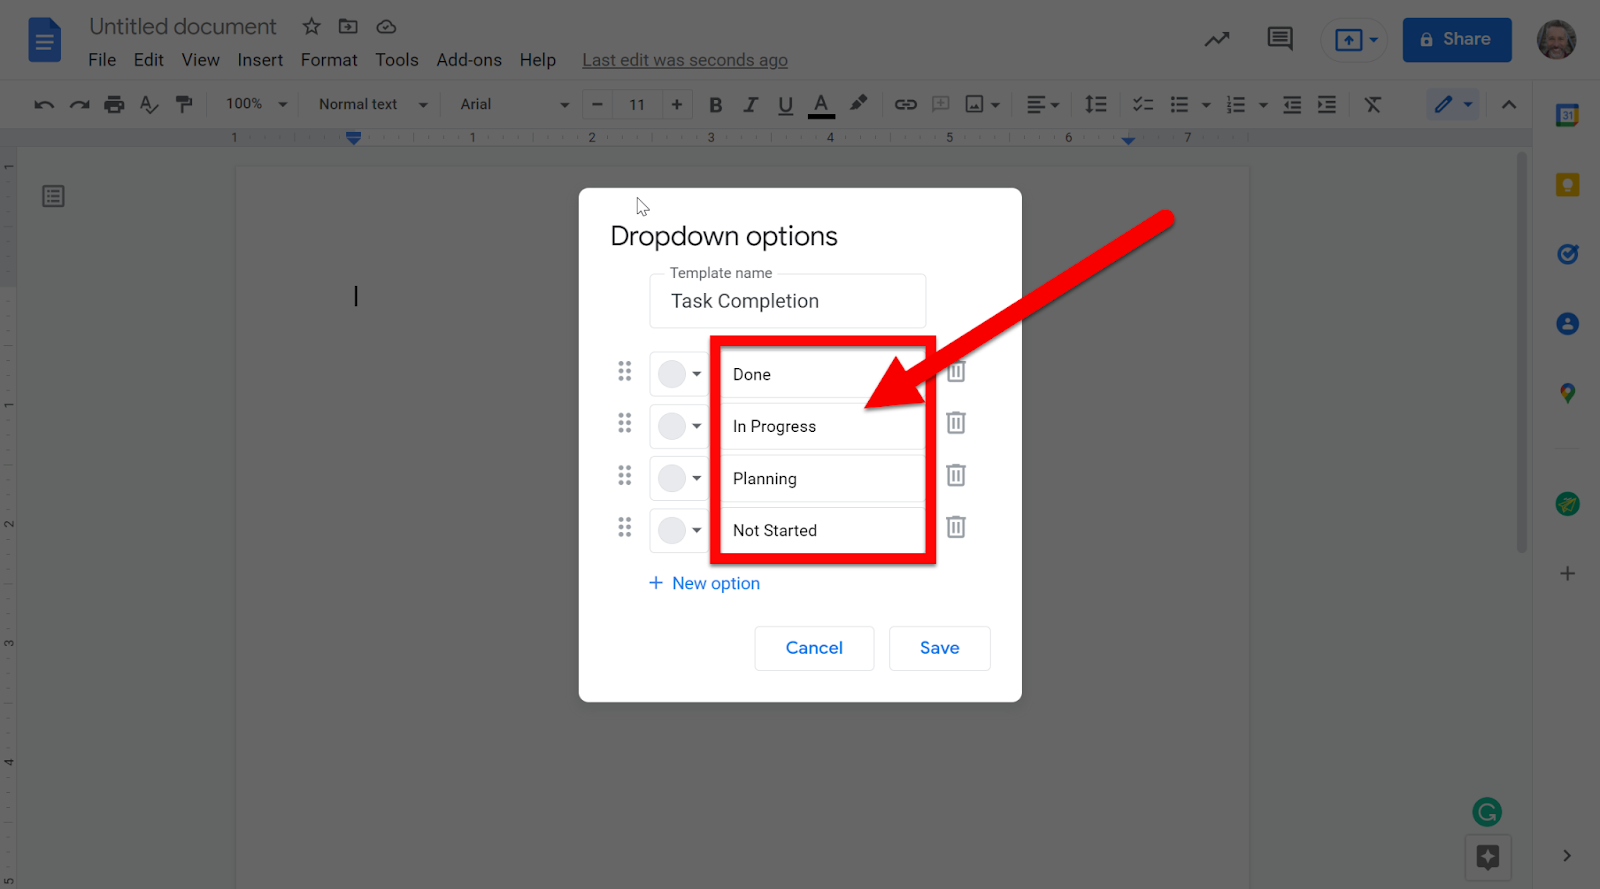
Add the description for each option/category.
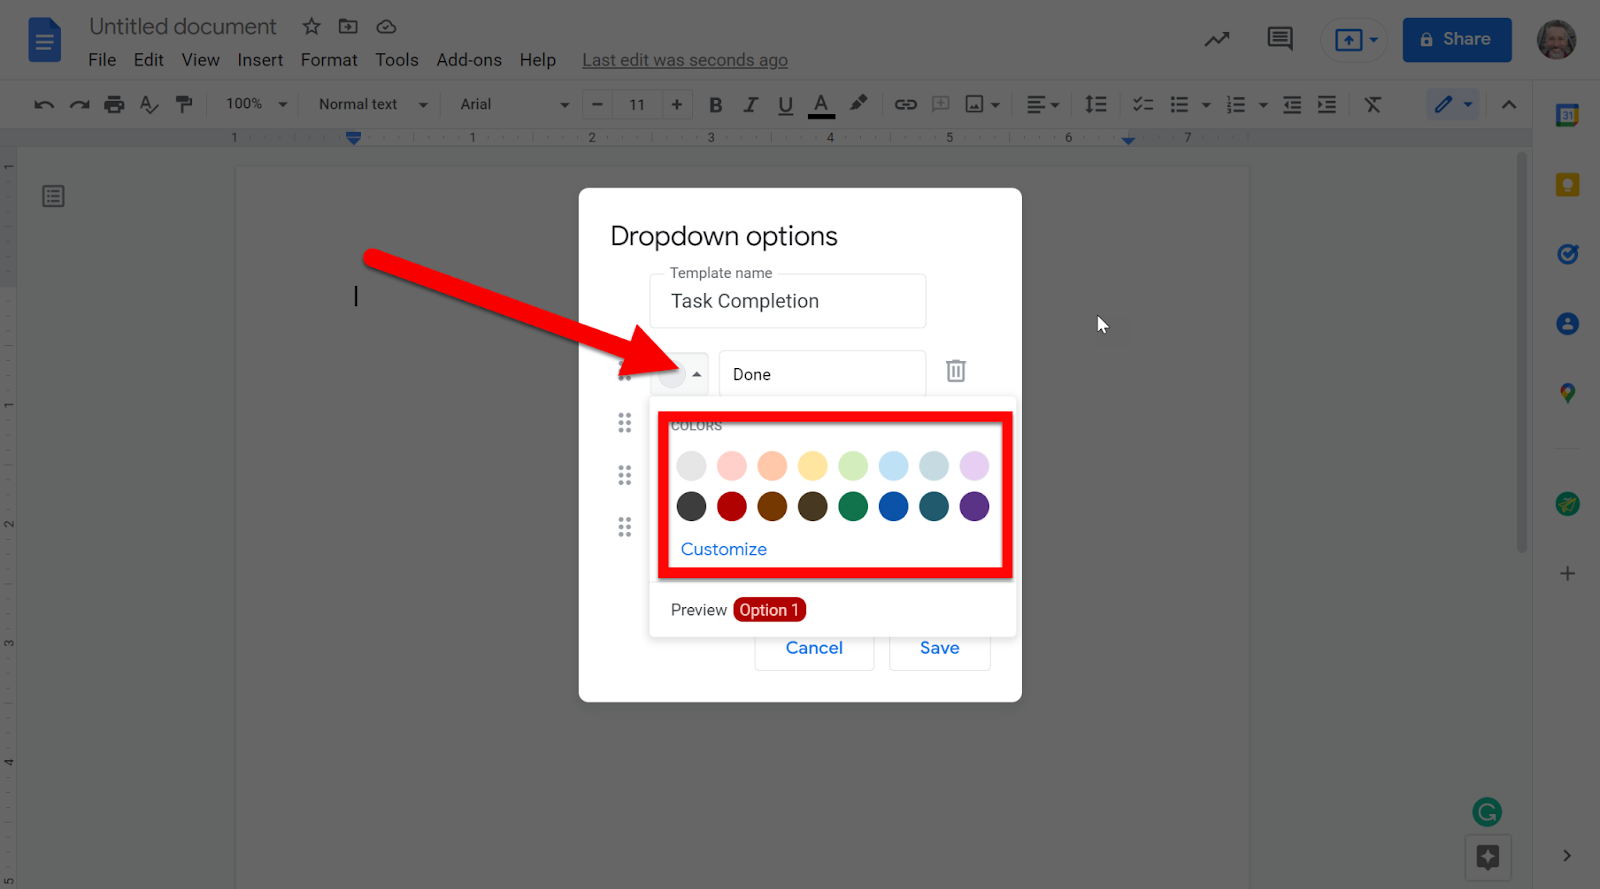
Add colors if desired. This gives you the ability to quickly see progress or choices selected.
Delete categories by clicking the Delete icon, or add more by clicking “New Option”.
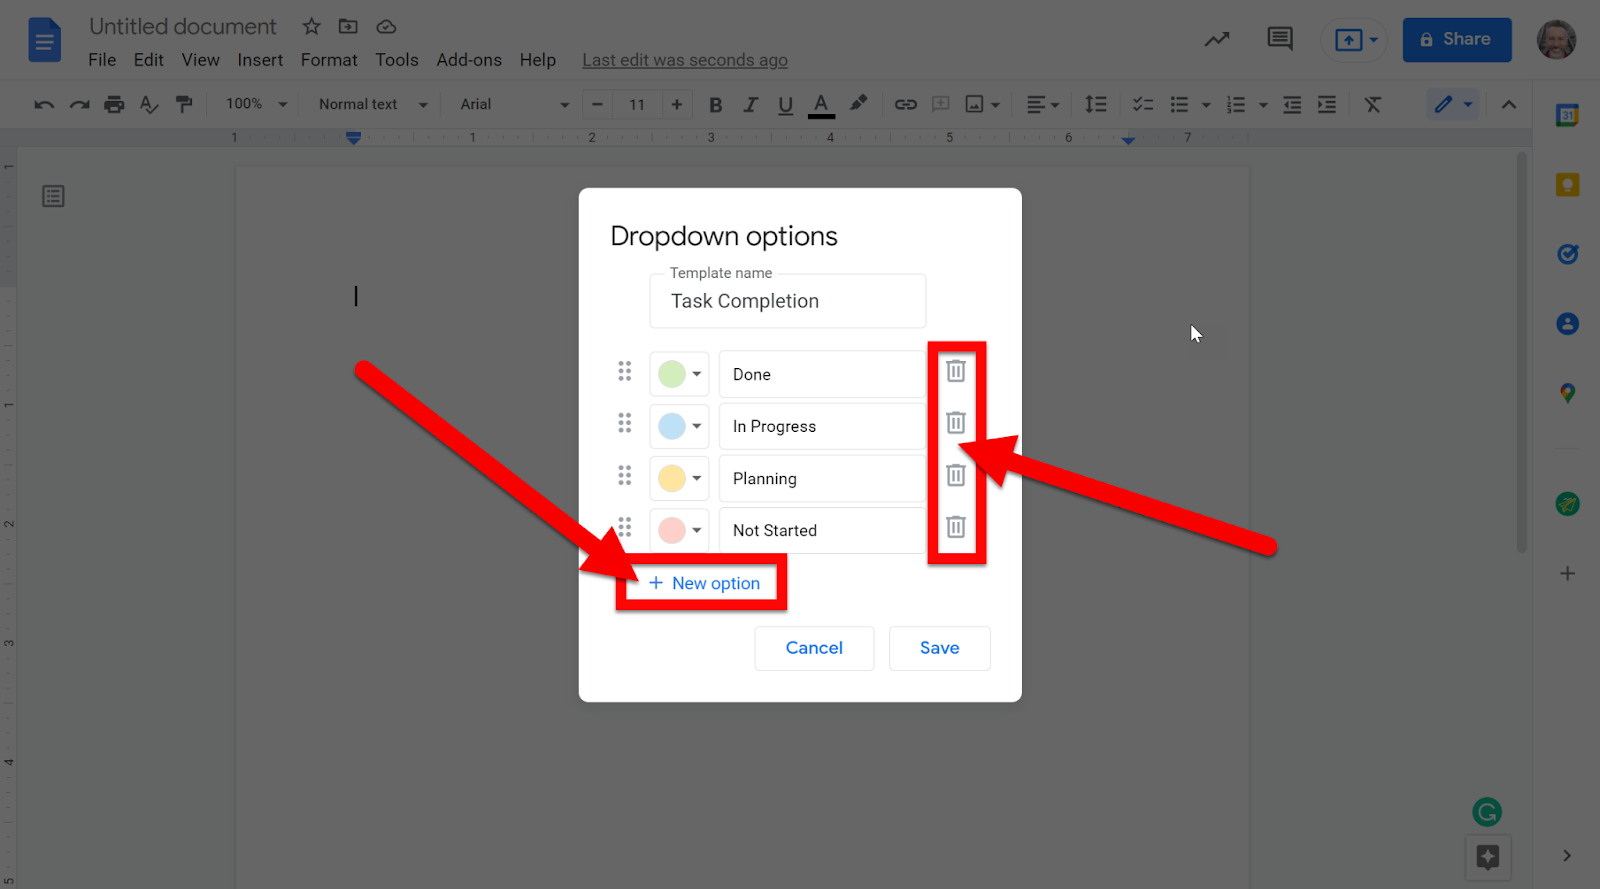
Click Save when done.
Just a note: this Dropdown Menu will be available on this Document as a created Dropdown, but it will not be available on other Documents.
Using Dropdown Menu:
Use these as clickable status icons in your document to choose the options you set.
Uses for Dropdown Menu:
Project Status/Review Status
Fill in the blank assignments
Form style fill-ins
Checklists
Evaluation documents
Anything where you want to select items from a list
…and many more uses!
If you want these directions in a Document click HERE!