

Create a Video:
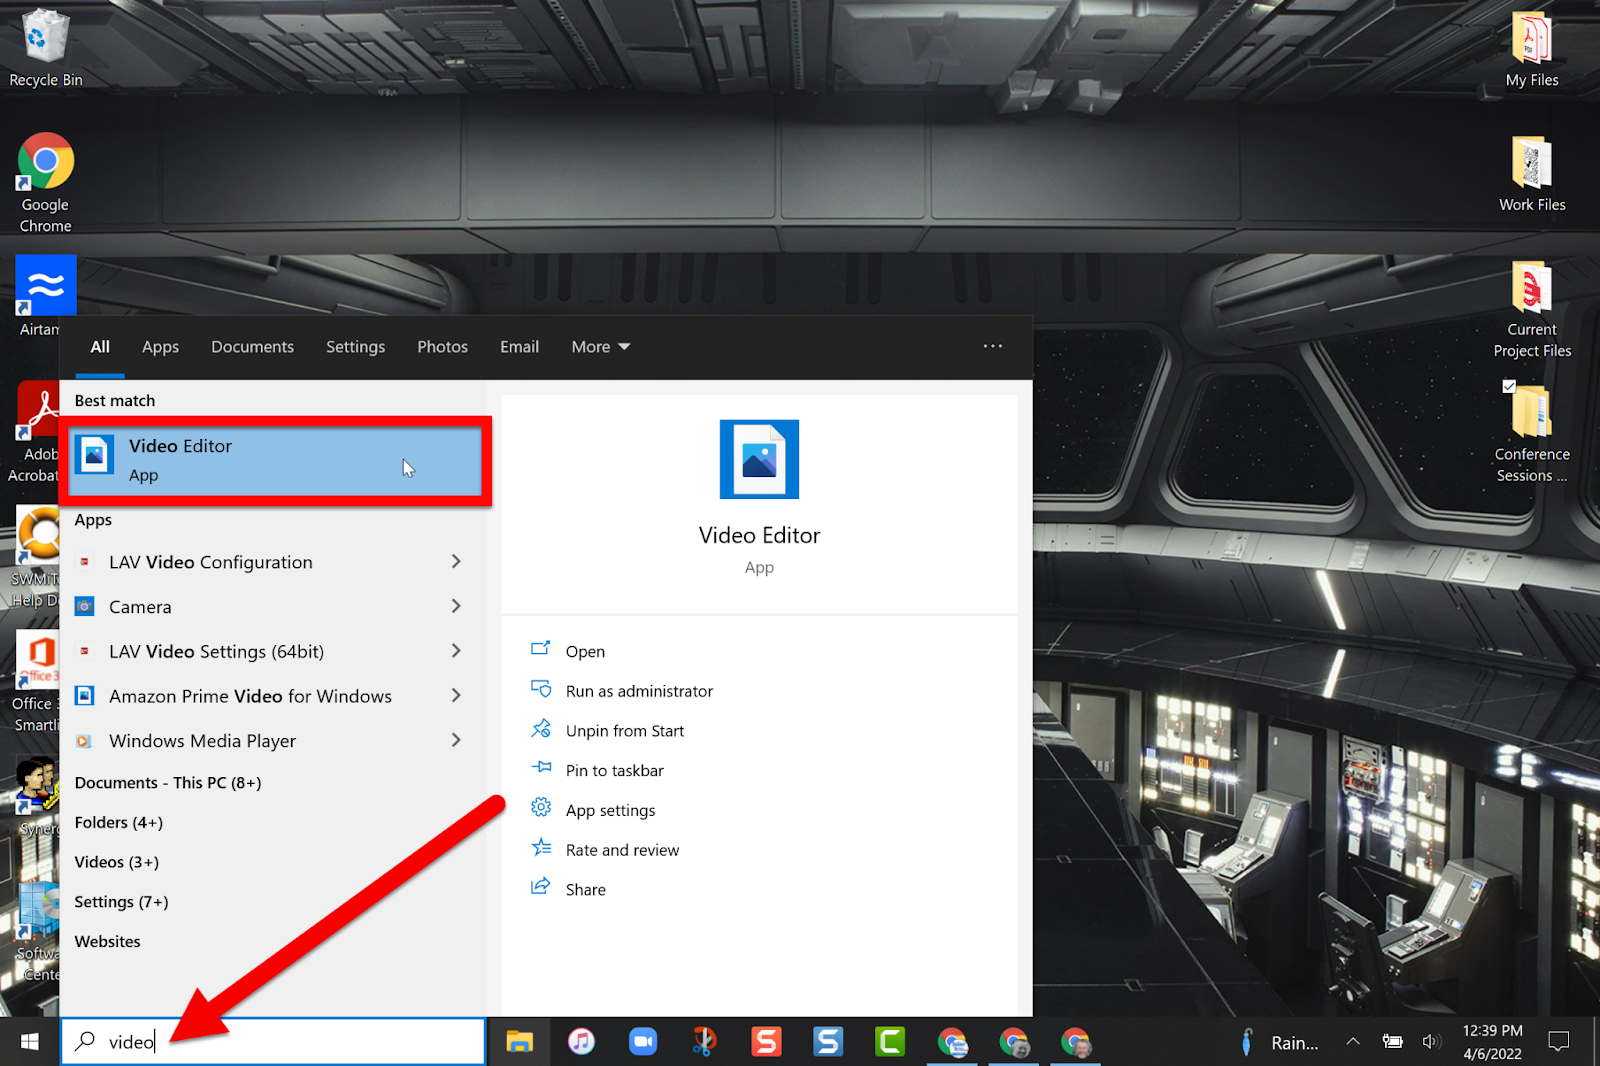
In the search bar at the bottom left type in “Video”. Then click on the Video Editor app.
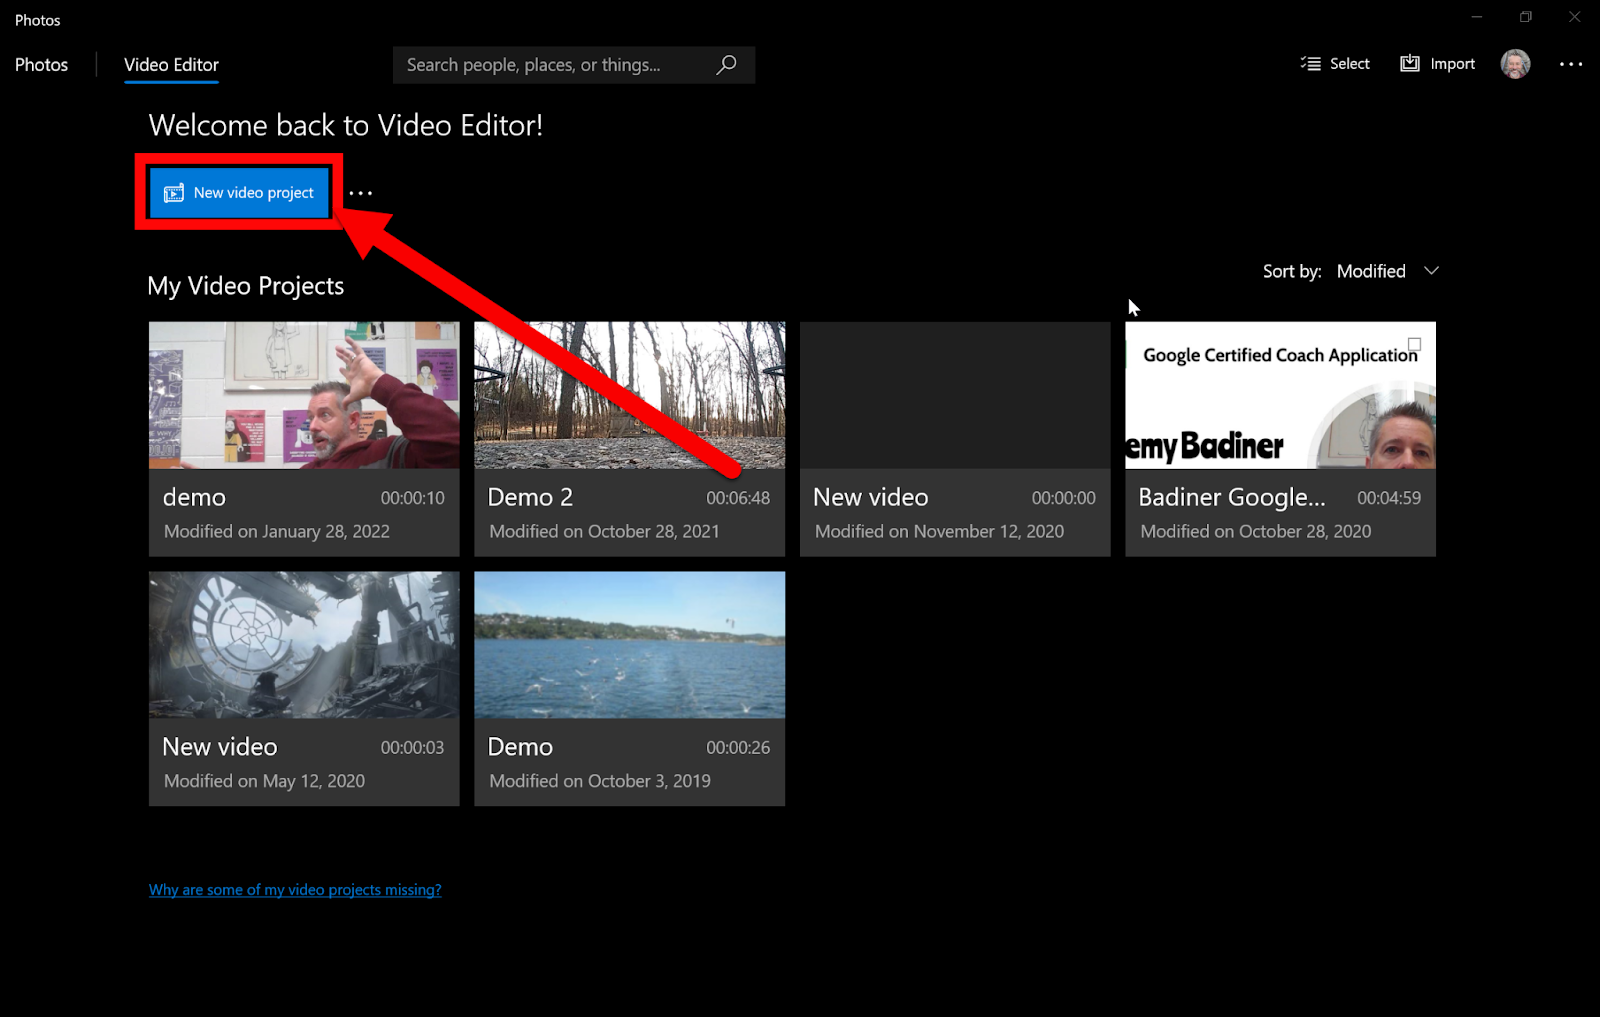
If you have never used this you will not have any projects listed. Click on the “New video project” button.
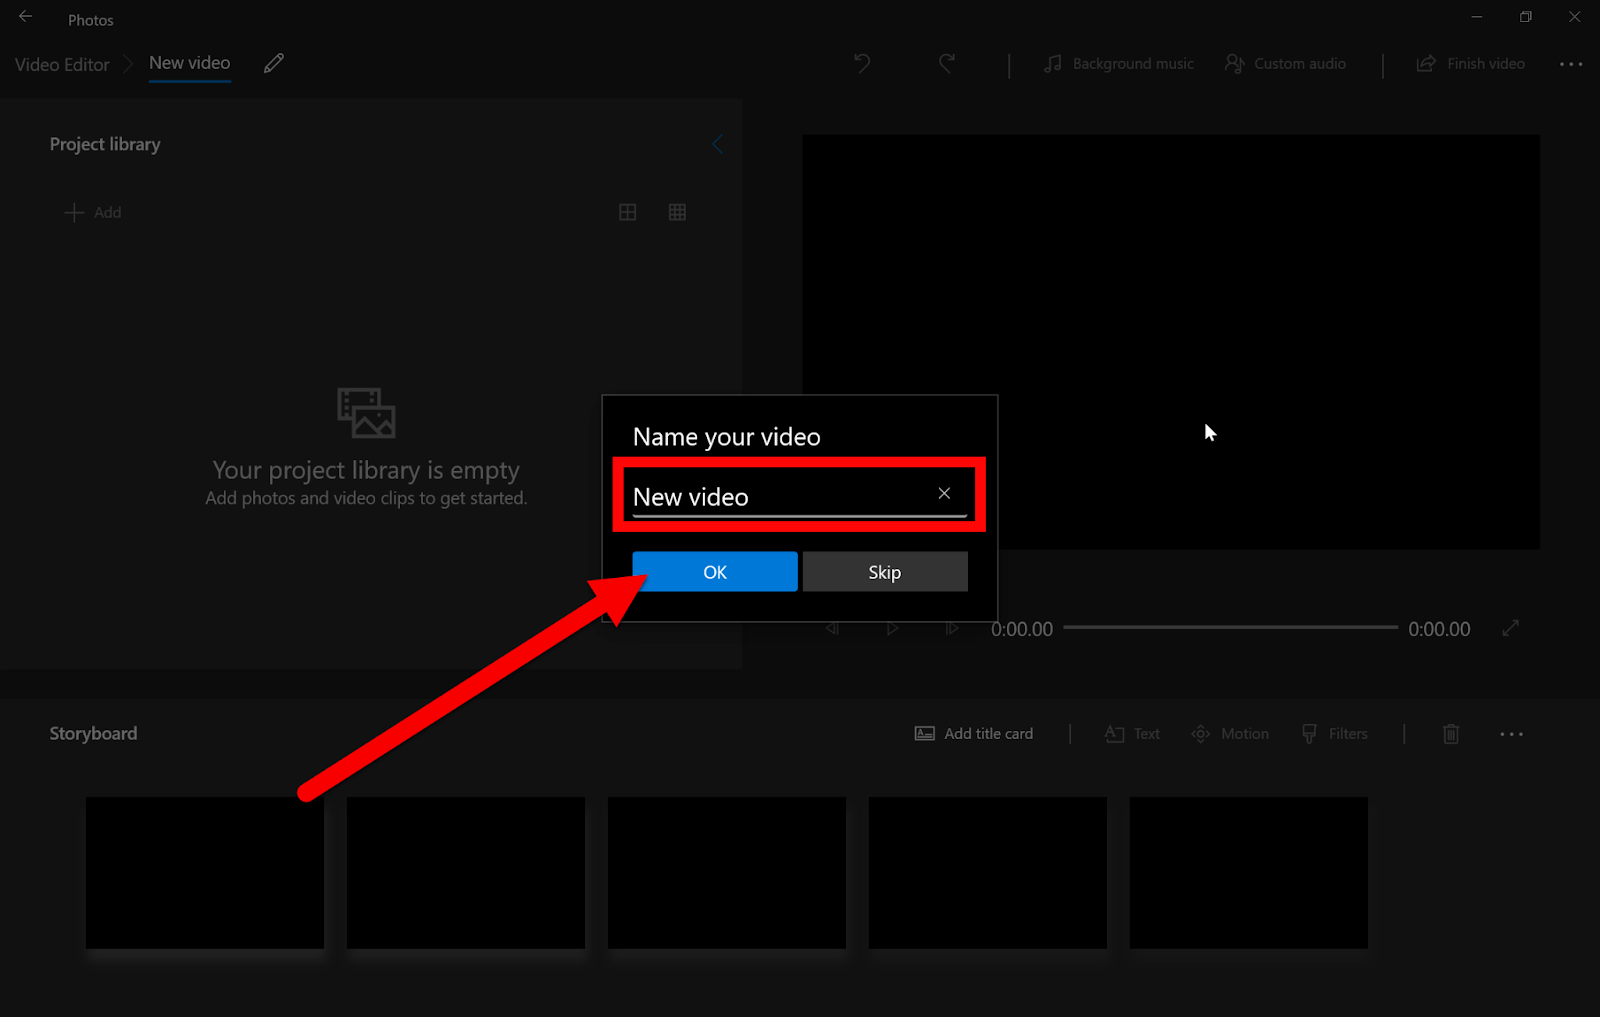
You will now need to name your project. Then click “OK”.
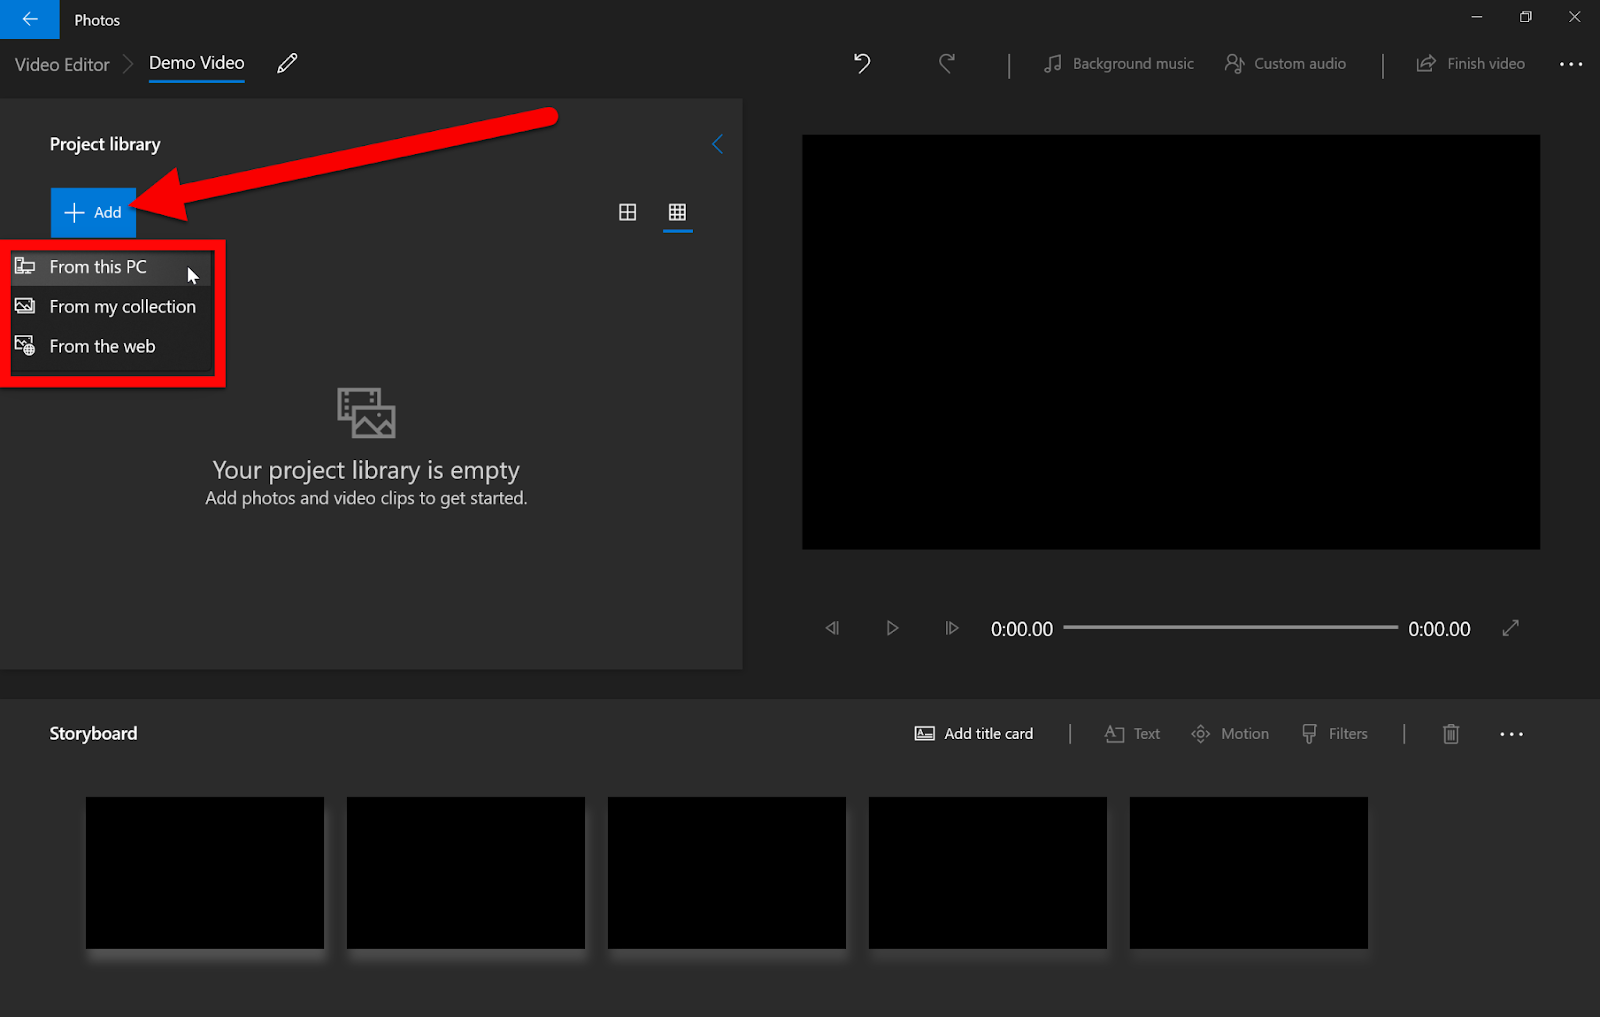
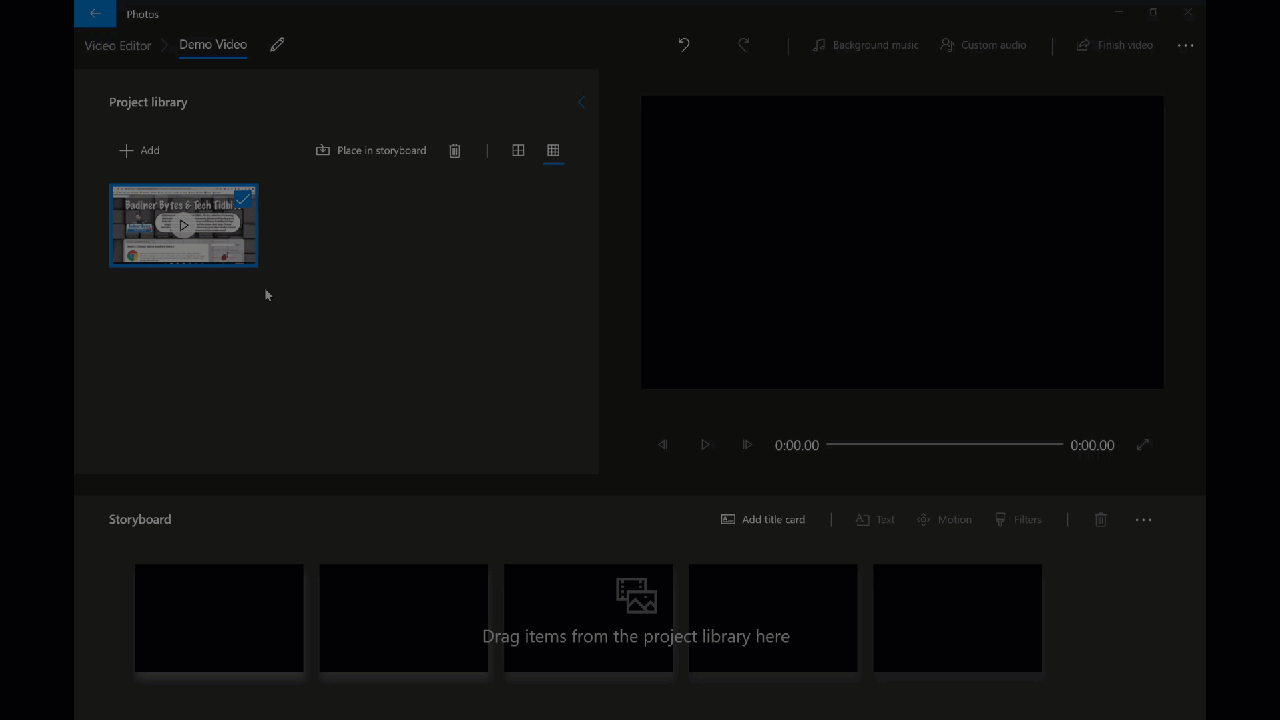
You now need to add media to your project. Click on the “Add” button and choose where your file is located and add it to the project. These files can be Videos or Images!
Drag the video file into the storyboard below.
Edit Your Video:
Click on the video in the Storyboard. All the editing tools will be visible and clickable. If you can not click them you did not first click on the video clip in the storyboard.
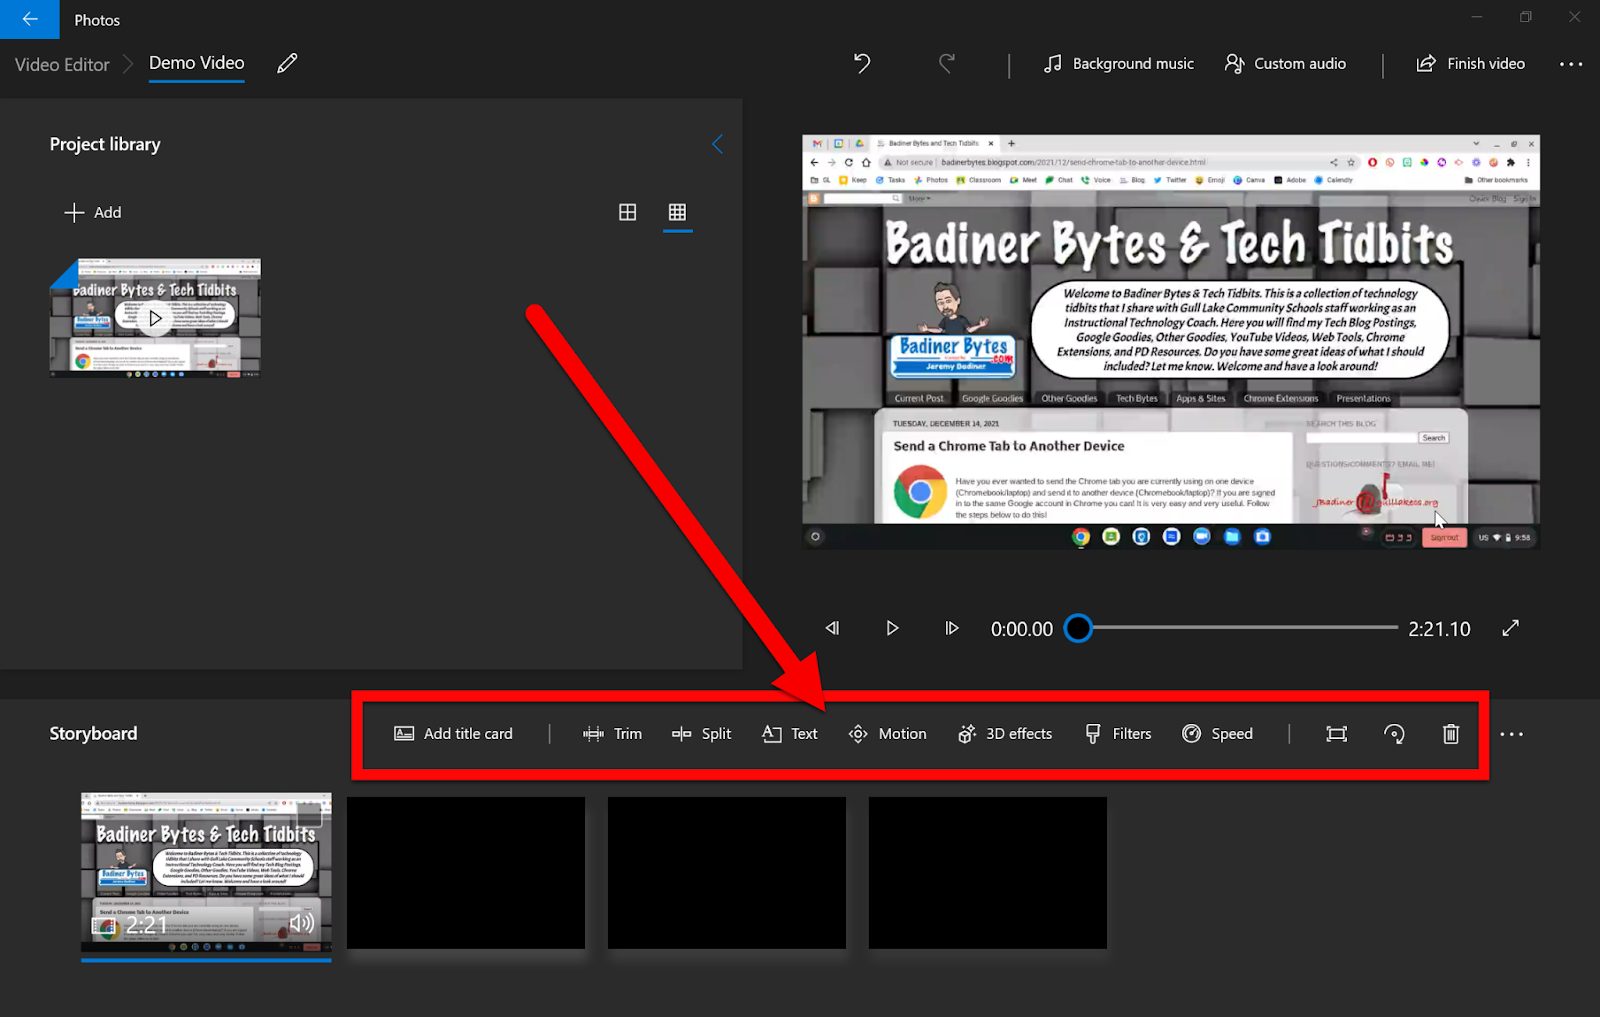
Add Title Card:
Add a “slide” into the video. This is like a title screen.
Trim:
Remove the beginning or end of your video. Just slide your “start” or “End” point to remove the section you want.
Split:
Cut your video in a spot. This allows you to add other media or edit out sections from the middle of your video.
Text:
Add Text on your screen.
Motion:
Add motion effects to your video. This is a panning effect.
3D Effects:
Add cool special effects (already installed on the program) to your video.
Filters:
Change the color tone or add other filters to your video.
Speed:
Adjust the playback speed (slow down or speed up) of your video.
Remove Black Bars:
Zoom in or out to remove any black bars (if the video does not fit the format size).
Rotate:
Rotate your video by 90 degrees each click.
Delete:
Delete the selected video from the storyboard.
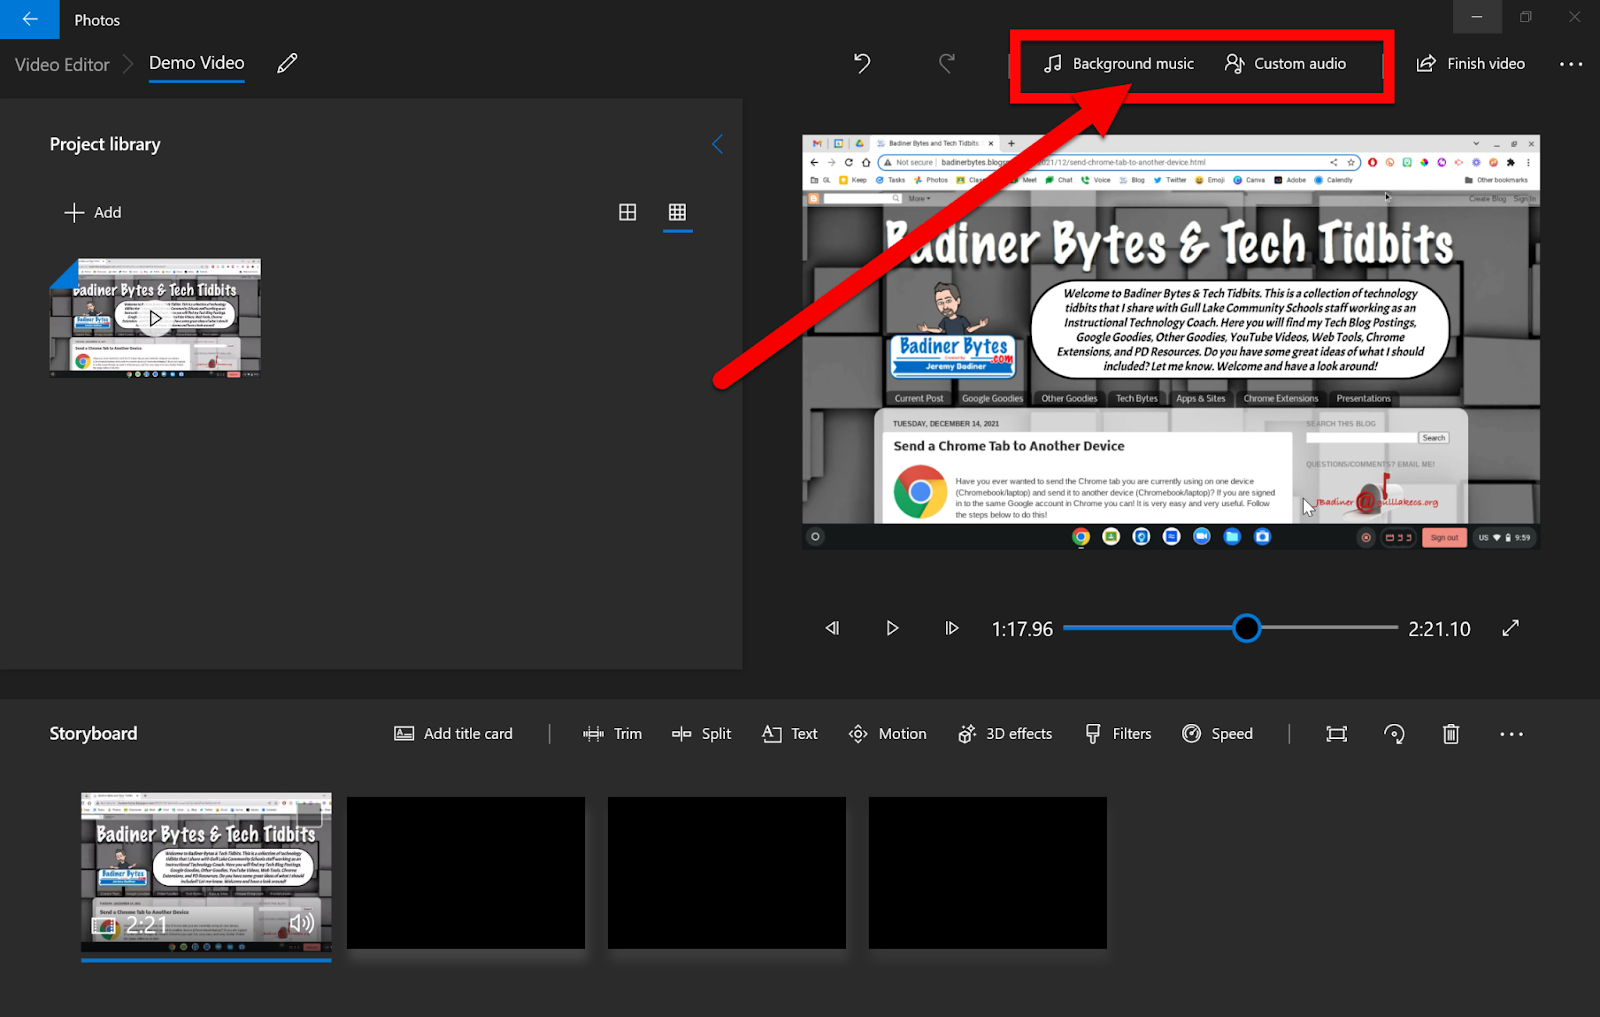
Add Audio to your video! You can use the pre-installed audio or add your own from your device!
Explore these editing tools and let your creativity flow!
Publish Your Video:
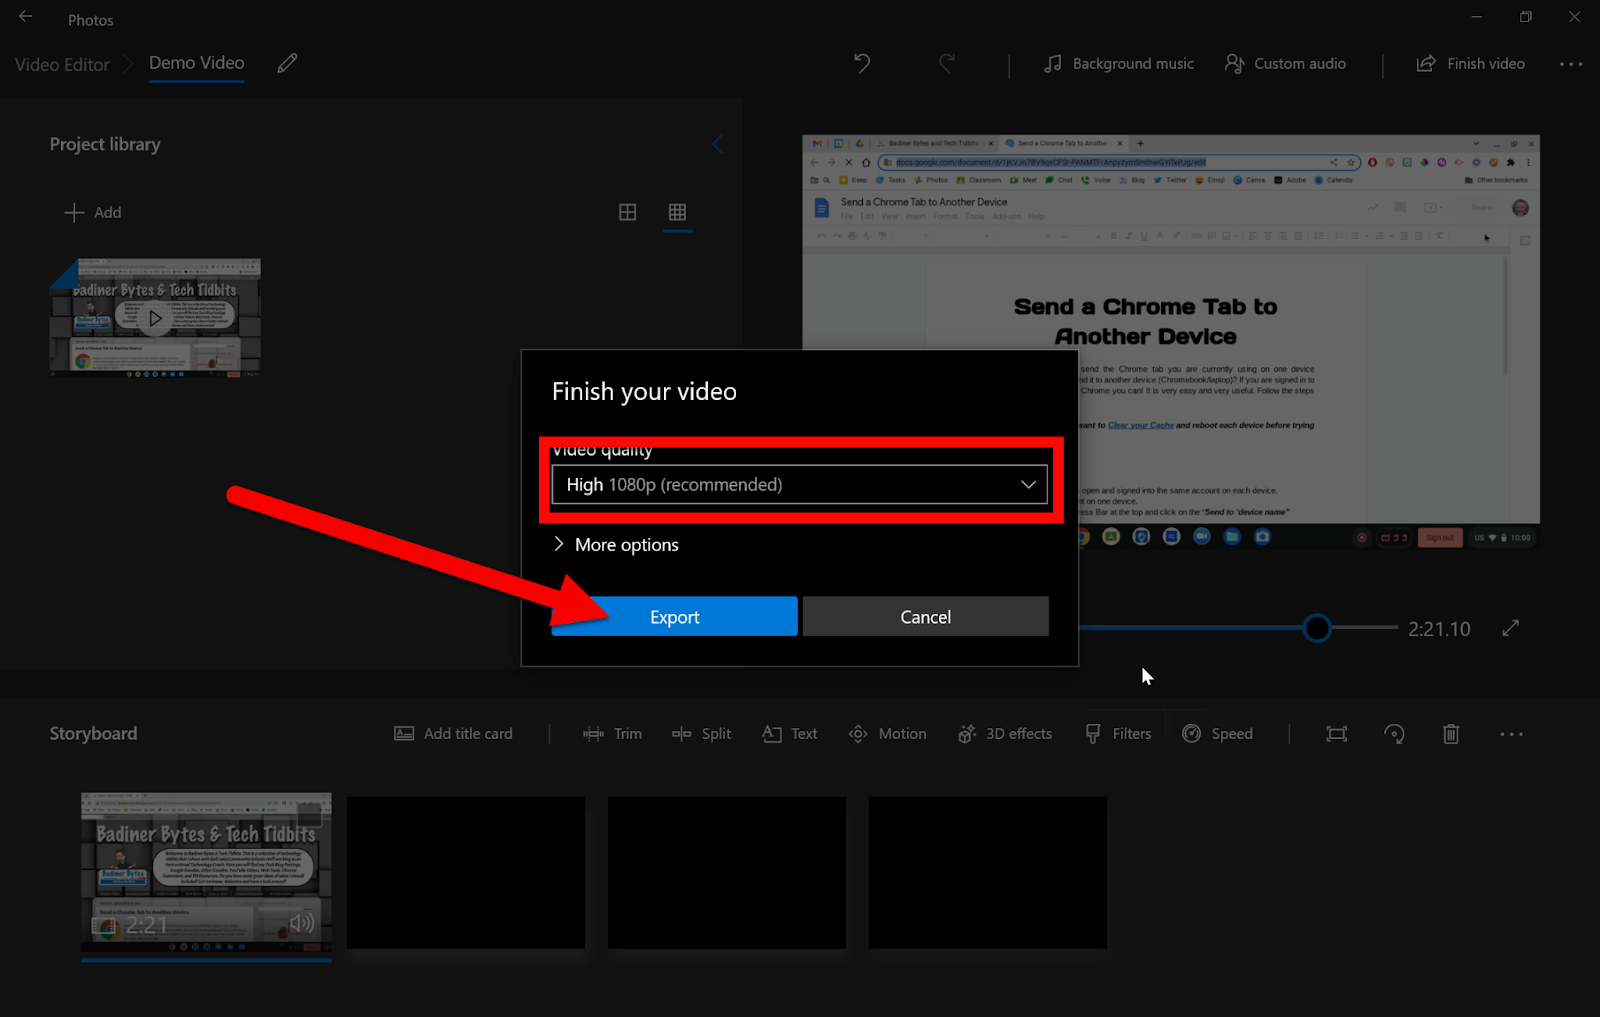
When you are done make sure to preview your video. Click the “Play” button to watch your creation. When you are sure you are done click “Finish video”.
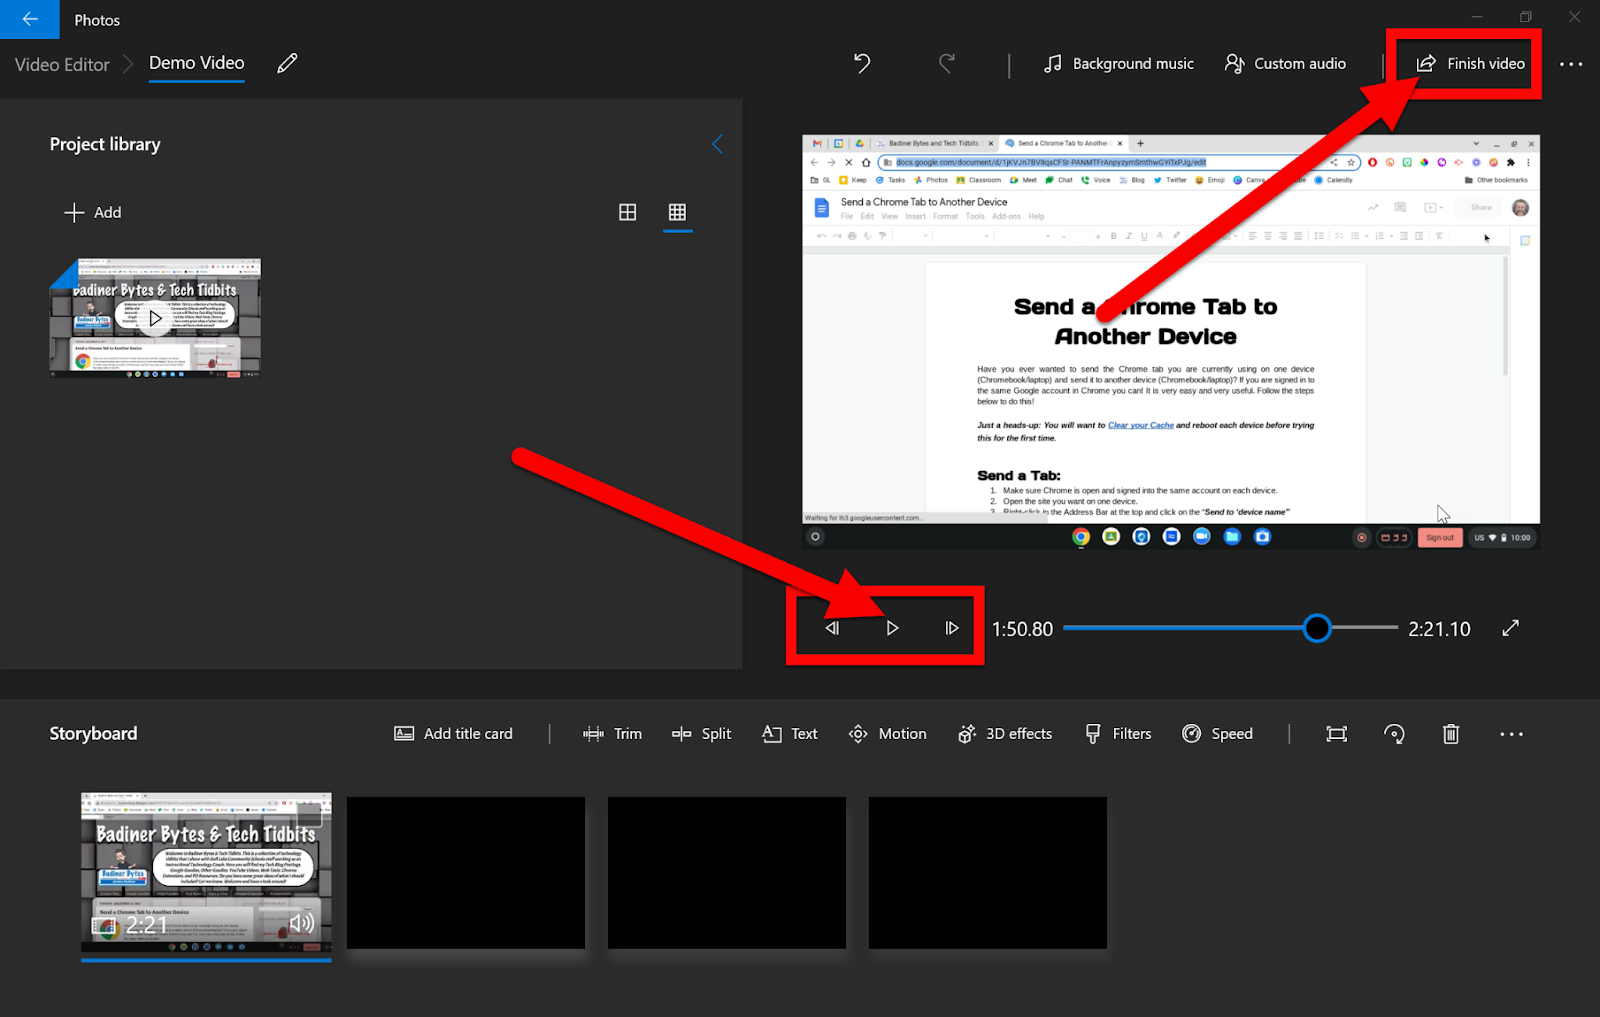
Choose your resolution and click “Export”. You will need to select a location to save the file.
Upload this file to your sharing tool of choice (YouTube, Drive, anywhere!) and share your creation!
Check out this How-To Video for all these steps.
If you want these directions in a Document click HERE!