

Create a Label From Settings:
- Go to your “Inbox”.
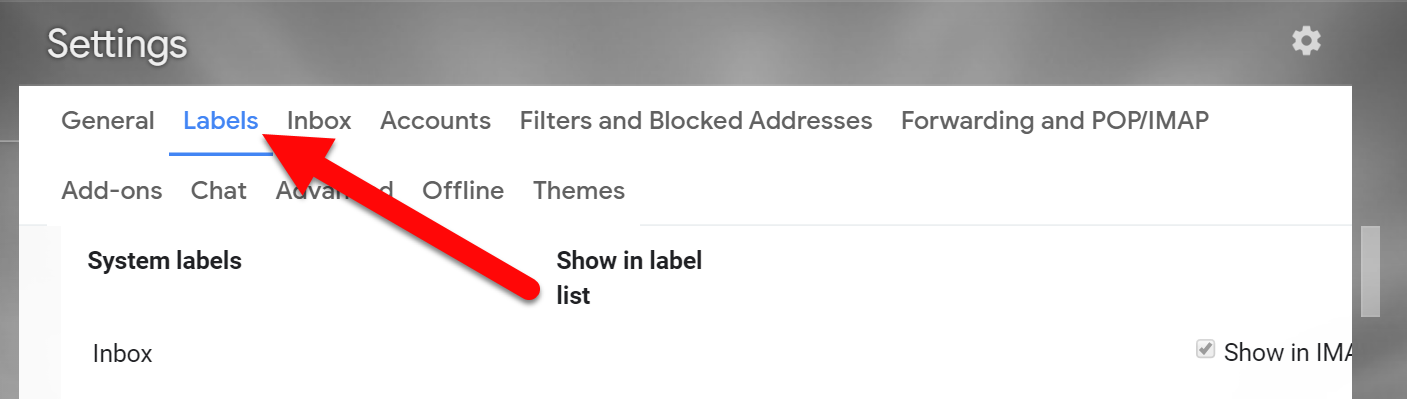
- Click on the gear in the top right and click “Settings”.

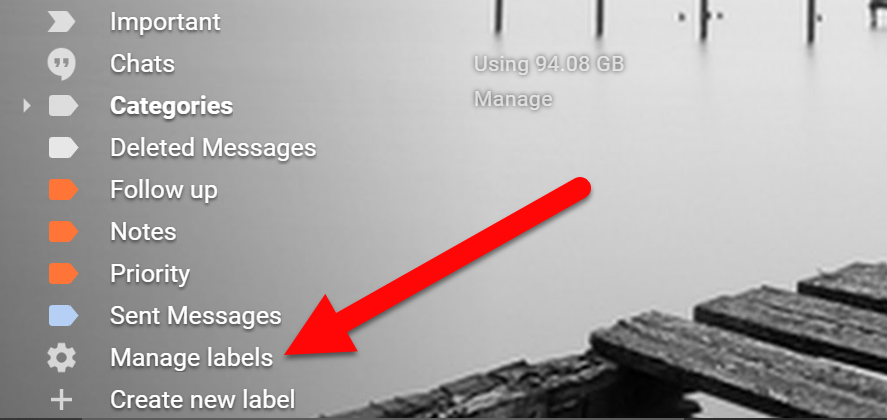
- This can also be done by clicking “More” and “Manage Labels” under your left column in Mail.

- Click the “Labels” tab.
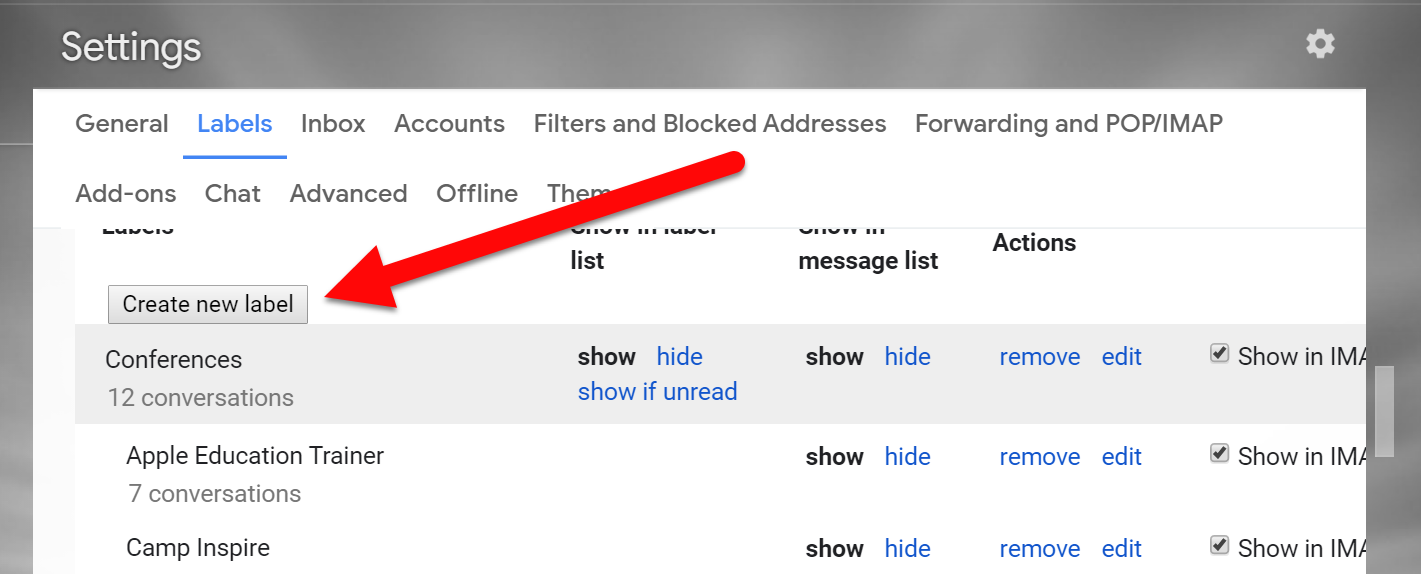
- Scroll down to the “Create new label” button and click it.
- Type in the new label name.
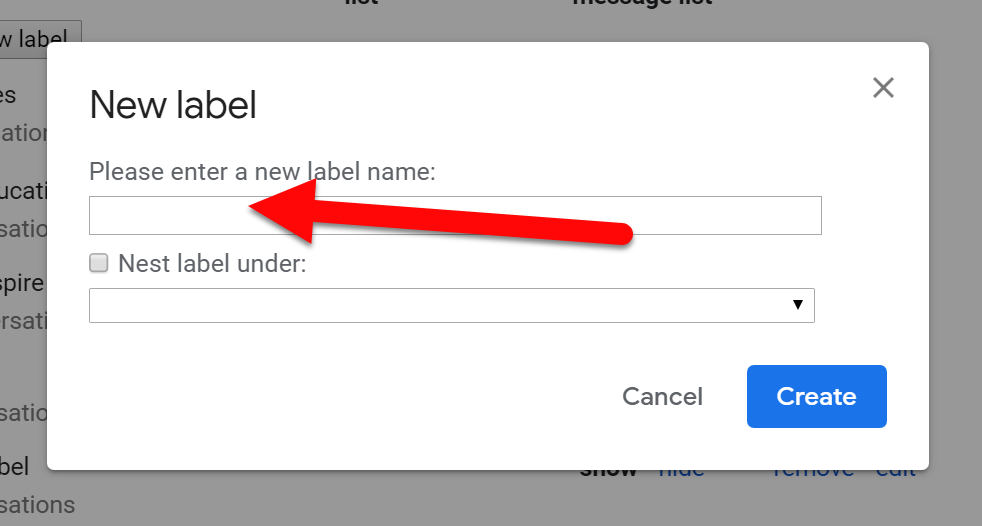
- If you want it nested in another label click the button and select the label to nest it under.

Move Email into a Label While Reading:
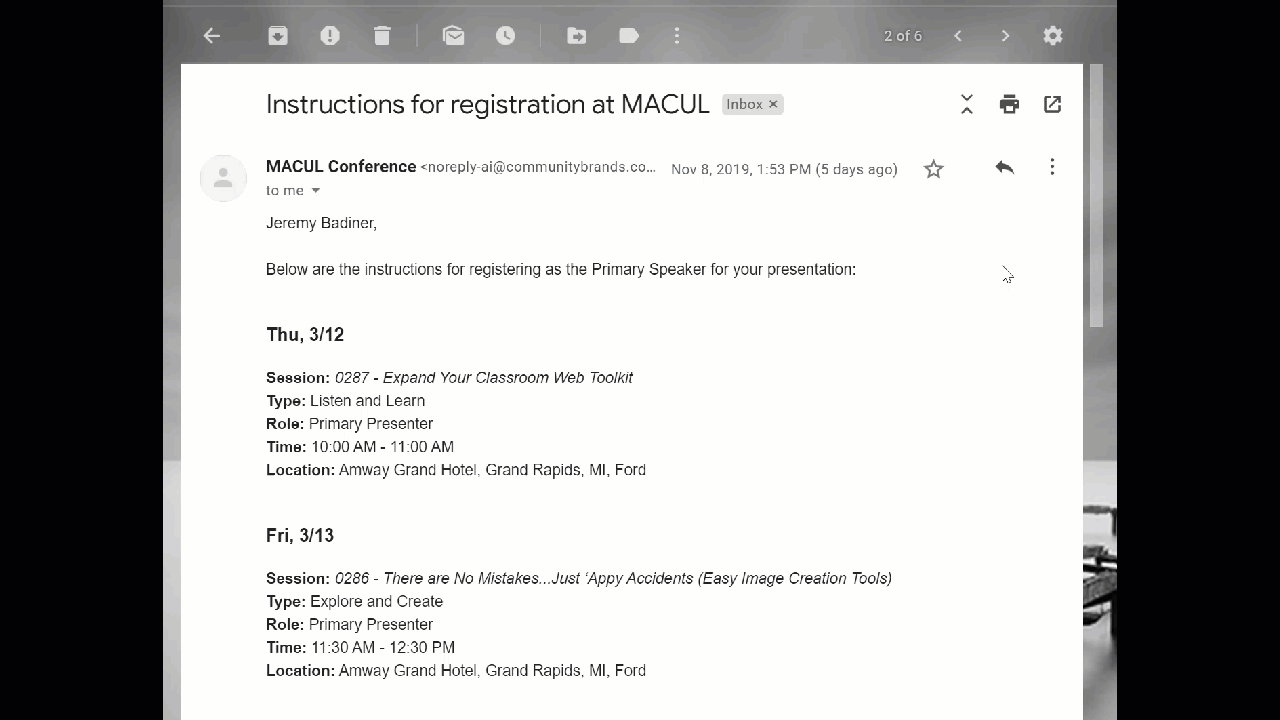
- Open an email (or click the checkbox next to an email in your Inbox.
- Click the “Move to” icon at the top. Choose either an existing Label or click on “Create new”.

- Follow the same steps above to create a new label when prompted.
Add an Email to More than One Label:
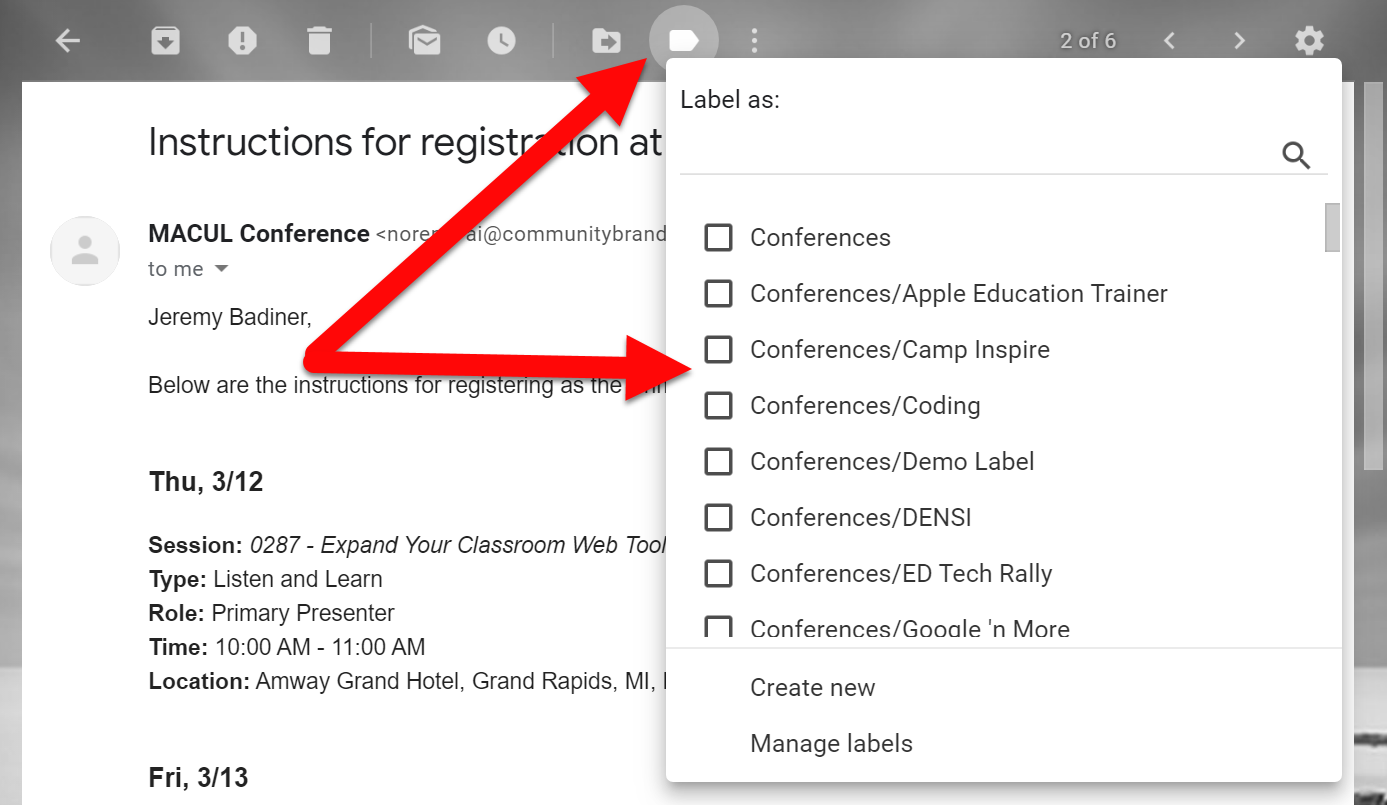
- If you want an email in more than one label, click the ”Label” icon at the top of an email and click all checkboxes that you want to apply.
You are all set! Label On!