

I love Google Photos. Not only do I never have to worry about losing any pictures that I've taken (every one is automatically uploaded/backed-up in Google Photos...click HERE for how to do this), but there is so much I can now do with these pictures. Once images are in the cloud I can edit my photos with ease. Check out how to edit photos with Google Photos below!
Edit Photos with Google Photos
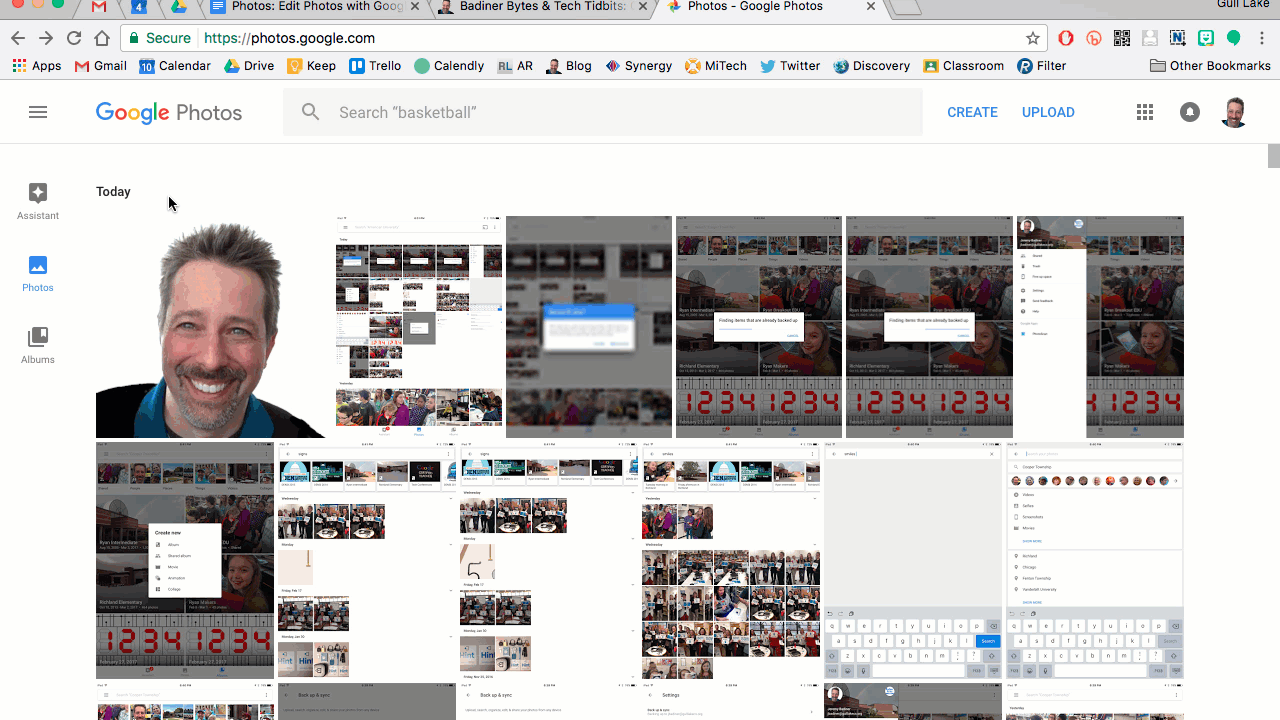
- Locate the image you would like to edit. Click on it to open.
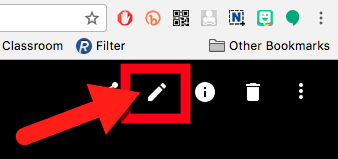
- Click on the pencil icon to bring up the edit tools.
- These editing tools will allow you to make changes to the image.
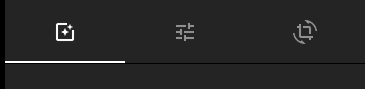
Color Filters:
- These will allow you to set the tone of the image.
Basic Adjustments:
- This allows you to adjust the light, color, and pop of your image.
- There are also sub setting within those 3 above.
Crop and Rotate:
- This allows you to rotate and crop your image
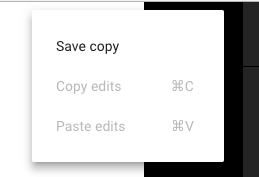
- Once you are done editing you can either save the image (overwrites the original one) or “Save a Copy” which will create a new image while retaining the original.
Log into your Google Photos and start editing your pictures to look the way you want them to look! Get creative and enjoy!
If you want these steps in a Document, Click Here!